Why inverter sizing matters
Your solar panels produce DC power. The inverter converts it to AC — the form the home and the grid actually use. If the inverter is undersized, you lose energy to clipping. If it's oversized, you're paying for a capacity that never gets used. Getting it right means maximizing production without overspending on hardware.
How solar inverters work
Solar panels generate direct current (DC) electricity, which an inverter converts into alternating current (AC), the form used by homes, businesses, and the grid. Choosing the right inverter size is one of the most important decisions in solar system design.
The DC-to-AC ratio
The DC-to-AC ratio (also called the Inverter Loading Ratio, or ILR) is the installed solar array with DC capacity (your total panel wattage) divided by the inverter's AC power rating.
1.0 ratio
Panels and inverter are matched equally. Conservative, but the inverter sits underutilized for most of the day.
1.2–1.3 ratio
The recommended range for most residential installations. You're maximizing panel output with minimal clipping losses.
Above 1.4
Total energy production increases, but clipping losses become more significant.
Most residential systems in the field land between 1.13 and 1.30 — and that's the range you should be targeting.
What is inverter clipping?
When the solar array produces more power than the inverter can handle, the inverter caps its output at its rated limit — this is called inverter clipping (or power limiting).
Here's the trade-off in practice using a 100-kW inverter on a ground mount as an example:
| DC-to-AC ratio | Annual AC production | Energy lost to clipping |
| 1.0 | 163 MWh | 0 MWh (0%) |
| 1.3 | 194 MWh | 1.8 MWh (0.9%) |
| 1.5 | 217 MWh | 11 MWh (4.8%) |
The exact figures shift with location, panel orientation, and equipment, but the pattern holds broadly across system sizes.
A ratio of 1.3 yields ~19% more energy with less than 1% clipping loss — a strong outcome. At 1.5, the gains continue, but clipping losses become more significant.
The US Energy Information Administration notes that most real-world systems use ILRs between 1.13 and 1.30.
A worked string inverter example:
Consider a typical residential project:
20 panels × 400W = 8 kW DC array
Moderate irradiance area (~4.5 peak sun hours)
Single roof plane, minimal shading
Step 1: Start with the array size — 8 kW DC.
Step 2: Apply a target ratio of 1.25.
8,000W ÷ 1.25 = 6,400W inverter
Step 3: Select the closest available unit with your supplier. Let's say your supplier has 2 units 6kW and 7.6kW, evaluate and identify which yields a ratio closest to 1.25 and better utilization. The 6 kW inverter gives a 1.33 ratio — slightly aggressive but well within acceptable range. The 7.6 kW inverter drops to 1.05 — conservative, but you're paying for headroom that rarely gets used.
Step 4: Then evaluate clipping. At a 1.33 ratio, expect roughly 1–2% annual energy loss from clipping — easily offset by the higher production throughout the rest of the year.
Recommendation: A 6–6.4 kW inverter paired with the 8 kW array. More energy, lower hardware cost, minimal clipping.
A worked microinverter example:
Consider the same type of residential project, this time using microinverters instead of a single string inverter:
- 20 panels × 400W = 8 kW DC array
- Each panel paired with its own microinverter
- Sizing is done per-panel, not for the array as a whole
Step 1: Start with a single panel's rating — 430W DC.
Step 2: Apply a target ratio of 1.20–1.30 (the sweet spot for microinverters, similar to string inverters).
400W ÷ 1.25 = 320W microinverter
Step 3: Select the closest available unit from your supplier. An Enphase IQ8A gives a ratio of 1.17 comfortably within range.
400 ÷ 1.17 = 341
An IQ8+ gives a ratio of 1.48 which is more aggressive, pushing more clipping.
400 ÷ 1.48 = 270
Step 4: Evaluate clipping. At a 1.17–1.25 ratio, expect only minor clipping — a few hours on the sunniest days — with total annual energy still higher than a 1:1 matched system.
Recommendation: Pair each 400W panel with an IQ8A-class microinverter (or equivalent ~340–360W unit) rather than a lower-output unit.
Types of solar inverters
Microinverters
Small units mounted under each panel (1 per 1–4 panels). They convert DC to AC at the panel level.
Pros: Panel-level monitoring, no shading chain effect, easy to expand, longer lifespan (up to 25 years), rapid shutdown capability.
Cons: Higher upfront cost (~$1,000+ more than string inverters for a 5-kW system), harder to service since they're roof-mounted.
Best for: Multi-orientation rooftops, shaded sites, or systems likely to expand.
String (central) inverters
A single inverter handles the output of an entire string of panels, installed near the electrical panel.
Pros: Lower cost, simpler installation, easier service, proven technology, great performance in ideal conditions.
Cons: One underperforming panel affects the whole string, no panel-level monitoring, shorter lifespan (10–15 years), and a single point of failure.
Best for: Unshaded, uniform rooftops where simplicity and cost matter.
Power optimizers
Attached each panel like microinverters, but they condition DC power (rather than convert it) before sending it to a central inverter.
Pros: Mitigates shading and mismatch losses, panel-level monitoring, safer DC voltage levels, and combines benefits of both inverter types.
Cons: Added cost and complexity; roof maintenance required if one fails, still dependent on a central inverter.
Best for: Sites with some shading or mixed panel orientations, where full microinverter cost isn't justified.
How Solargraf simplifies inverter sizing
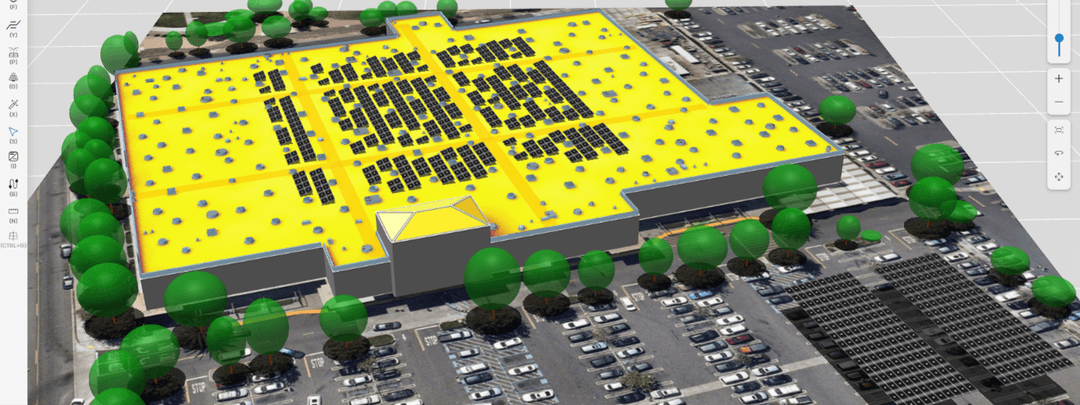
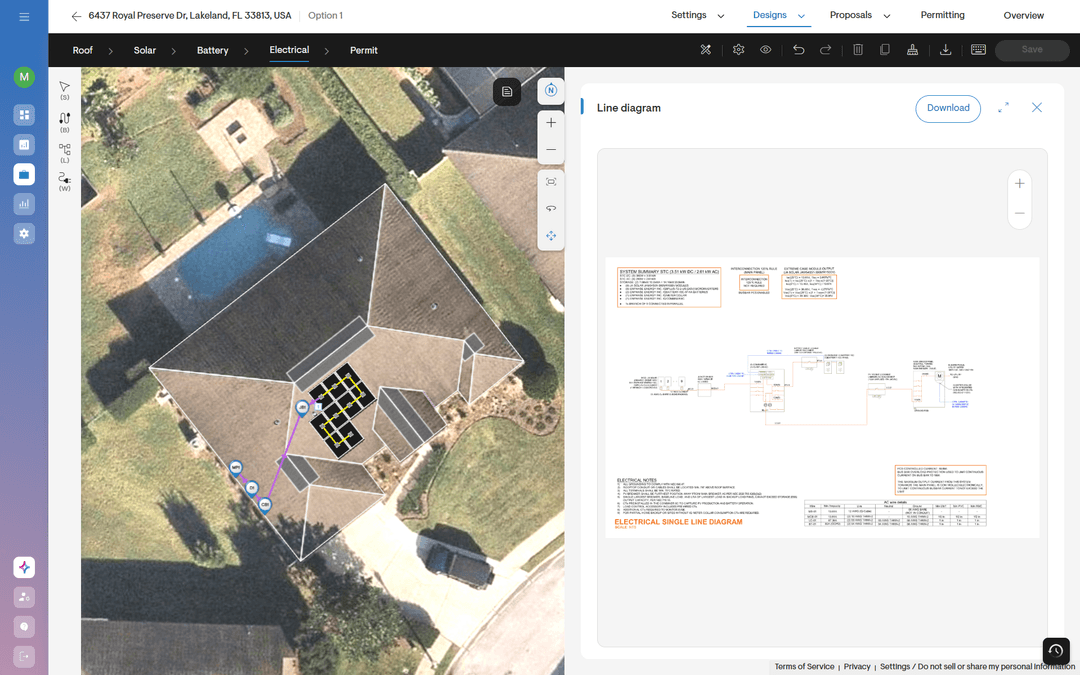
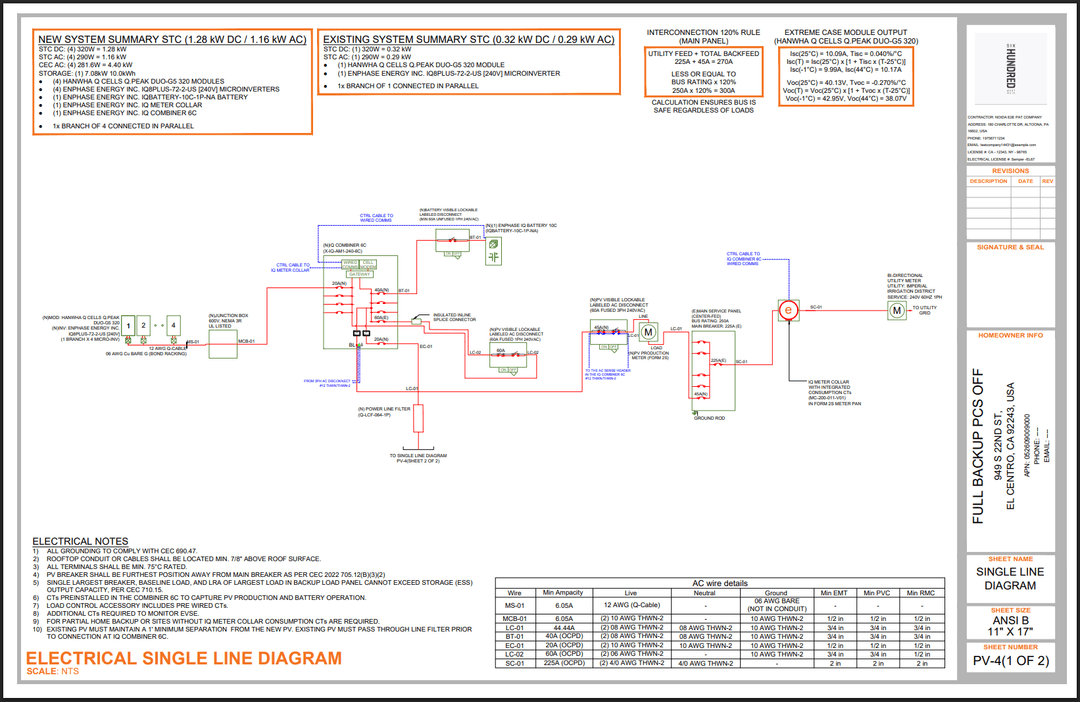
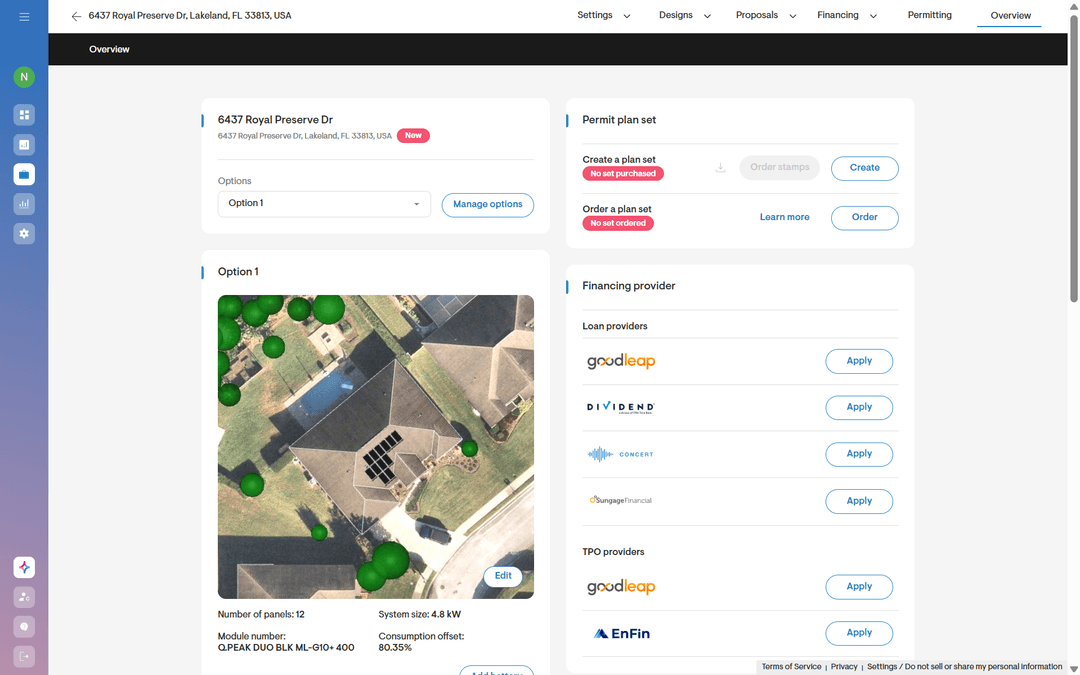
Rather than running ratios manually or second-guessing your inverter selection, Solargraf handles sizing as part of your standard design workflow:
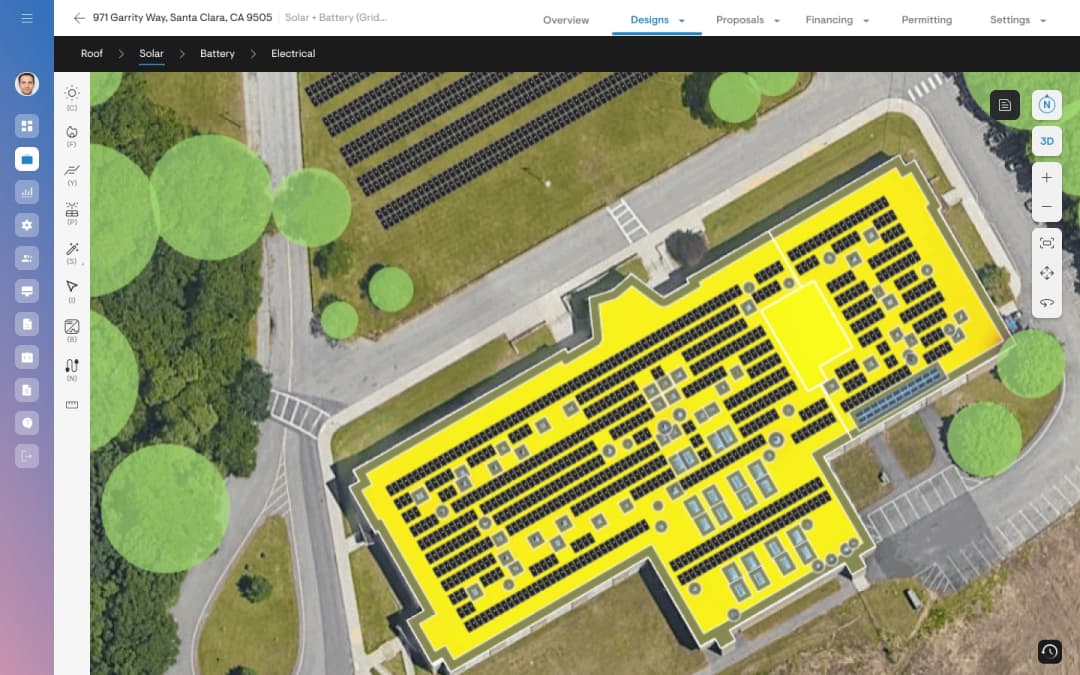
- Automatic inverter recommendations based on panel layout, roof orientation, shading analysis, and local irradiance — no manual calculations required.
- Built-in clipping analysis — see exactly how much energy you'd lose at different inverter sizes before you finalize the quote.
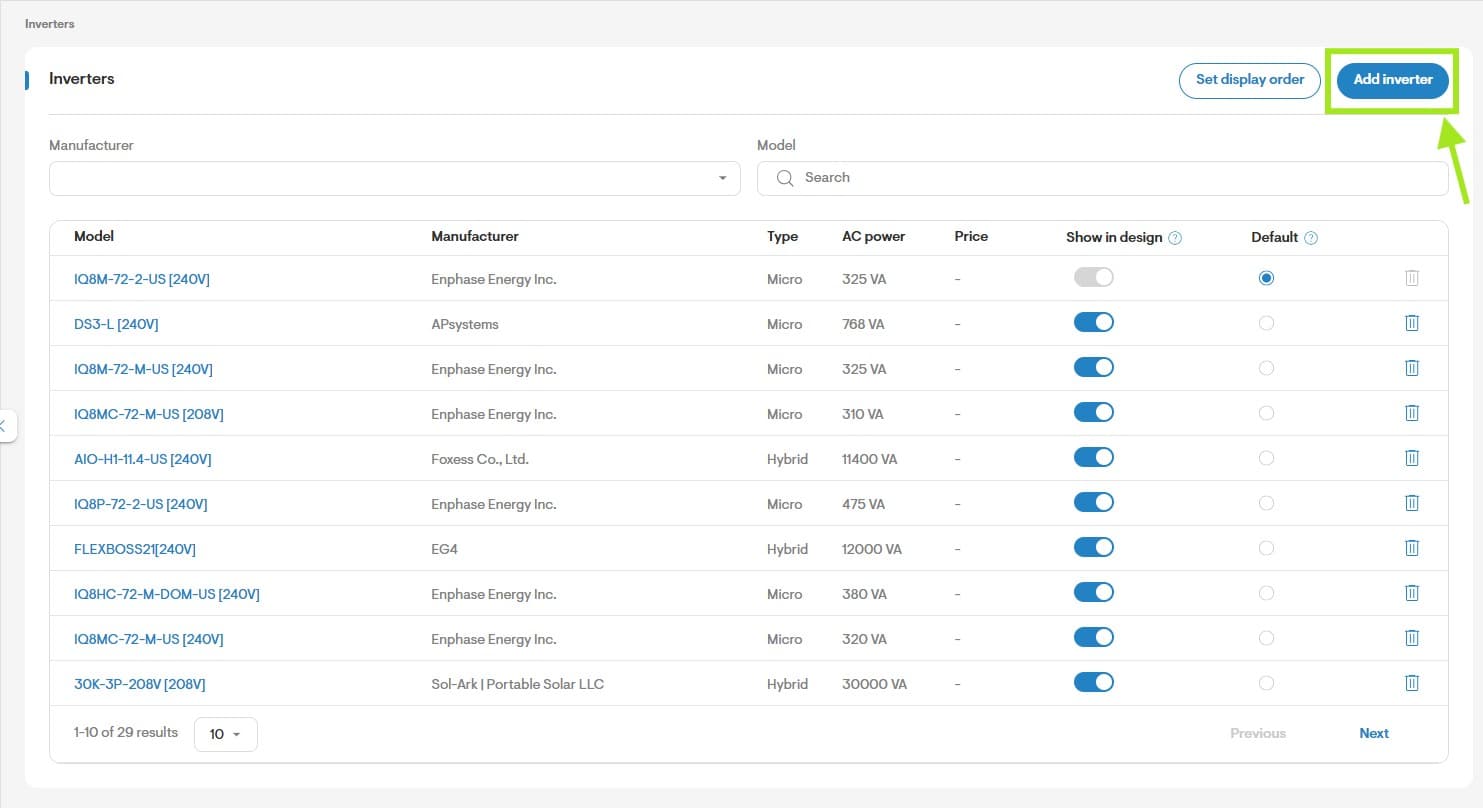
- Wide range of inverter manufacturers in one platform — string inverters, microinverters, and optimizers from major brands supported.
- Instant scenario testing — swap an inverter, add panels, adjust orientation, and see the production impact immediately.
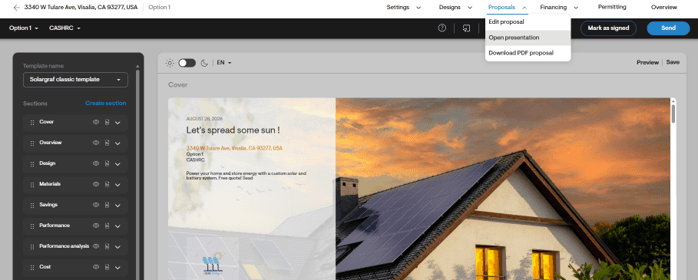
- Design to proposal in minutes — accurate production estimates and a professional quote, ready to send to your customer.
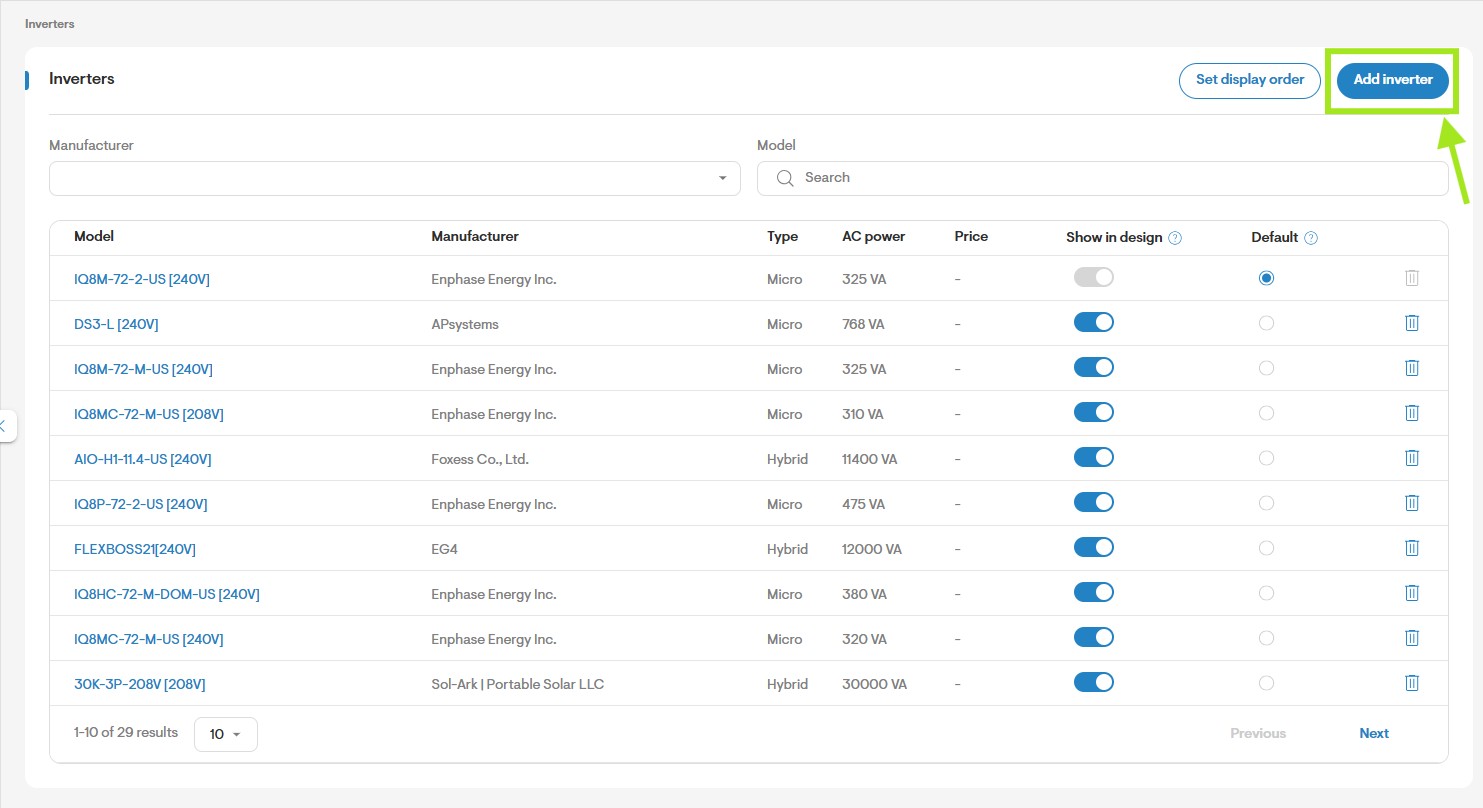
No spreadsheets. No guesswork. Accurate sizing, faster proposals, more jobs closed.
Conclusion
Inverter sizing comes down to balancing energy production against cost and clipping losses. For most residential installations, a DC-to-AC ratio between 1.2 and 1.3 is the target — but every site is different, and factors like shading, orientation, and future expansion plans mean each project requires its own assessment.
Solargraf streamlines this entire process. Whether you're designing a straightforward single-roof system or a complex multi-orientation layout with battery storage, Solargraf gives you the tools to size inverters accurately, compare options across dozens of manufacturers, and deliver proposals your customers trust — all from one platform.
Want to know more?
Join our upcoming webinar to dive deeper into our enhancements.
Schedule a demo for a personalized walkthrough on understanding how Solargraf can add value to your business.
Thank you for being part of our growing community; we can’t wait to show you what’s next.