Overview
An AC disconnect box is a safety switch installed between the solar inverter and the utility meter. It creates a clear electrical separation between the solar system and the grid, and can be either a standalone switch or a breaker built into a service panel.
Its primary job is simple: to allow the solar system to be safely and quickly shut down whenever needed during maintenance, emergencies, or grid outages.
Why it matters
Preventing backfeeding
During a grid outage, solar panels can continue generating electricity and inadvertently push power back into the grid — a risk called backfeeding. This is dangerous for utility workers trying to restore power. The AC disconnect stops this by isolating the solar system from the grid entirely.
Safe maintenance
Technicians need a reliable way to de-energize the system before working on it. The AC disconnect provides that isolation, eliminating the risk of electric shock during repairs or inspections.
Code compliance
Most electrical codes, including the National Electrical Code (NEC), require an AC disconnect as a standard part of any solar installation.
Key components
Switch or circuit breaker
The core element that physically breaks or completes the electrical connection between the inverter and the grid.
Enclosure
A protective housing that shields internal components from moisture, dust, and physical damage.
Wiring and connections
Internal wiring that routes AC power efficiently between the inverter and grid connection point.
Safety features
Visible breakers that show connection status at a glance, plus lockout mechanisms to prevent unauthorized access.
AC disconnect vs. DC disconnect
| Feature | AC disconnect | DC disconnect |
| Location | Between inverter and grid | Between solar panels and inverter |
| Current type | Alternating current (AC) | Direct current (DC) |
| Purpose | Isolates inverter from grid | Cuts panel output before inverter |
Both are typically required in a complete solar installation.
7 Tips for sizing your AC disconnect
- Match system voltage and current — The disconnect must be rated to handle the inverter's maximum output under normal operation.
- Match inverter capacity — Check the inverter's nameplate specs and ensure the disconnect is rated at or above that capacity.
- Follow NEC and local codes — Electrical codes specify minimum sizing and installation requirements; always comply.
- Account for continuous and peak loads — Choose a disconnect rated for both sustained operation and short-term peak output.
- Consider the environment — Ensure the unit is rated for local temperature, humidity, and corrosion conditions.
- Plan for future expansion — If you might add more panels later, size the disconnect with headroom for a larger system.
- Follow manufacturer guidelines — Inverter and disconnect manufacturers provide specific sizing recommendations — use them.
How to place and configure the AC disconnect in Solargraf
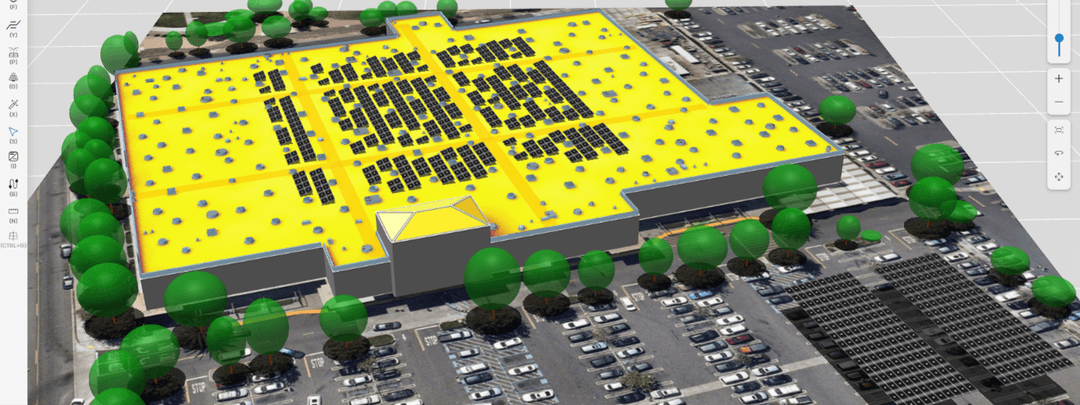
Solargraf integrates AC disconnect placement directly into your system design workflow. Rather than documenting it separately or marking it up manually on plan sets, you can specify disconnect location and details within the platform as part of your standard design process.
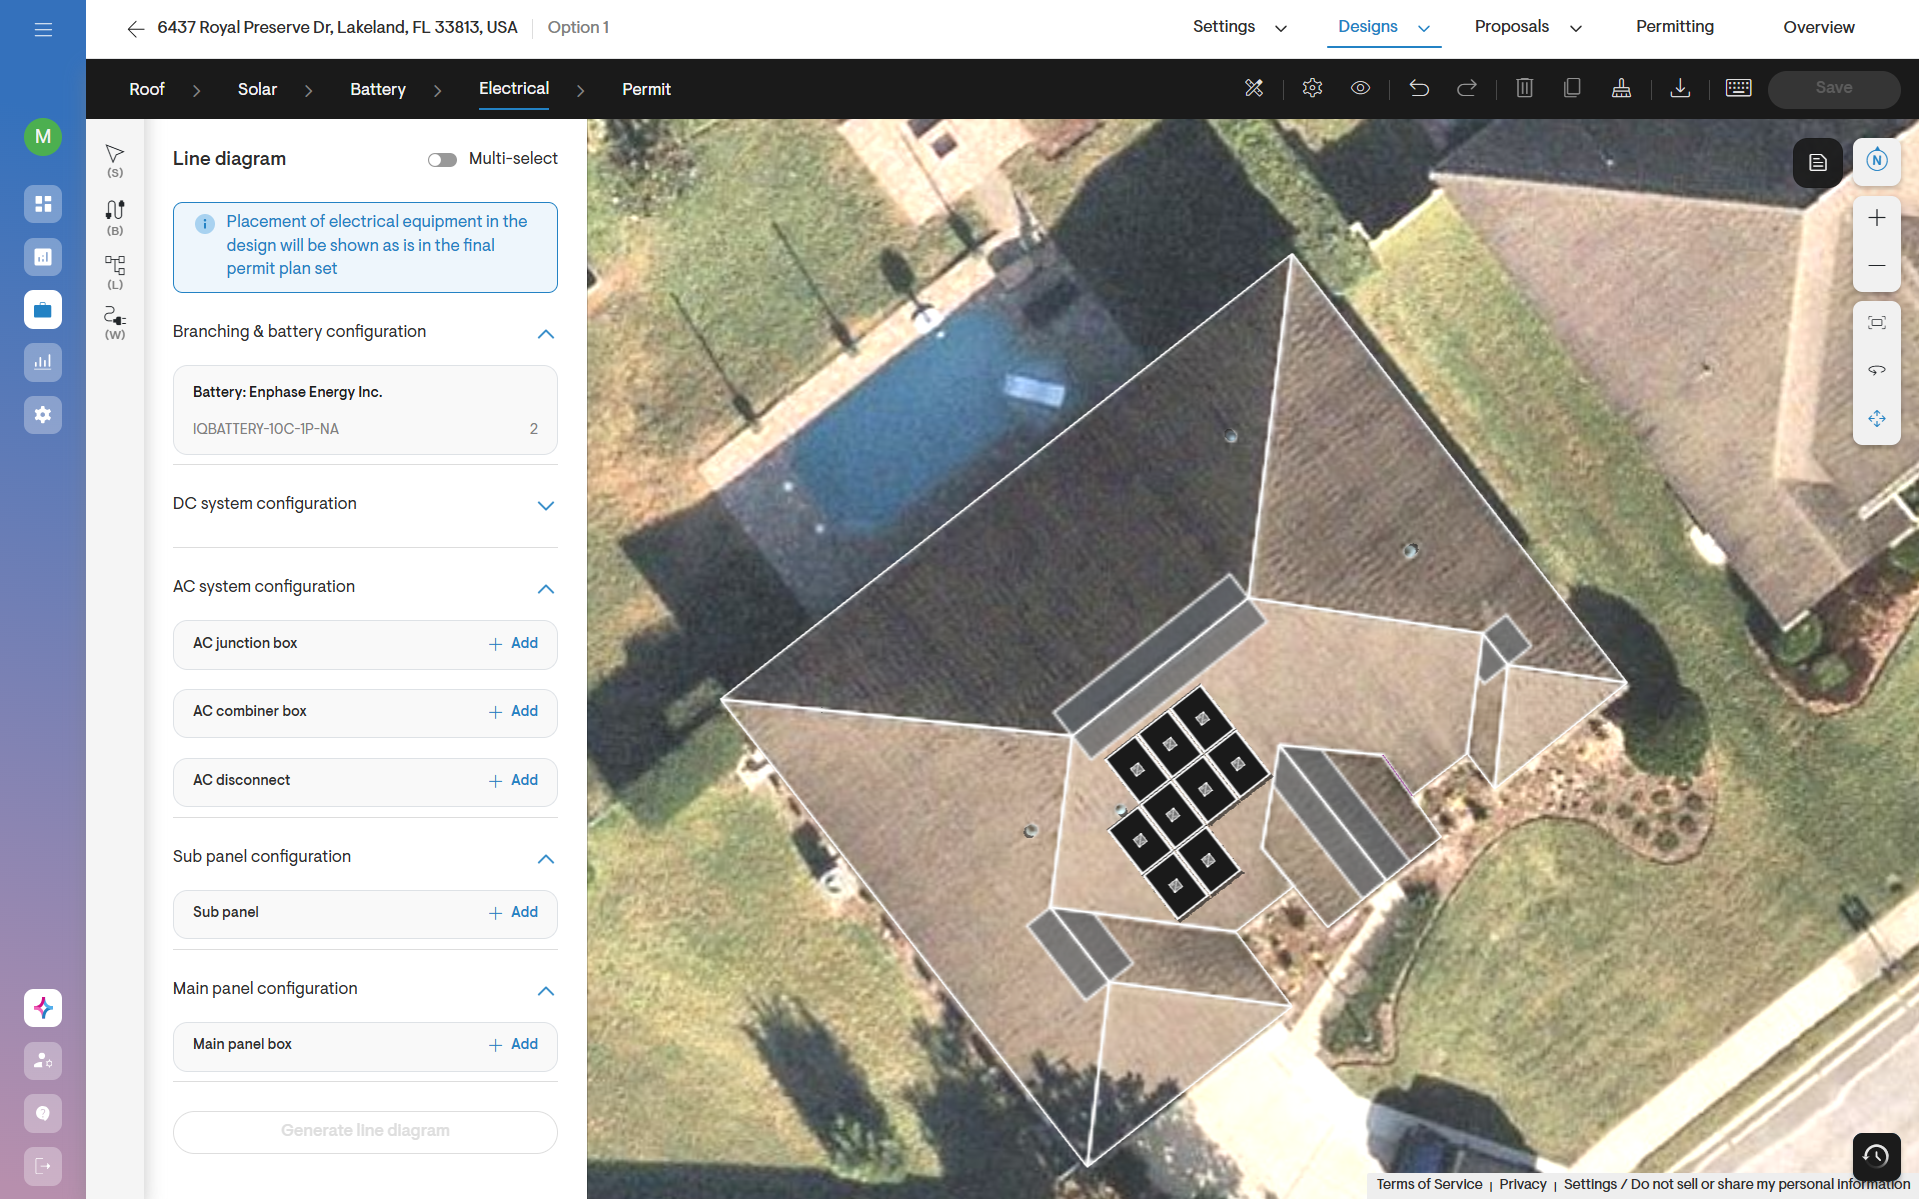
Step 1: Open the electrical design view
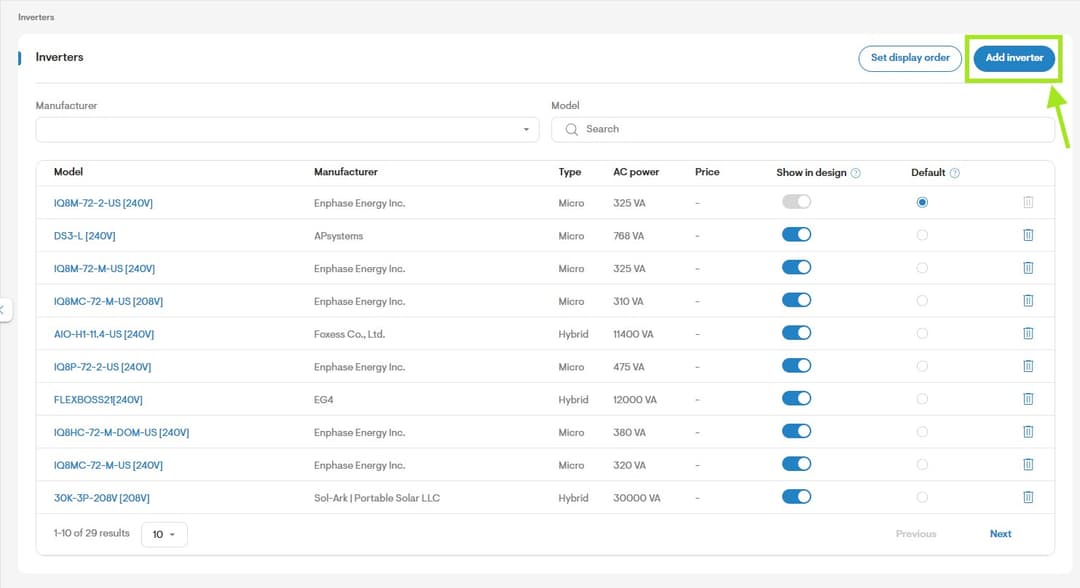
Within your Solargraf project, navigate to the electrical design section after completing your panel and inverter layout. The platform pulls in your inverter specs automatically.
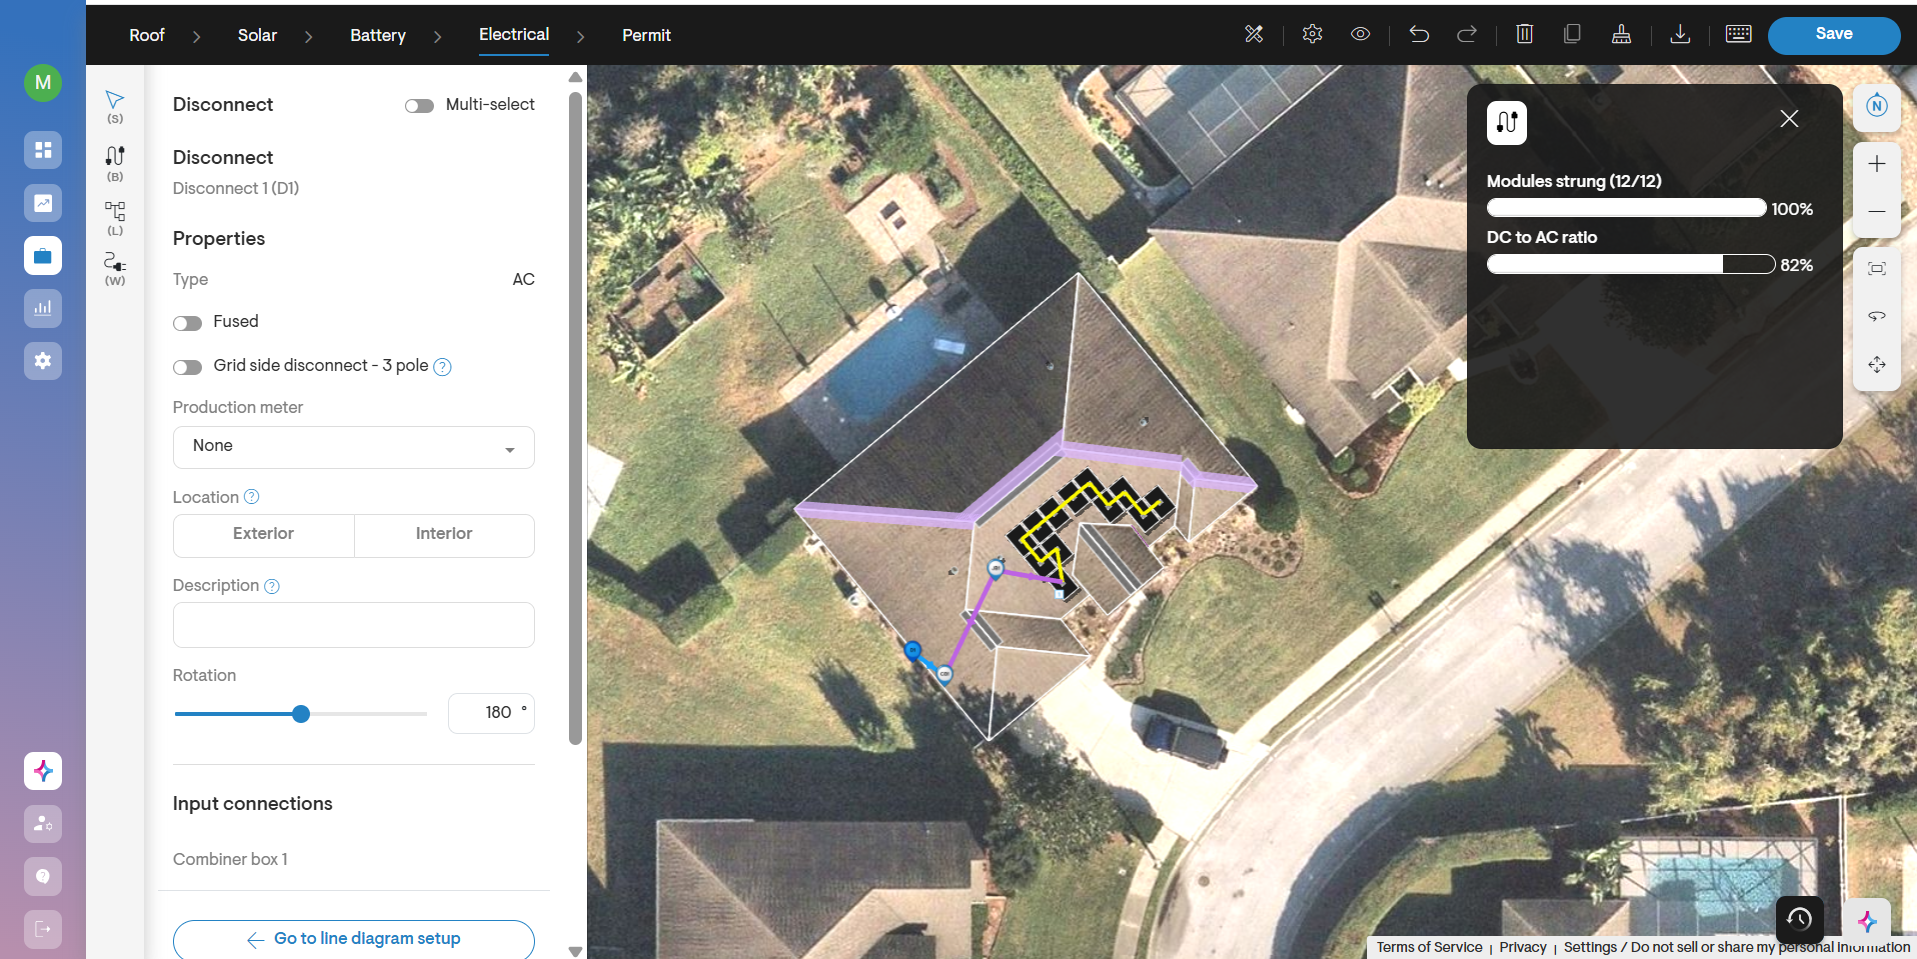
Step 2: Place the AC disconnect on the site plan
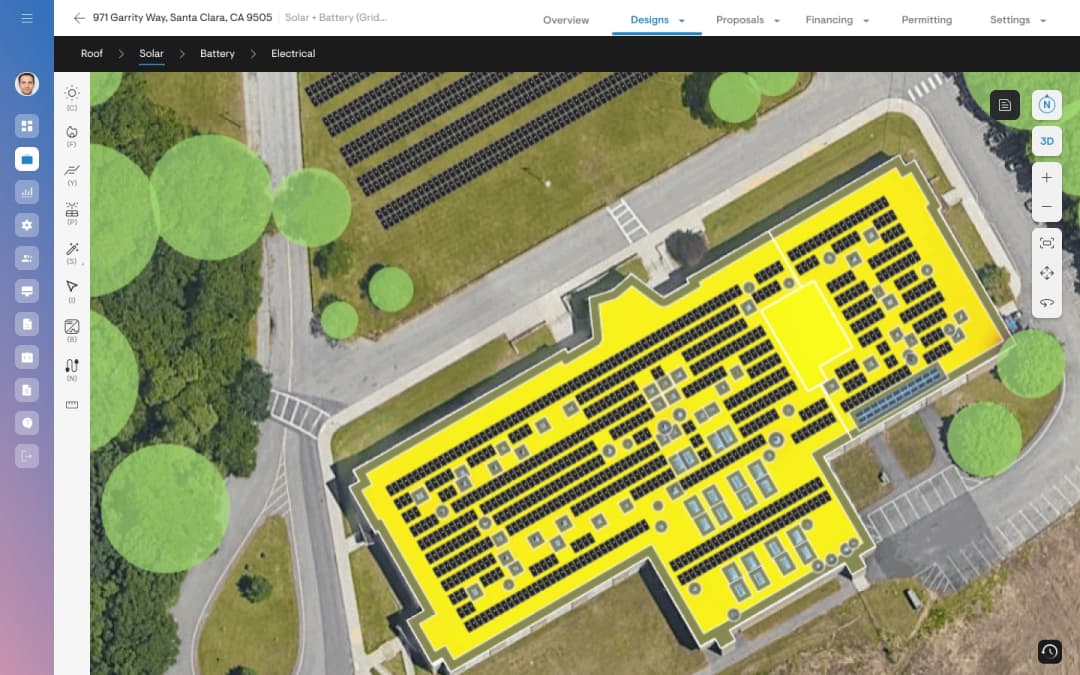
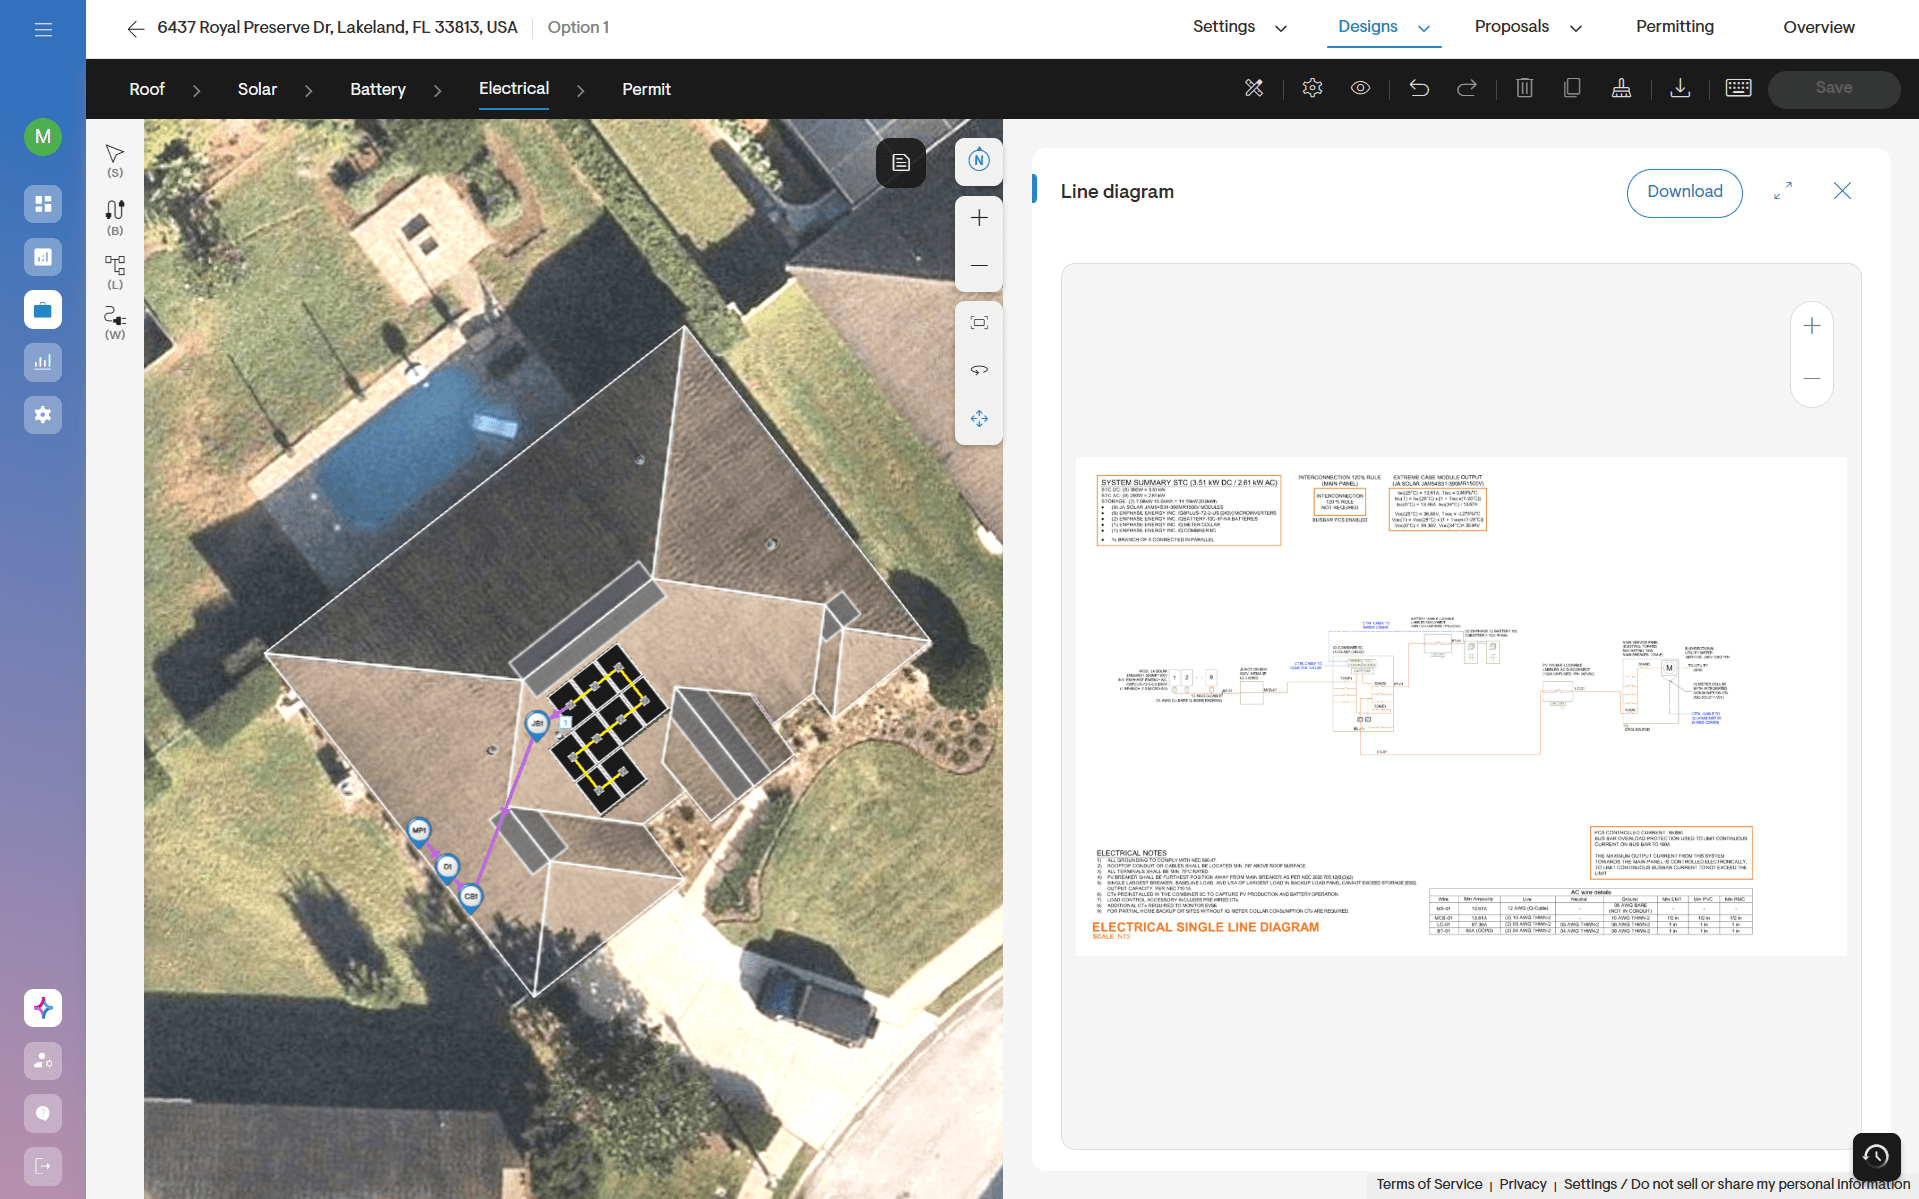
Use the component placement tool to position the AC disconnect as required on your site plan. Solargraf allows you to drag and place it at the correct location — typically on an exterior wall near the meter, as required by most AHJs and configure the necessary details.
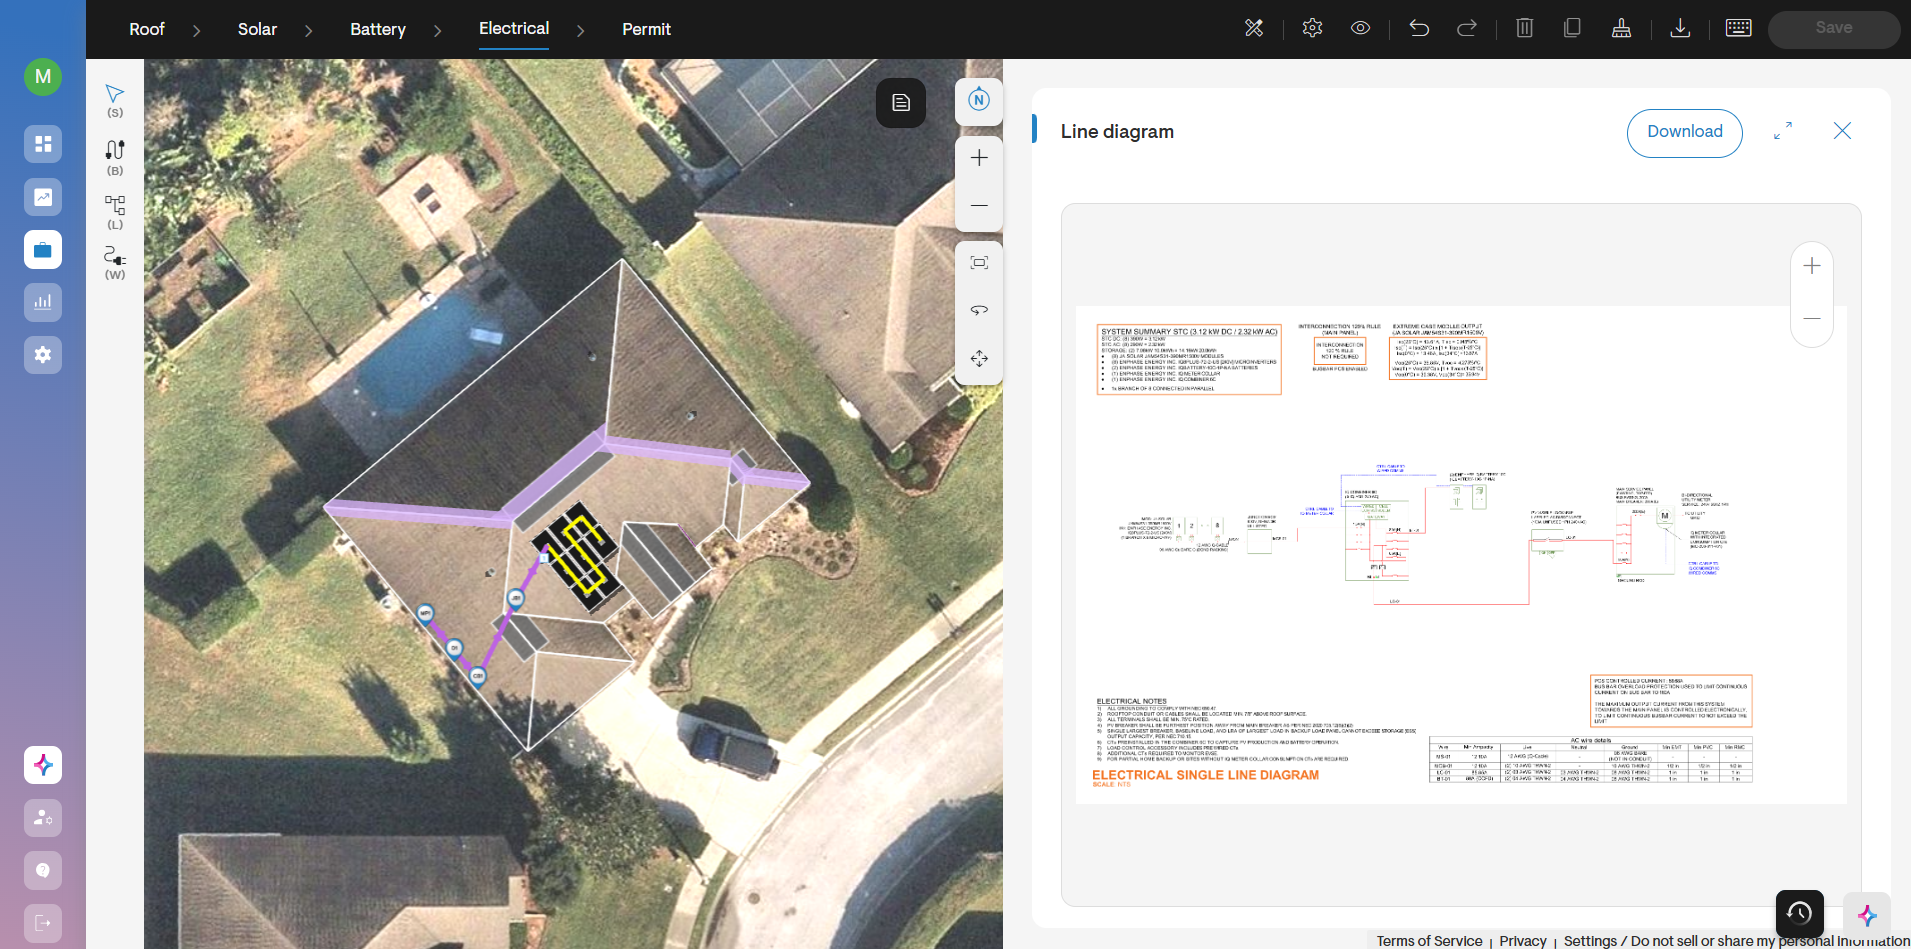
Step 3: Auto-generate SLD and plan set documentation
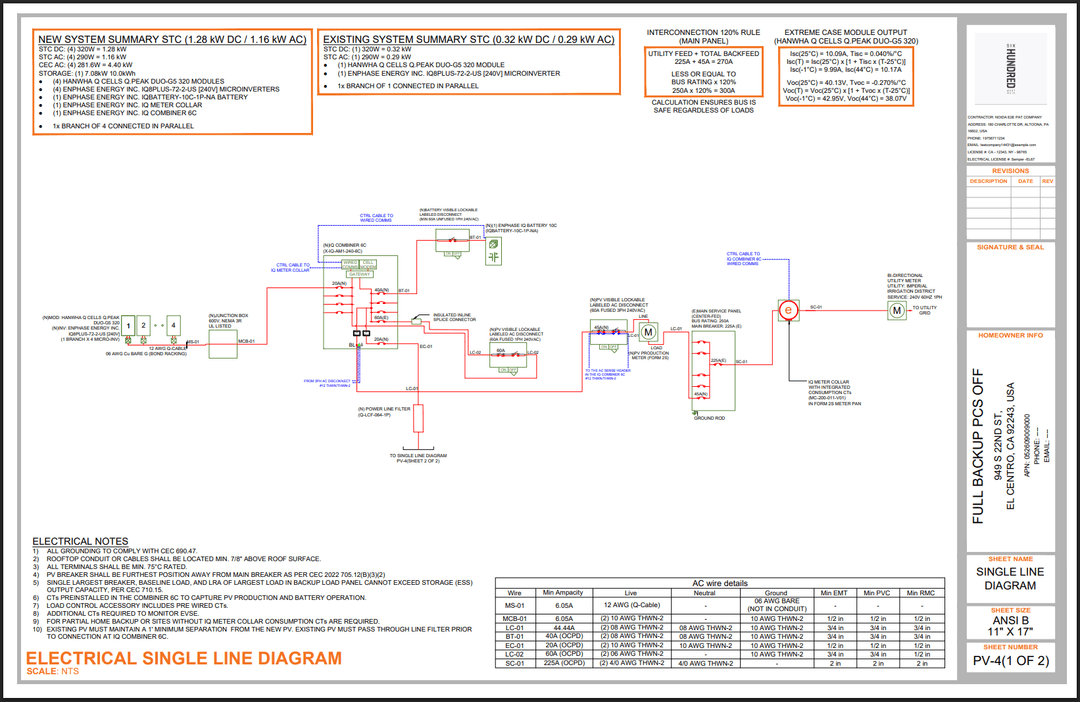
Once placed, Solargraf automatically includes the AC disconnect in your single-line diagram, site plan, and equipment schedule — complete with labels, wire routing, and NEC-compliant notation.
Step 4: Review and submit
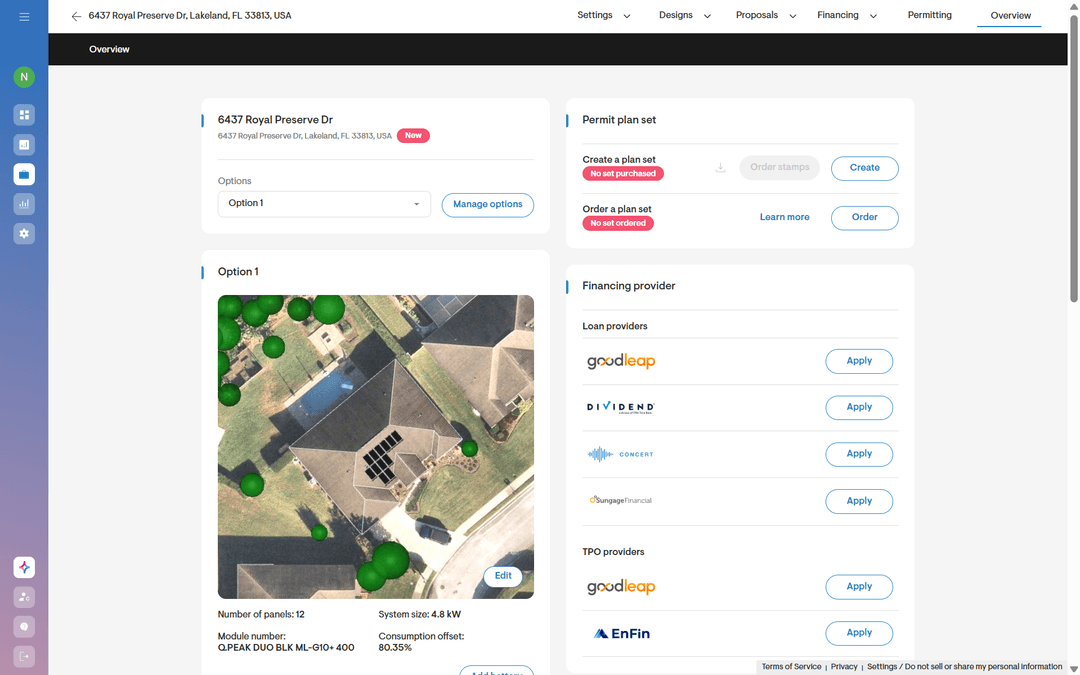
Generate and review the complete plan set with the AC disconnect properly documented on the permit tab. The output is AHJ-ready, with disconnect location, ratings, and code references all included in the permit package.
Conclusion
The AC disconnect is a mandatory safety component in every grid-tied solar installation — required by the NEC, expected by utilities, and essential for installer and line worker safety. Proper sizing depends on inverter capacity, system voltage, local code requirements, and environmental conditions. Getting it wrong means failed inspections and costly rework.
Solargraf removes the complexity from this process by integrating AC disconnect placement, sizing validation, and documentation directly into your design workflow. Every plan set generated through the platform includes properly labeled disconnect details in the site plan, single-line diagram, and equipment schedule — ensuring AHJ compliance without additional manual drafting.
Whether you're designing plan sets yourself or ordering them through Solargraf's services option, AC disconnect documentation is handled automatically as part of a complete, permit-ready package.
Want to know more?
Join our upcoming webinar to dive deeper into our enhancements.
Schedule a demo for a personalized walkthrough on understanding how Solargraf can add value to your business.
Thank you for being part of our growing community; we can’t wait to show you what’s next.