Help Center Getting Started
Sizing images in Solargraf
Published on 10 Dec 2021
In this article, you will learn where to upload various images throughout your Solargraf account. You will also review some tips on how to size these images to optimize the look of your proposals.
Company Settings Images
There are two important images to upload to your company Settings page. The first one being the company logo and the second one being the user profile images.
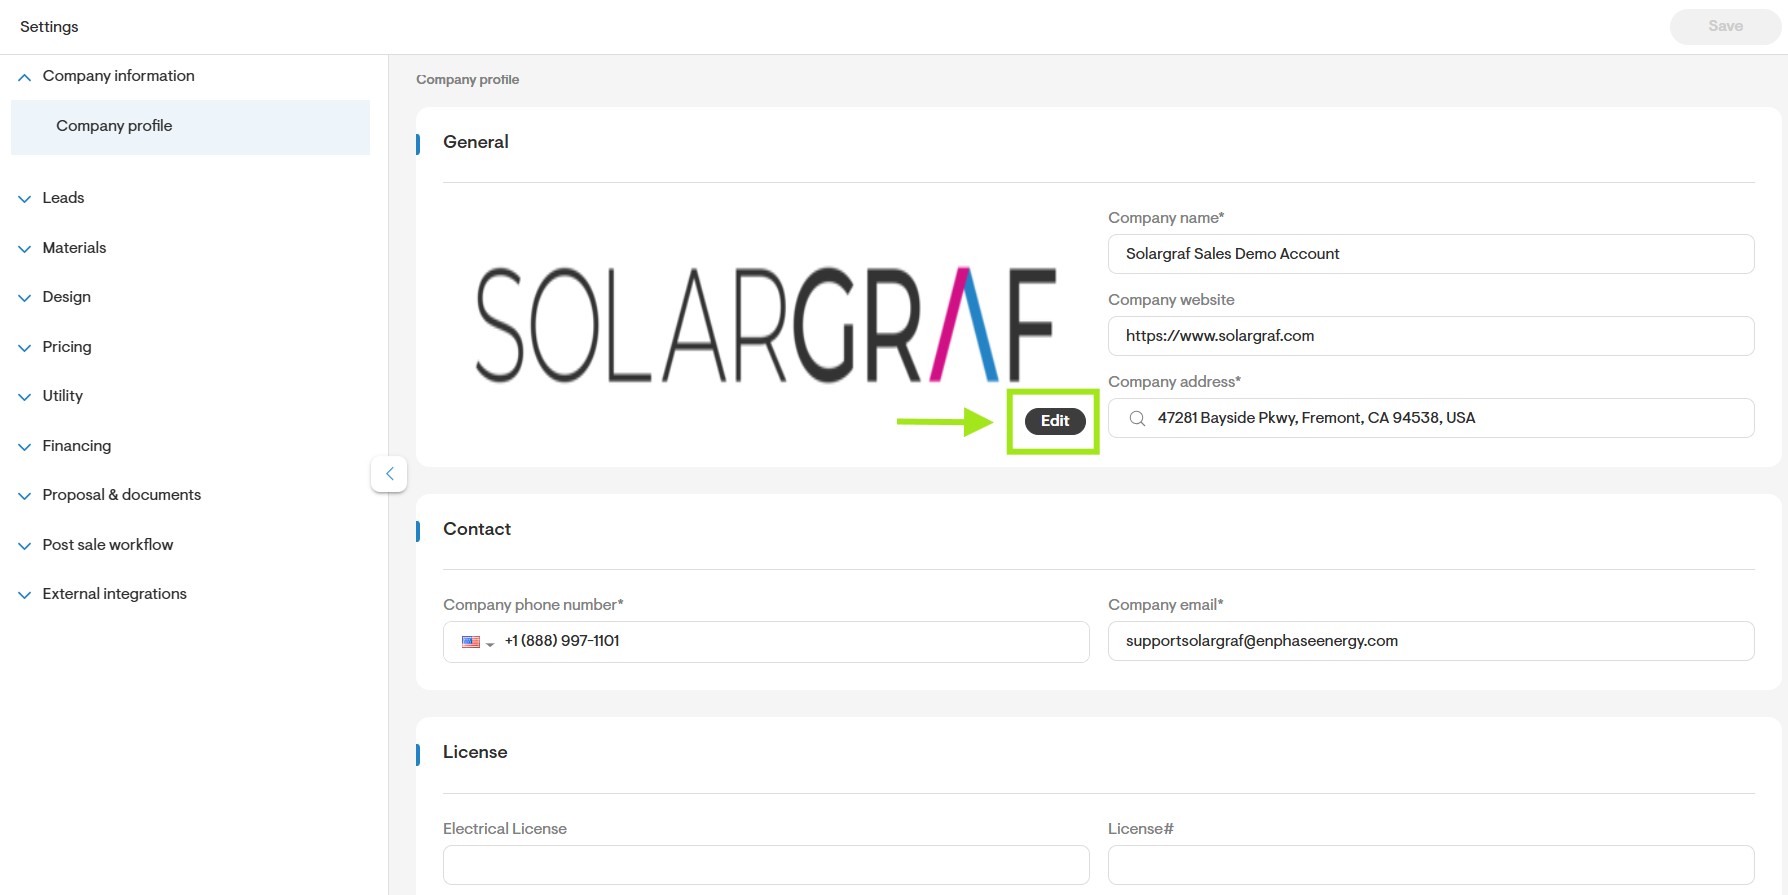
Navigate to Settings.
Click the downward arrow next to Company information.
Click the Edit button located on top of the company logo and upload a new image from your device.
You can upload a logo image up to a maximum height of 500 x 500 pixels. The image type can be .JPEG, .PNG, .TIFF, and .GIF.
Below are the steps to change your user profile picture:
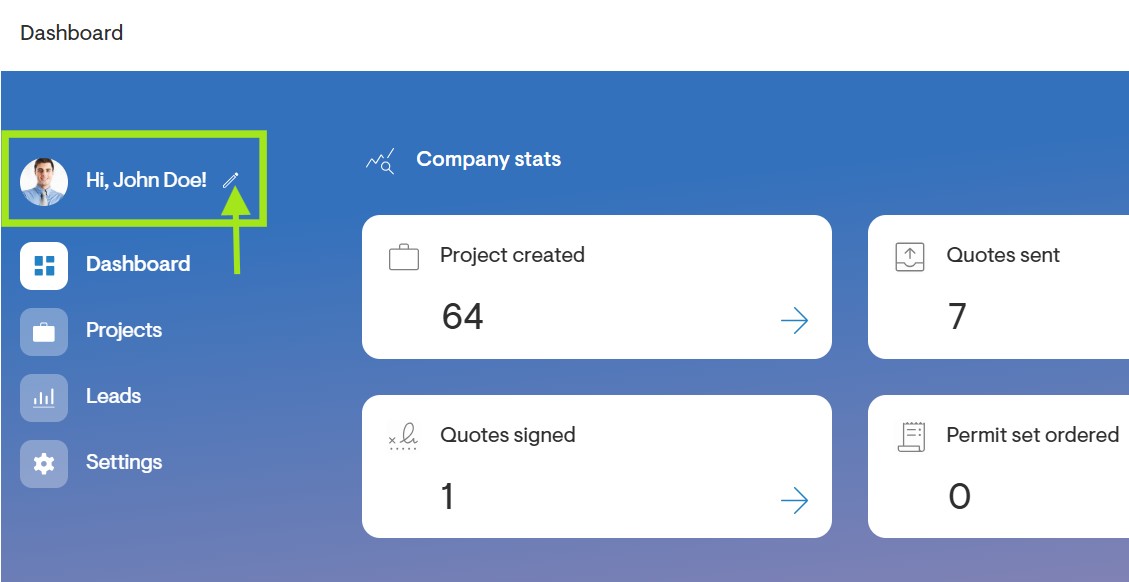
From the dashboard, click on the pencil icon next to your name at the top left corner.
You may also access by clicking your avatar from the settings page.
Click on the option Change profile picture and a new window will open up where you can choose an image to upload.
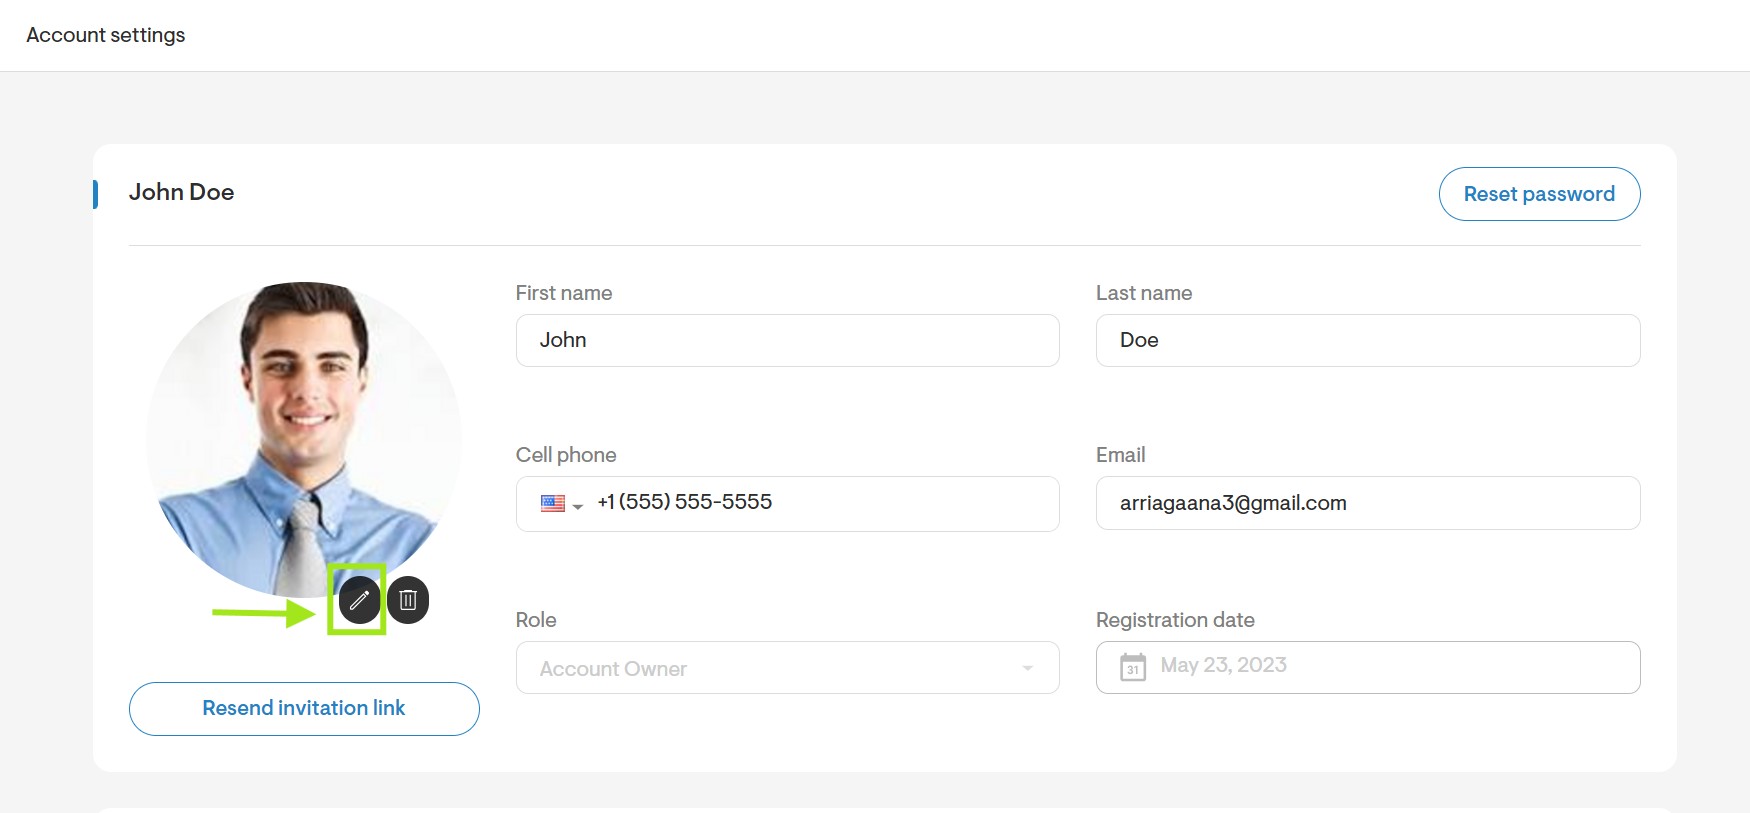
You can upload a profile image with the dimensions of 300 x 300 pixels.The image type can be .JPEG, .PNG, .TIFF, and .GIF.
Web-Quote/Proposal images
You can customize the images in your web quote for the cover image, About Us section, and Previous Projects section. While the instructions below apply to your company settings, you can also update these images individually for each project’s web quote.
Below are the steps to change the web quote cover image:
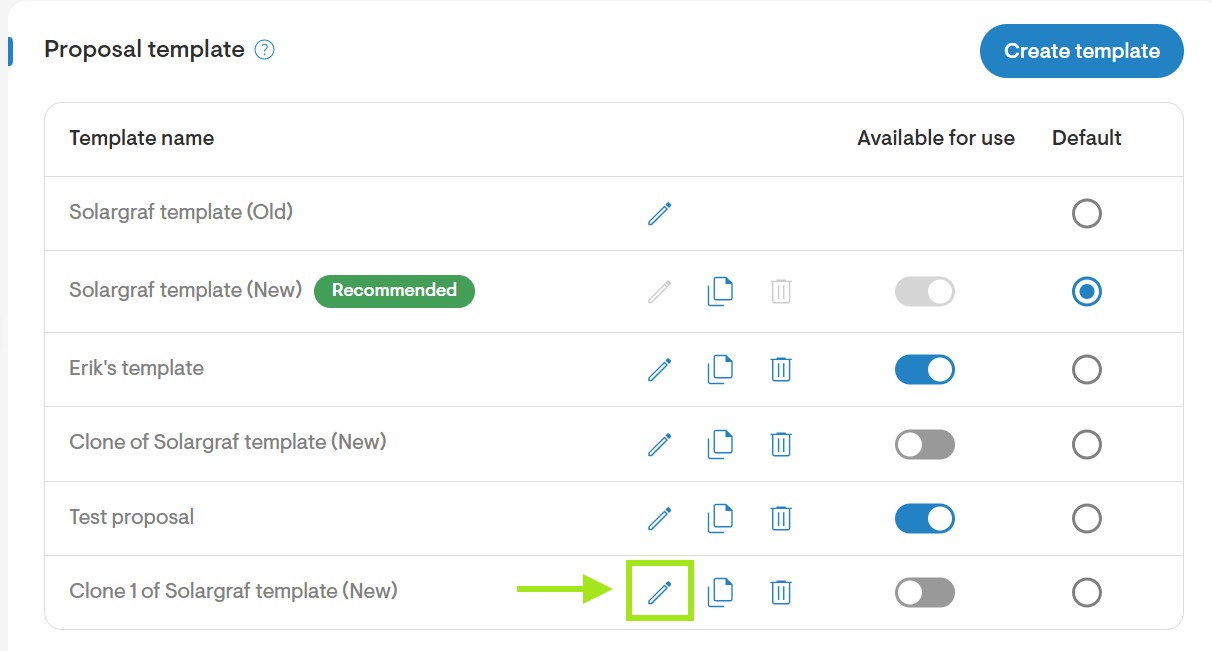
- Navigate to Settings > Proposal and Documents > Proposal Template.
- Click the pencil icon next to the template you want to edit images for.
If the pencil icon is greyed out, it means the template is currently set as the default. To edit it, you’ll need to change the default template first.
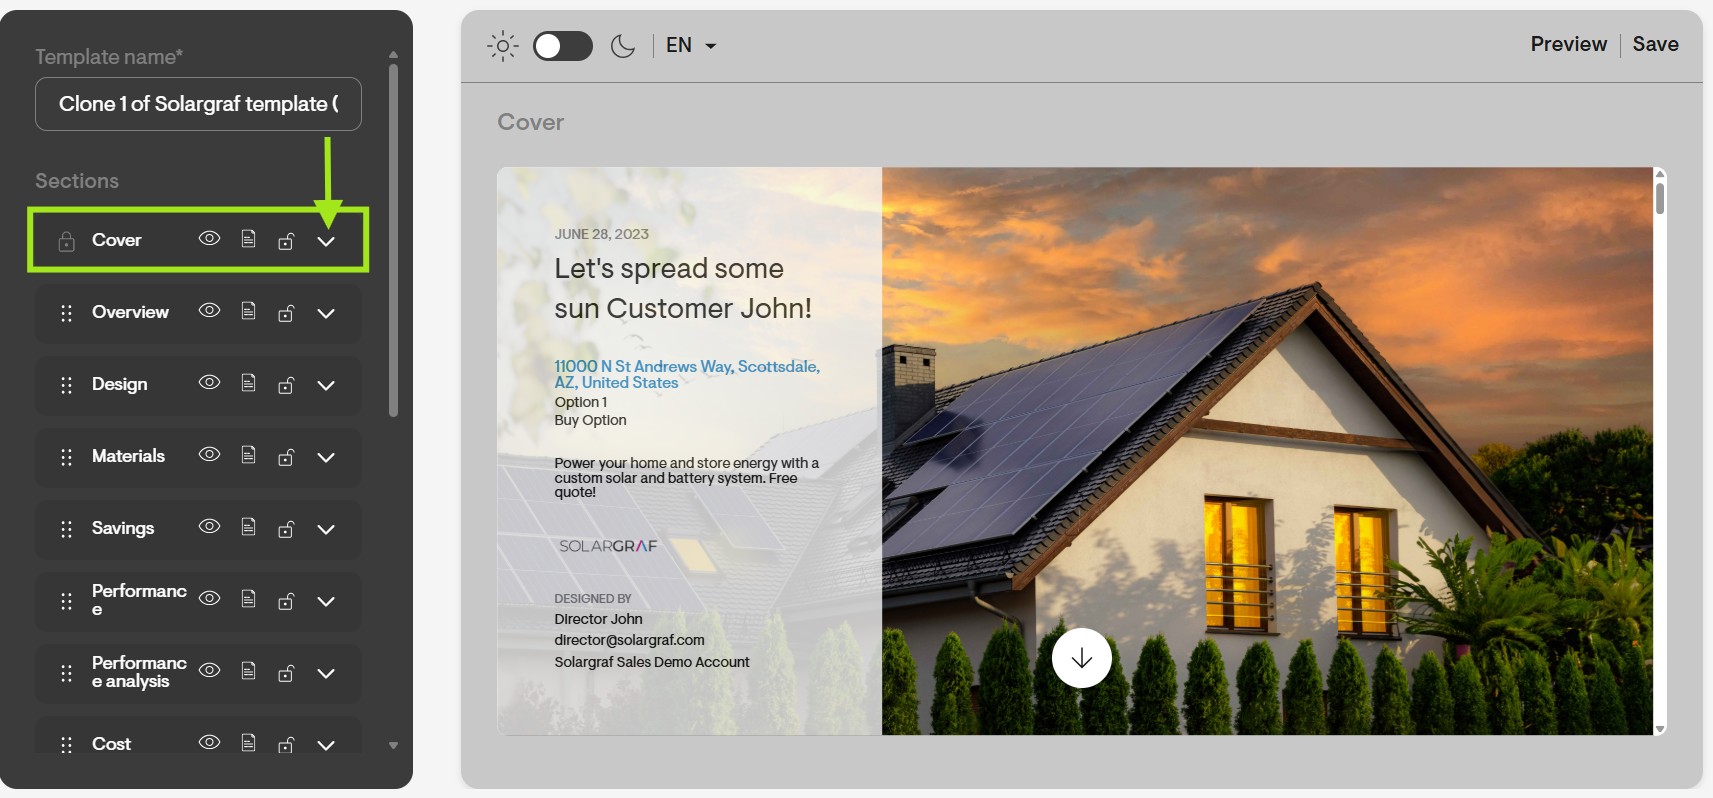
- Click the drop-down arrow next to Cover.
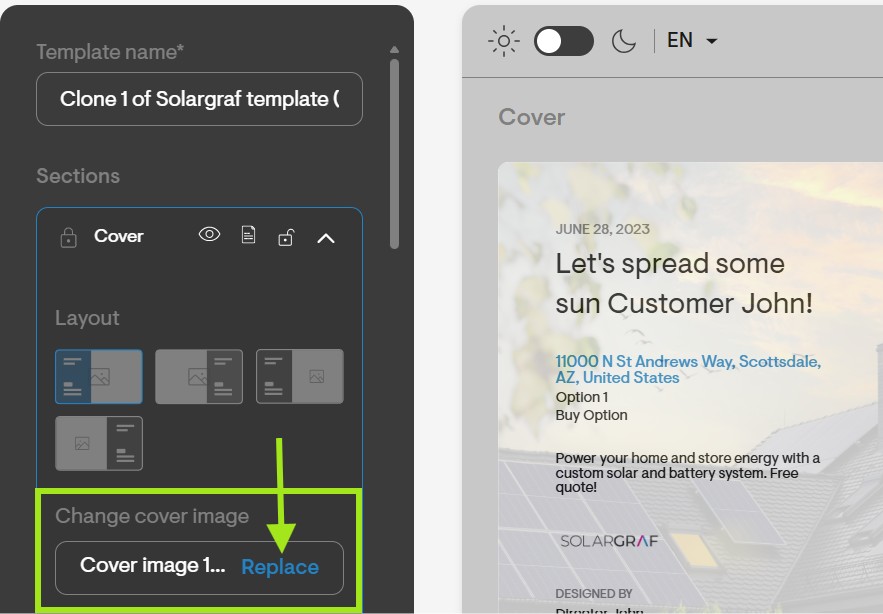
- Click Replace to change the cover image.
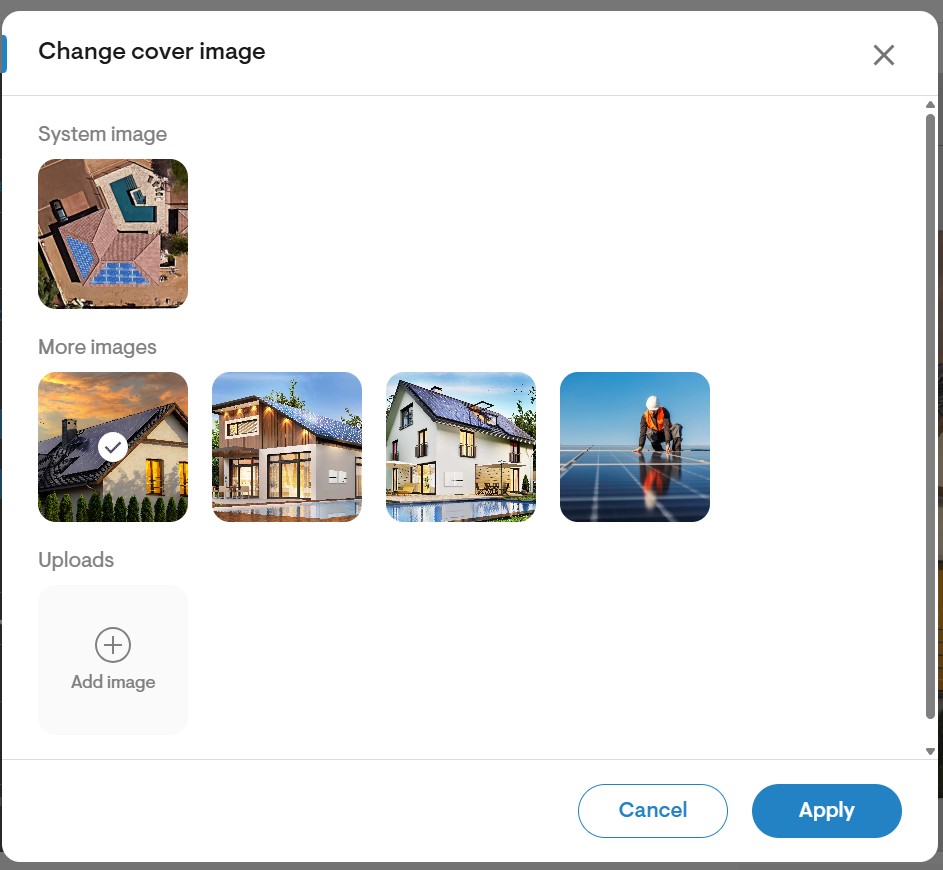
A window will appear with several image options:
- System image: Click the default system image to use it as your cover.
- Solargraf images: Choose from a selection of Solargraf-provided images by clicking on any of them.
- Upload your own: Click Add image to upload a custom image from your device.
If uploading your own cover image, the ideal dimensions are 1920 x 1000 pixels. The image type can be .JPEG, .PNG, .TIFF, and .GIF.
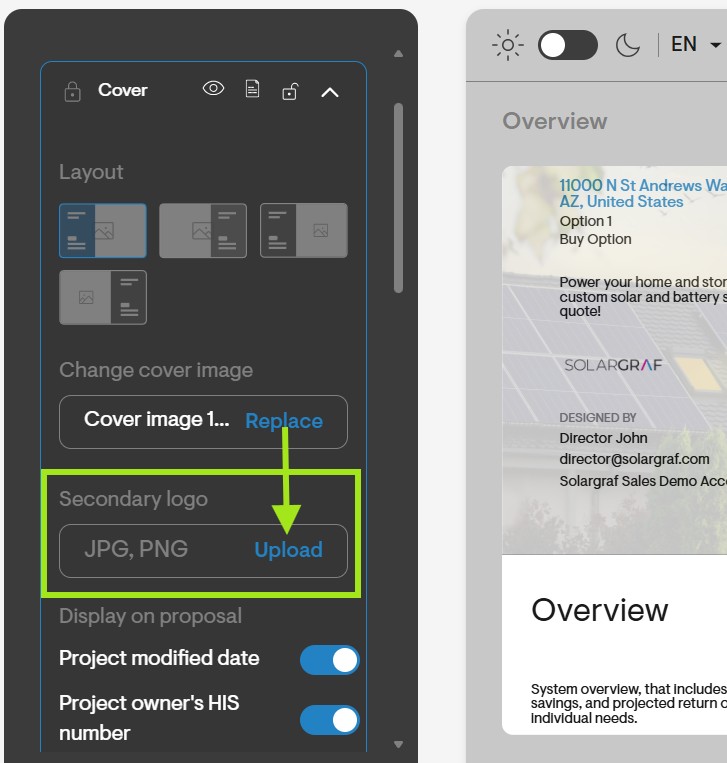
- You may also click Upload/Replace to replace or add a secondary logo.
You can upload a logo image up to a maximum height of 500 x 500 pixels. The image type can be .JPEG, .PNG, .TIFF, and .GIF.
Custom Sections
Depending on the layout chosen for a custom section you can upload different image sizes.
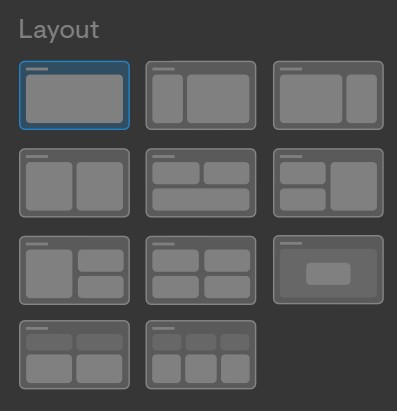
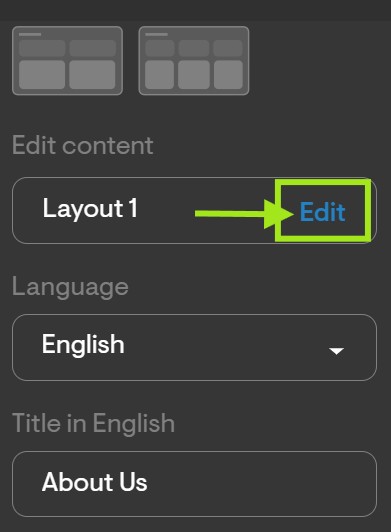
- To add an image, click the Edit button next to Layout.
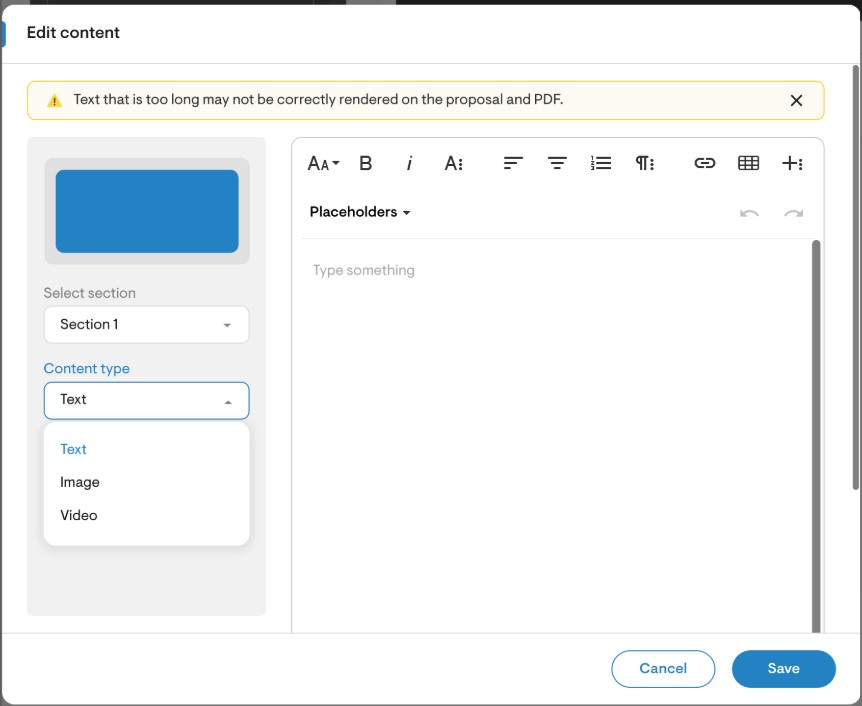
- The select the section where Image is set as the content type or modify the type to be Image.
- Click the Upload button.
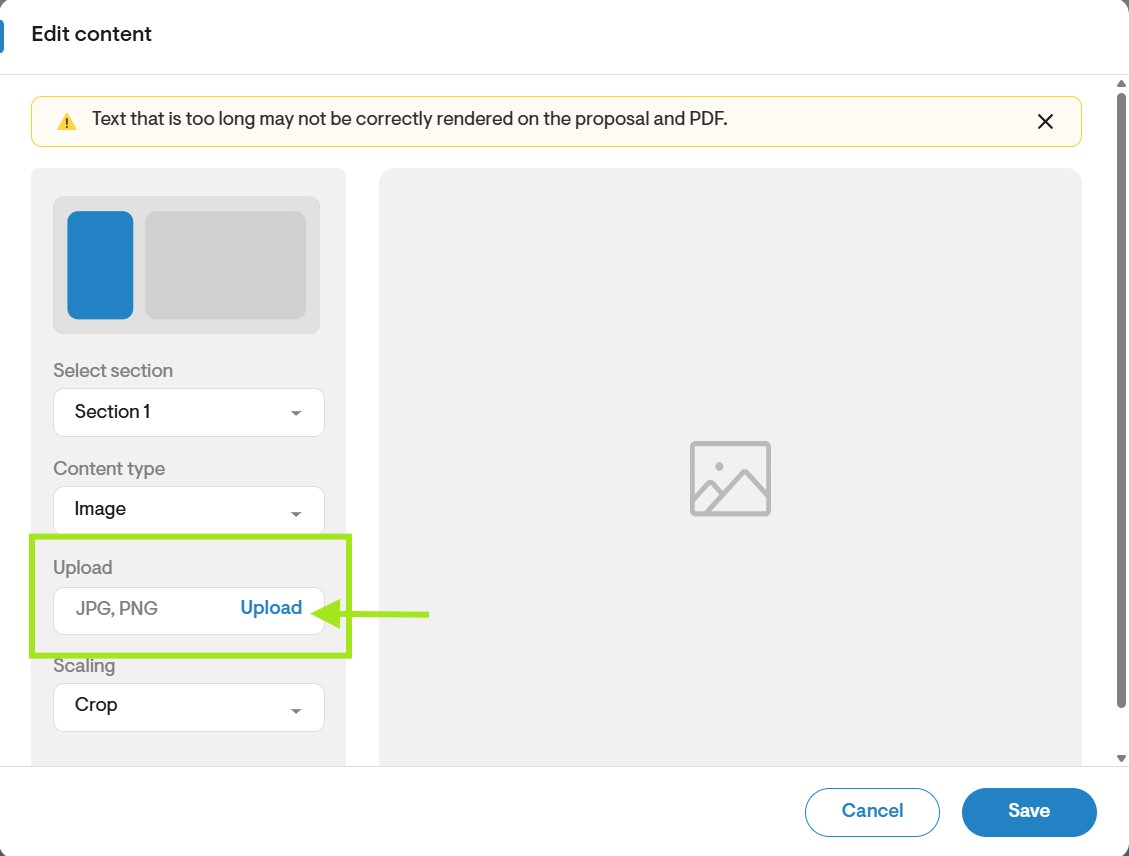
For a standard landscape image uploaded to this section, Solargraf is optimized to support images sizes of up to 1920 (width) x 1080 (height) pixels. The image type can be .JPEG, .PNG, .TIFF, and .GIF
Note: If you need to resize an image or convert the image type, https://resizeimage.net/ is a free and good website to do so.