Help Center Proposal Setting
DocuSign: How to Create a Document Template
Published on 11 Oct 2022
This guide will walk you through how to add a document template with DocuSign placeholders. This template can then be sent to your clients using the DocuSign integration and can be signed via DocuSign.
Create a Document Template
- To create a Document Template, navigate to your company Settings page.
- Under Company Info, scroll down to Document Templates and click the pencil icon.
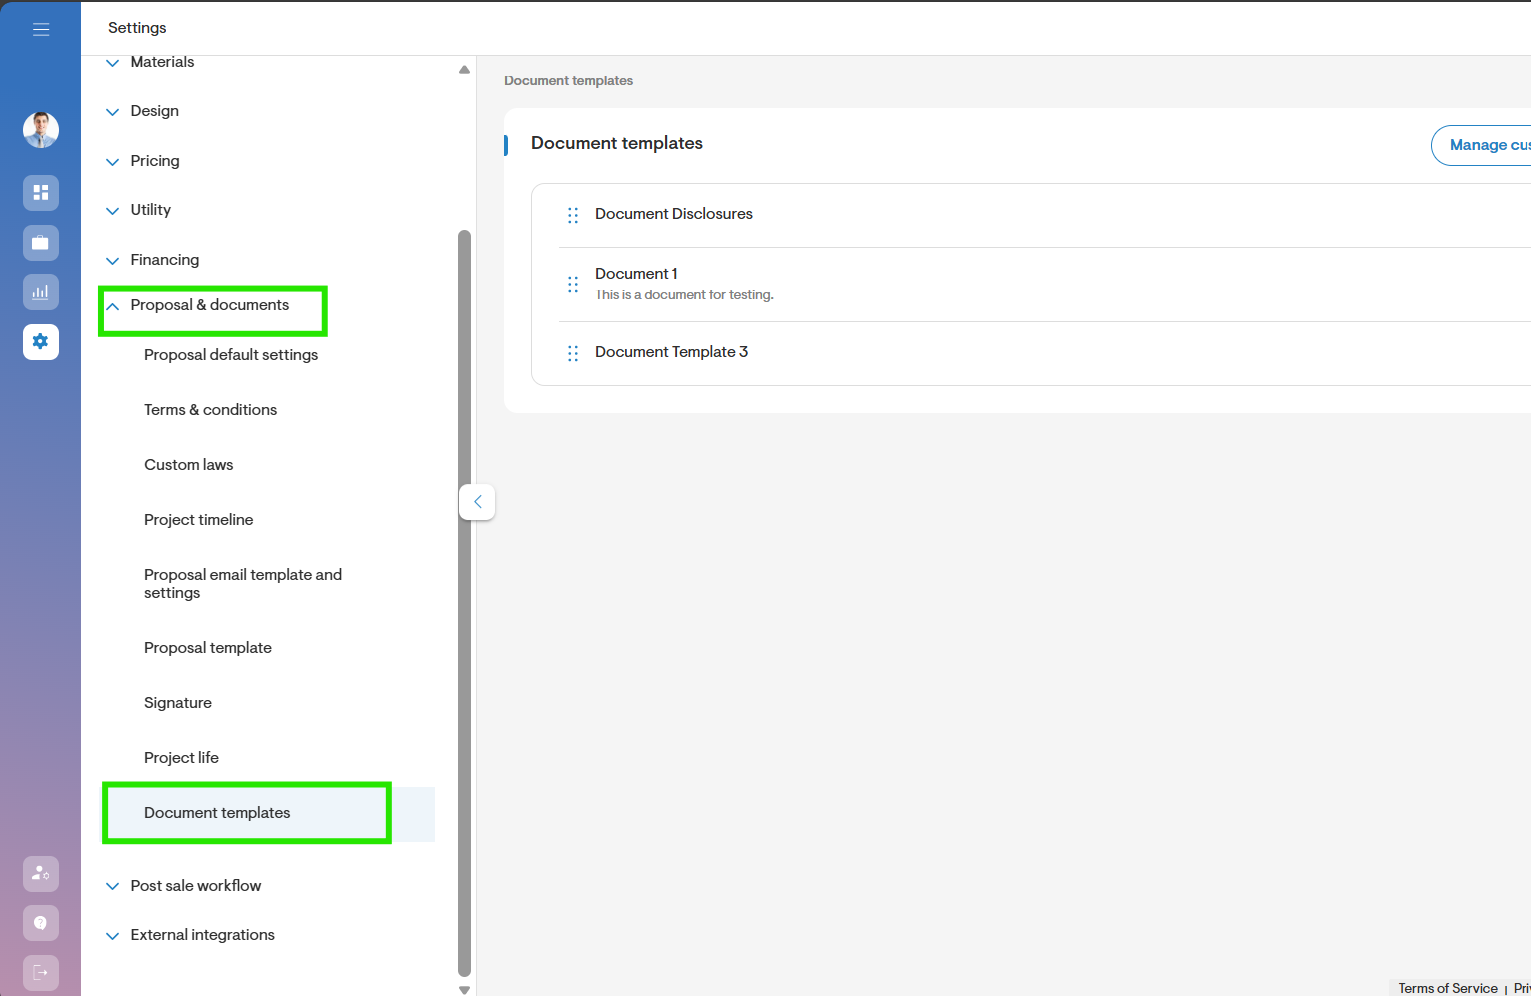
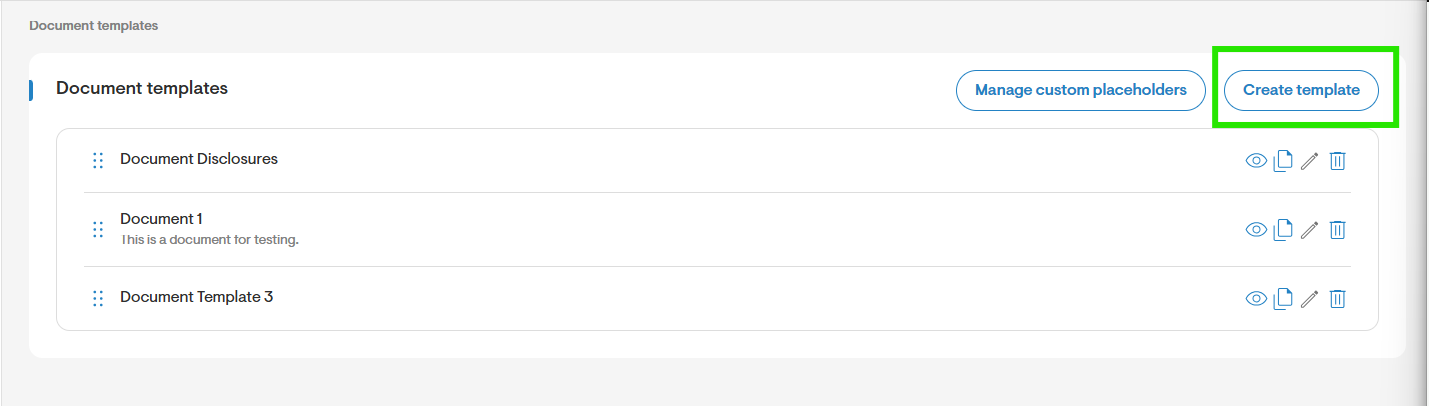
- Next, click Add New button on top to create a new template.
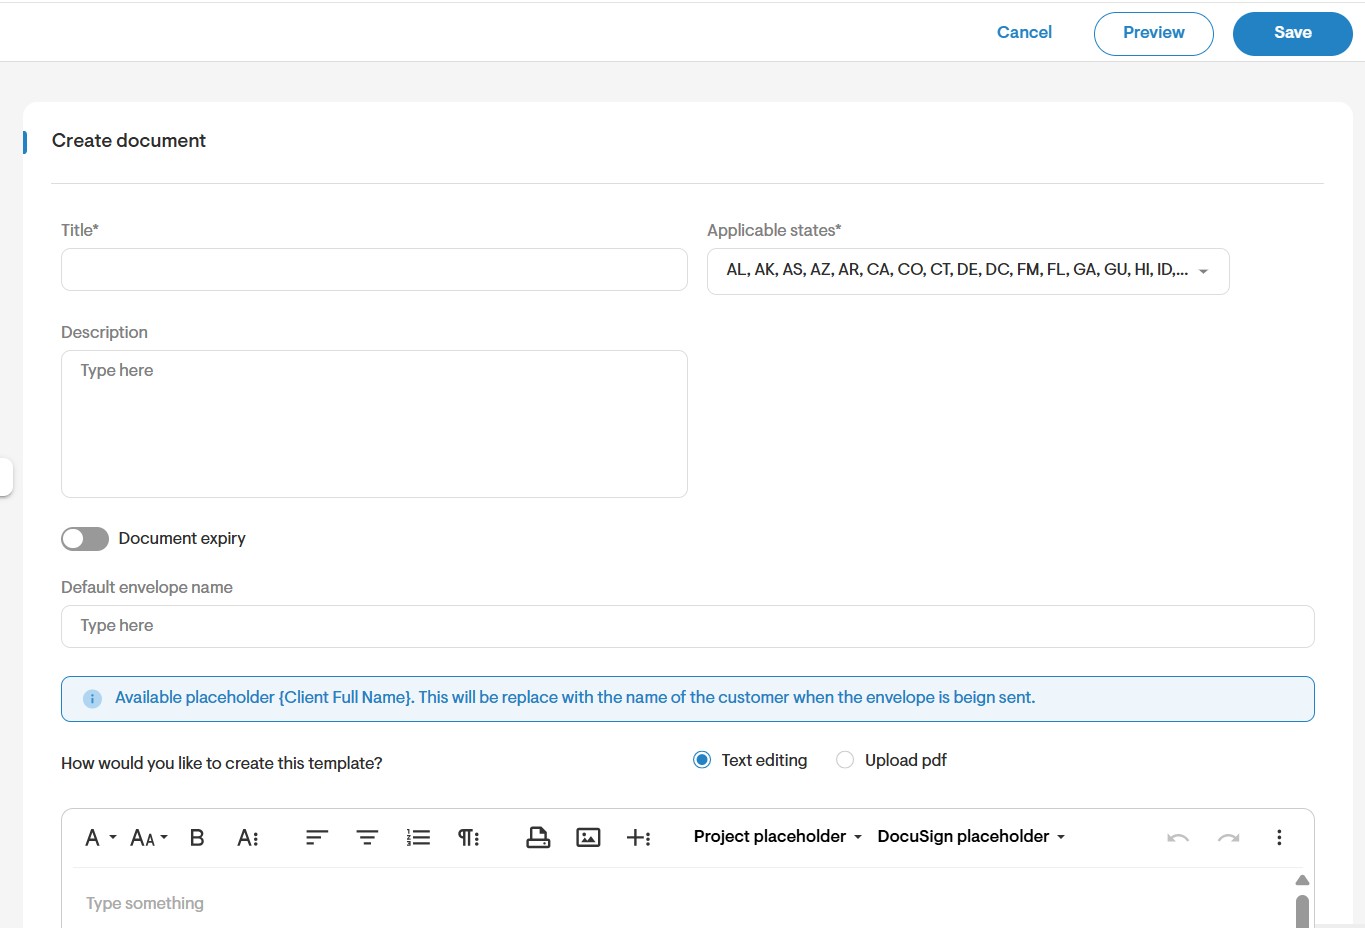
- Start by entering the document template title and add a brief description for the template.
- You can also define a document expiry time for this document.
Note: The document expiry timer is triggered from the day the document is sent. - Finally, determine how you would like to create this template, whether it’s by text entry or by uploading a PDF.
Document Template by Text
- If you are creating the document template via text entry, you can copy and paste your terms and conditions into this field. Use the rich text editing options to format your text correctly.
- You can then use the additional options to add in a line, link, a table, emoticons, special characters, insert a horizontal line, or embed a URL.
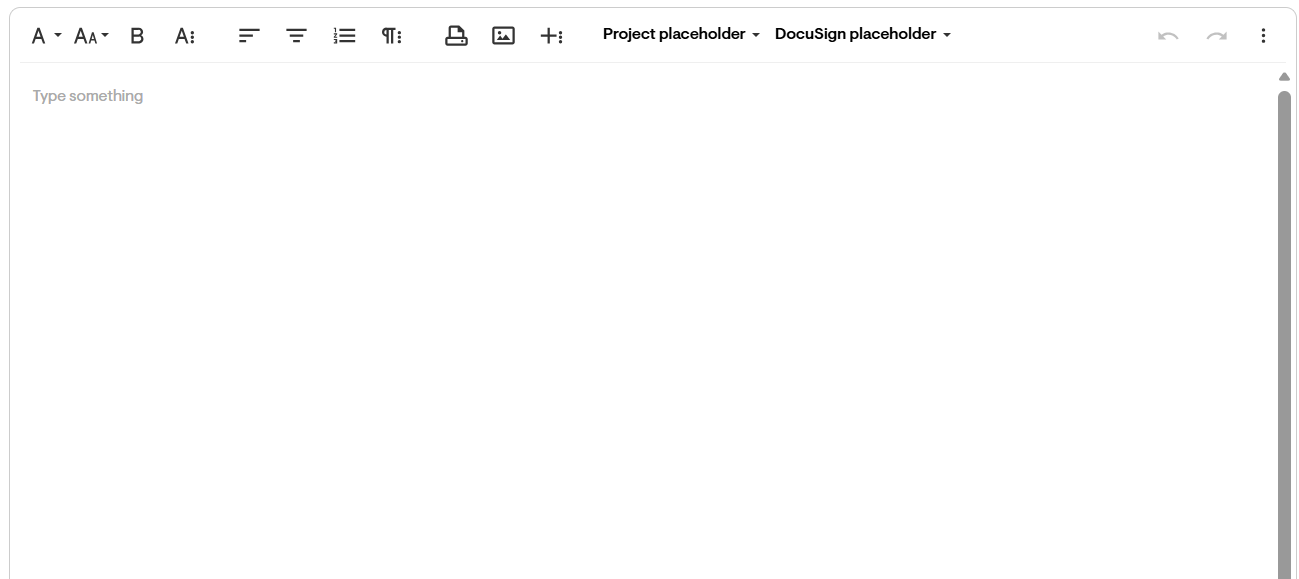
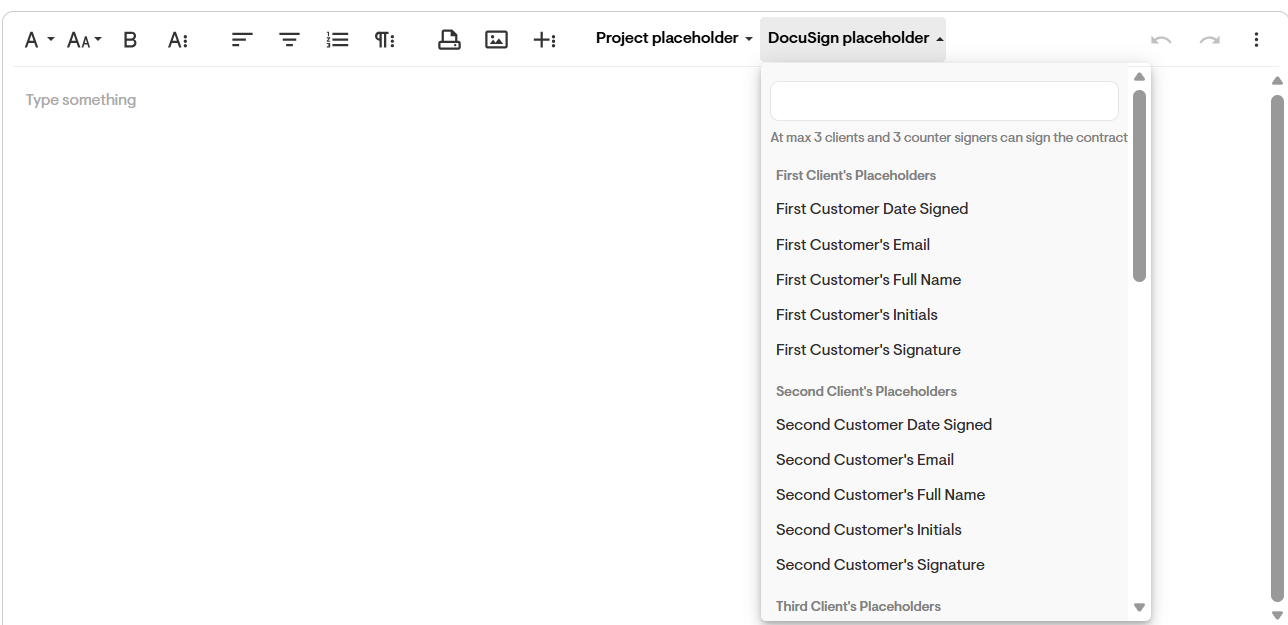
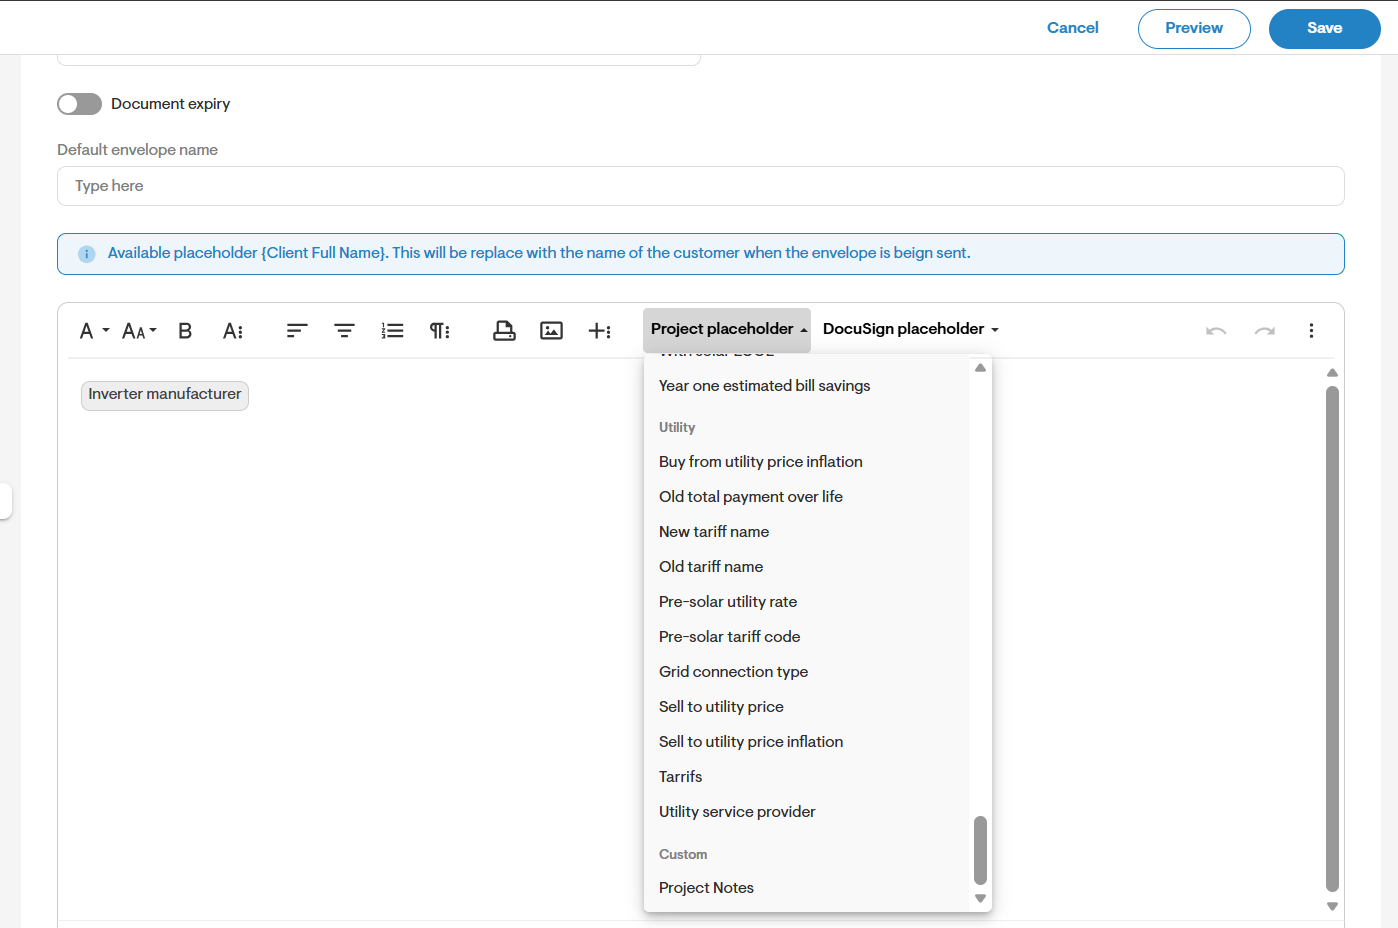
- Use the Project Placeholder to input placeholders related to project data and use the DocuSign Placeholder to input placeholders for the signers. You may have up to 3 signers and up to 3 counter signers.
Document Template by Uploading PDF
Alternatively, you may create a document template by uploading a PDF.
- To get started, click the upload icon and select the PDF document you would like to upload.
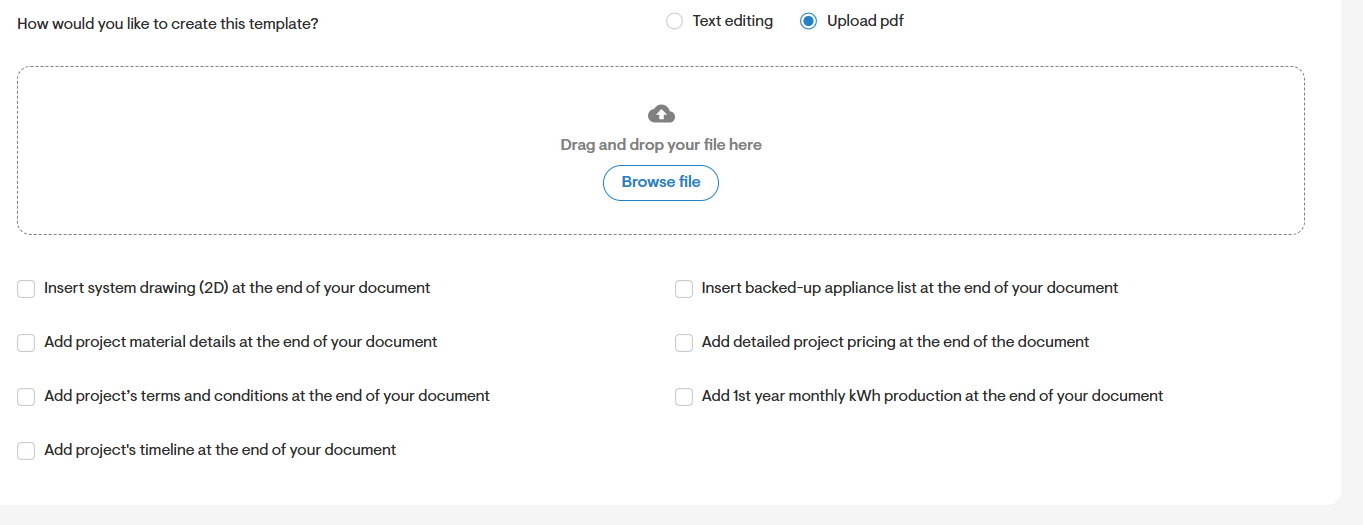
- You can also add system 2D design, backed up appliances, project materials, project pricing, project T&Cs at the end of the document being sent out to the homeowner by checking on the corresponding checkboxes at the end.
- Next, add Project or DocuSign Placeholders to your PDF document. When adding placeholders, you may adjust their size so that they fit correctly on the PDF.
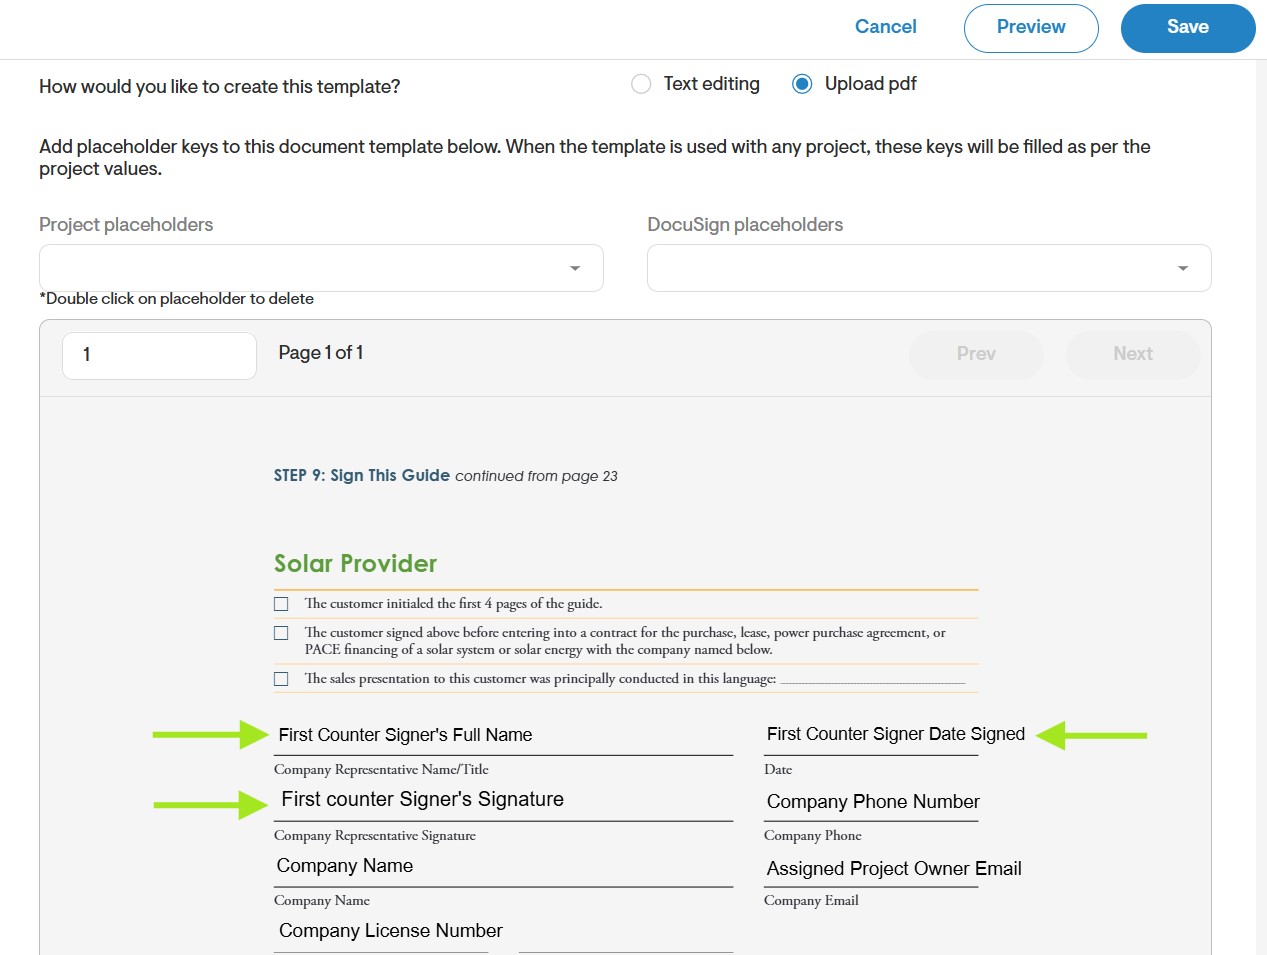
- Finally, when you are done adding in your placeholders click Save to save your document template.
Custom Placeholders
- You may choose to create custom placeholders to add to your documents. To get started, click Manage Custom Placeholders on the document templates page.
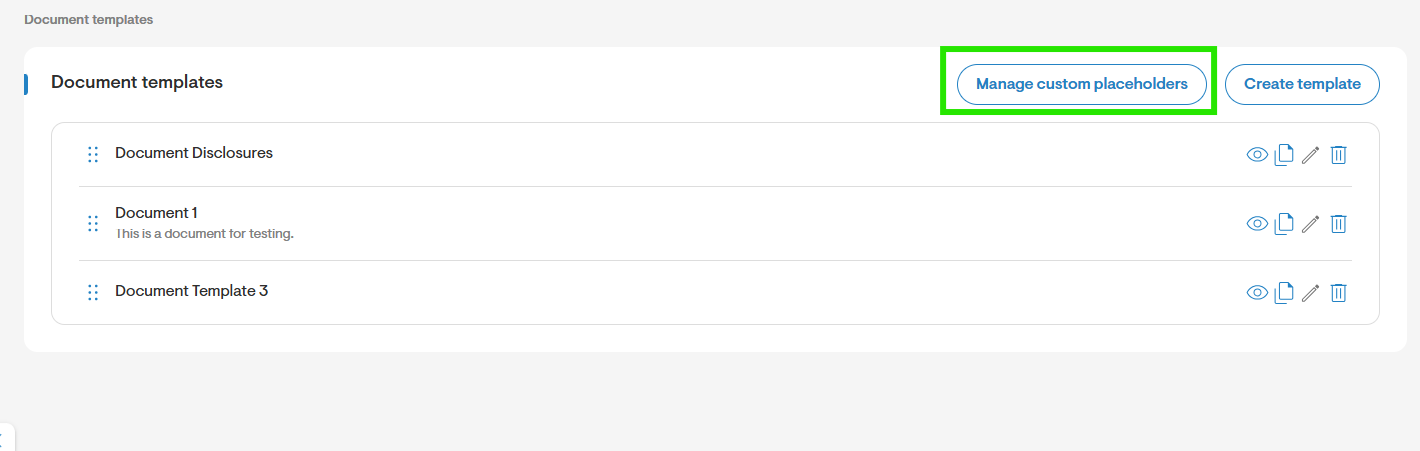
- Then, click Add Placeholder to add a placeholder name and corresponding value.
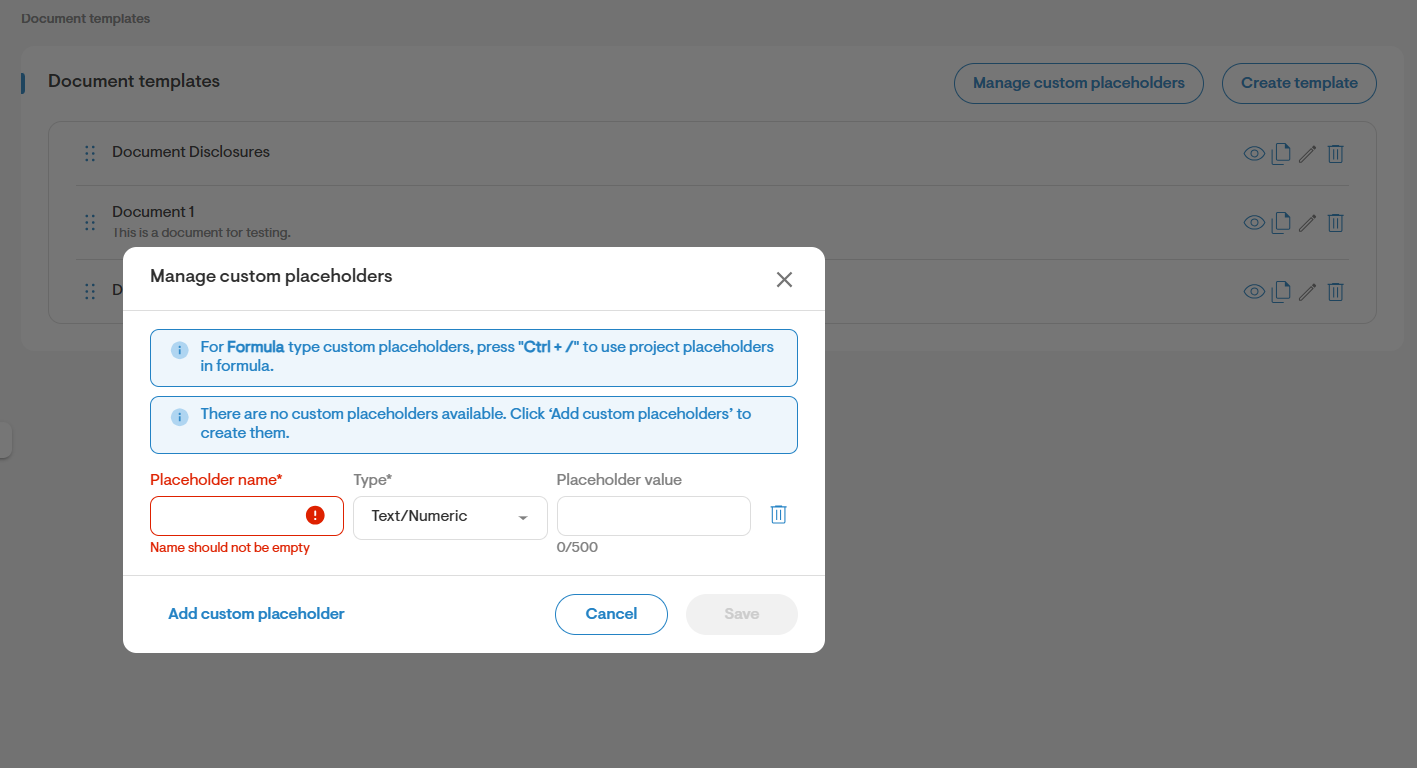
- You will then be able to select your custom placeholder from the Project Placeholder list and add it to your document template. In Preview mode of the document template, you will see the placeholder value. If no value was entered, you will see the Placeholder Name.
- Once you have saved your changes click here to learn how to send the document.