Help Center Design Tool
Manual Stringing in Solargraf
Published on 5 Mar 2026
This article is relevant for users of the guided design experience only. You may enable this in your user preferences, with the toggle labeled "Use guided design experience".
This article explains how to manually string panels and electrical components in Solargraf specifically focusing on string inverter system.
With the Stringing Tool, you can design systems by:
Adding inverters to your design.
Creating panel strings using simple mouse actions.
Connecting panel strings to string inverters.
Running real-time electrical compatibility checks.
Adding a string inverter to the design.
Adding a string inverter to the design
Open your solar design.
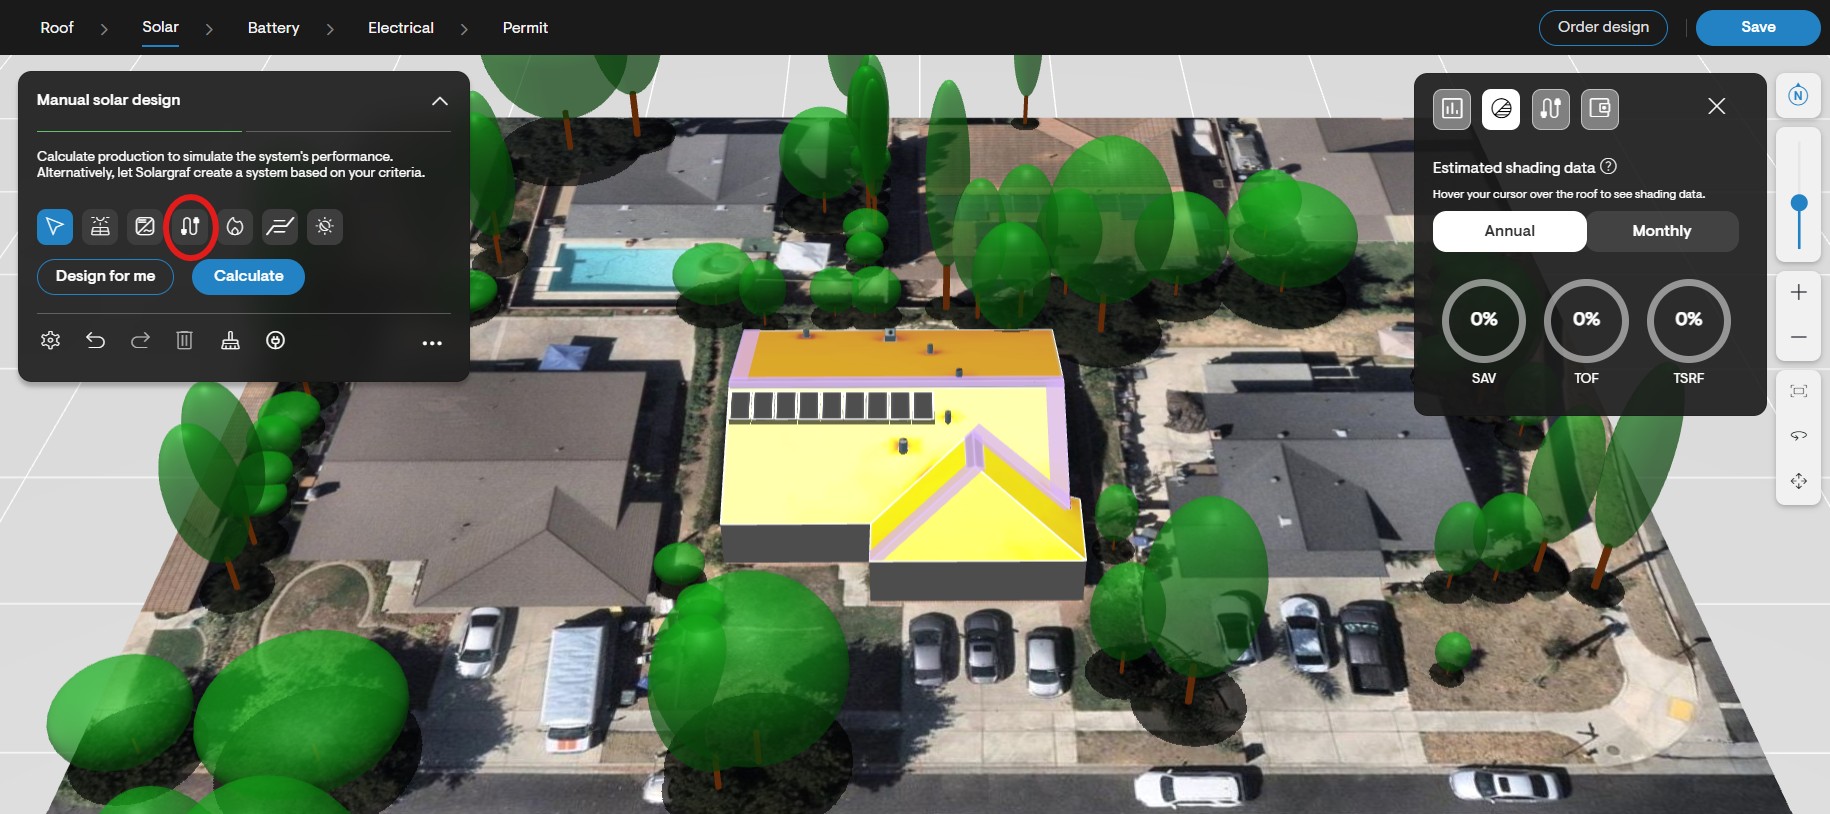
Select the string inverter tool from the component's menu.
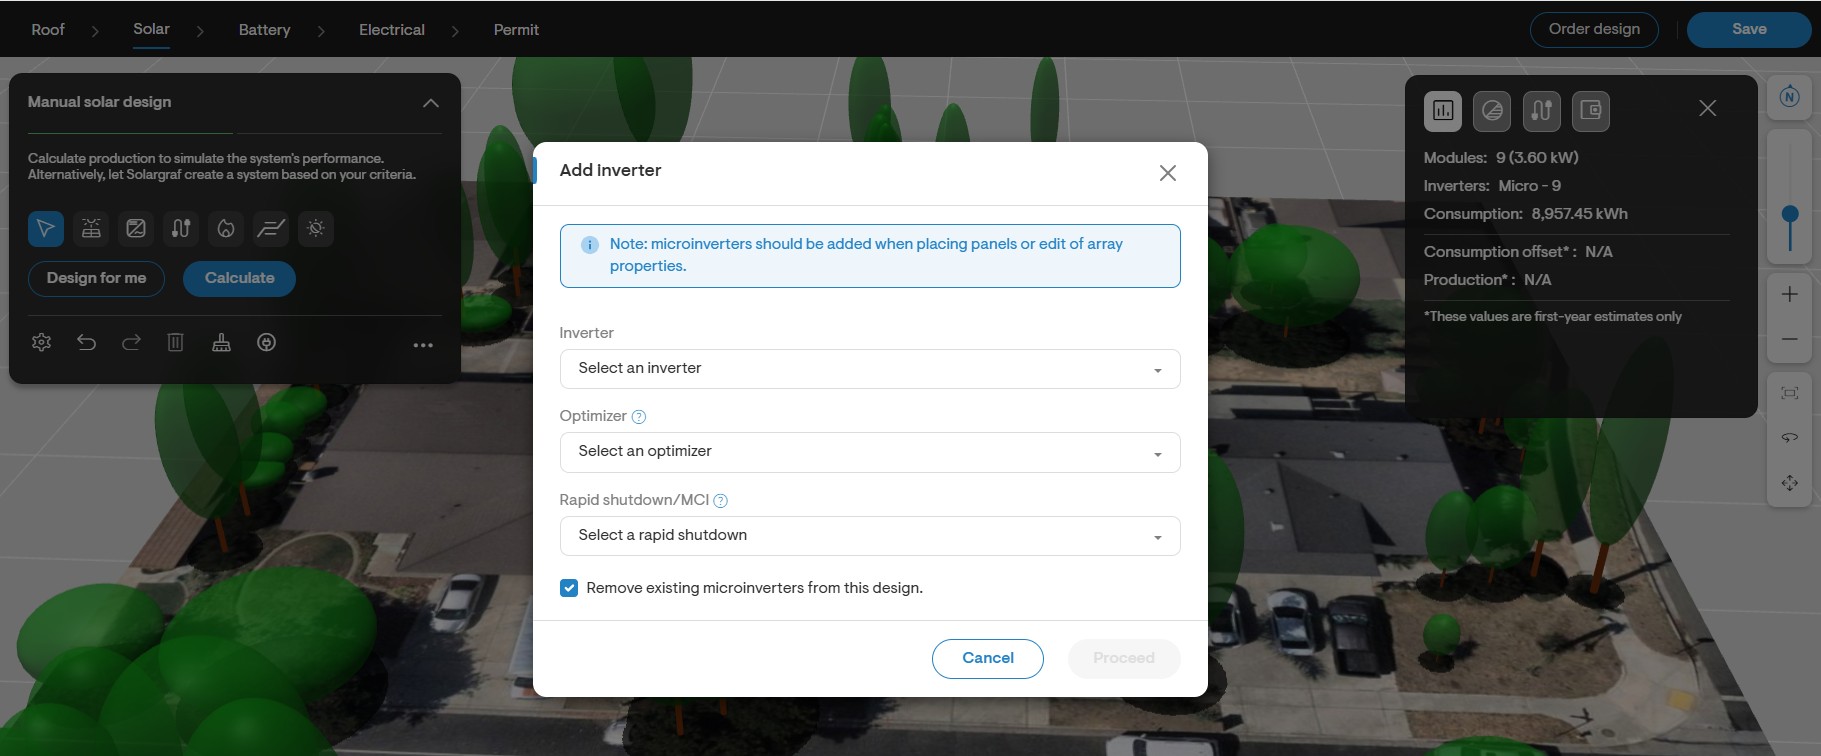
A pop-up will appear with a list of available string inverters.
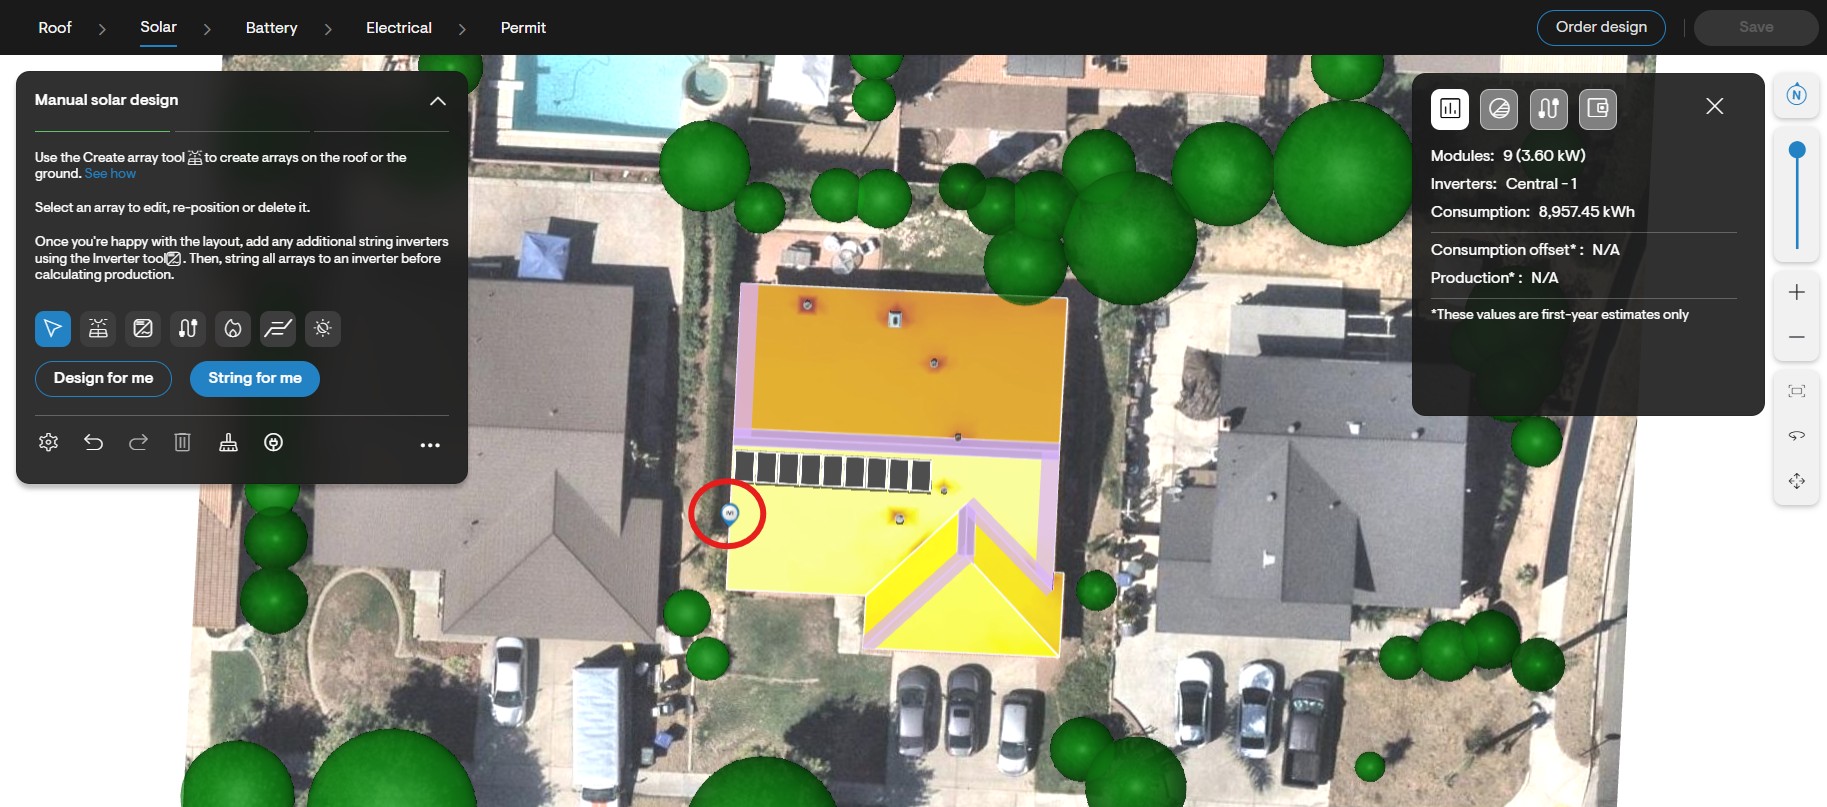
Select the desired inverter and place it in the design.
Note: Microinverters continue to be associated using array properties and the string inverters must be explicitly placed using the inverter tool.
Adding optimizers or rapid shutdown / MCI
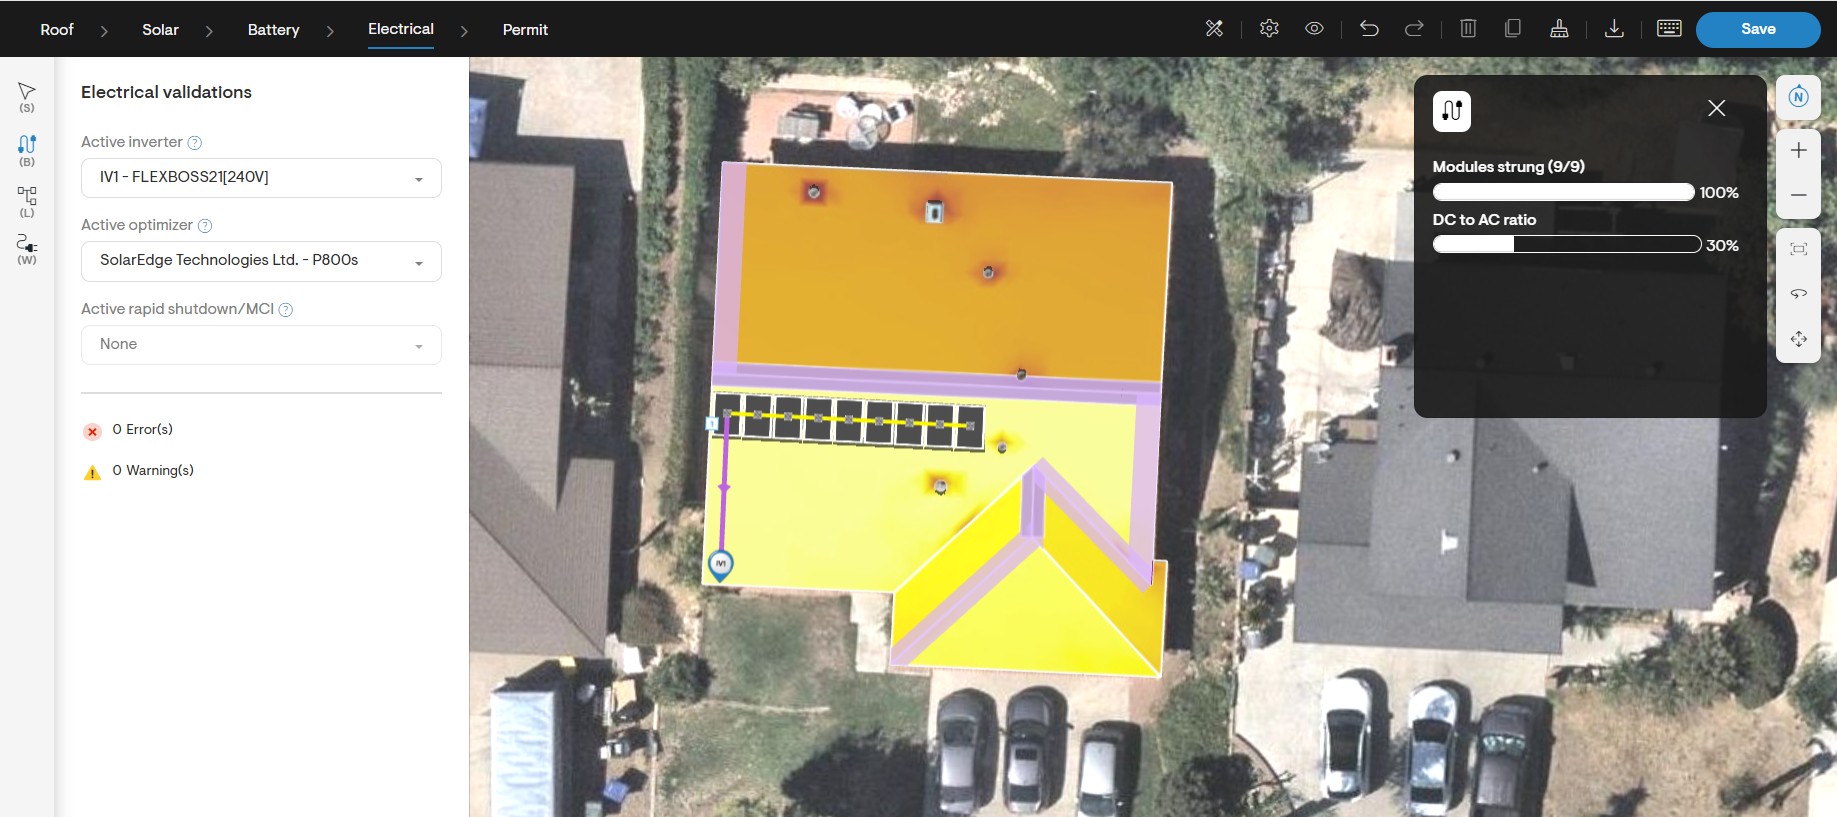
When selecting a string inverter, you can also choose to associate an optimizer or rapid shutdown/MCI:
Select the optimizer or rapid shutdown/MCI from the inverter selection pop-up.
Solargraf will mark the string as having an active optimizer or active rapid shutdown/MCI.
Note:
- Solargraf automatically assigns an active optimizer or active rapid shutdown/MCI when stringing non-micro or non-AC panels.
- Selecting an optimizer or rapid shutdown/MCI does not place those devices as separate components in the design—it only enables them for electrical validation and stringing logic.
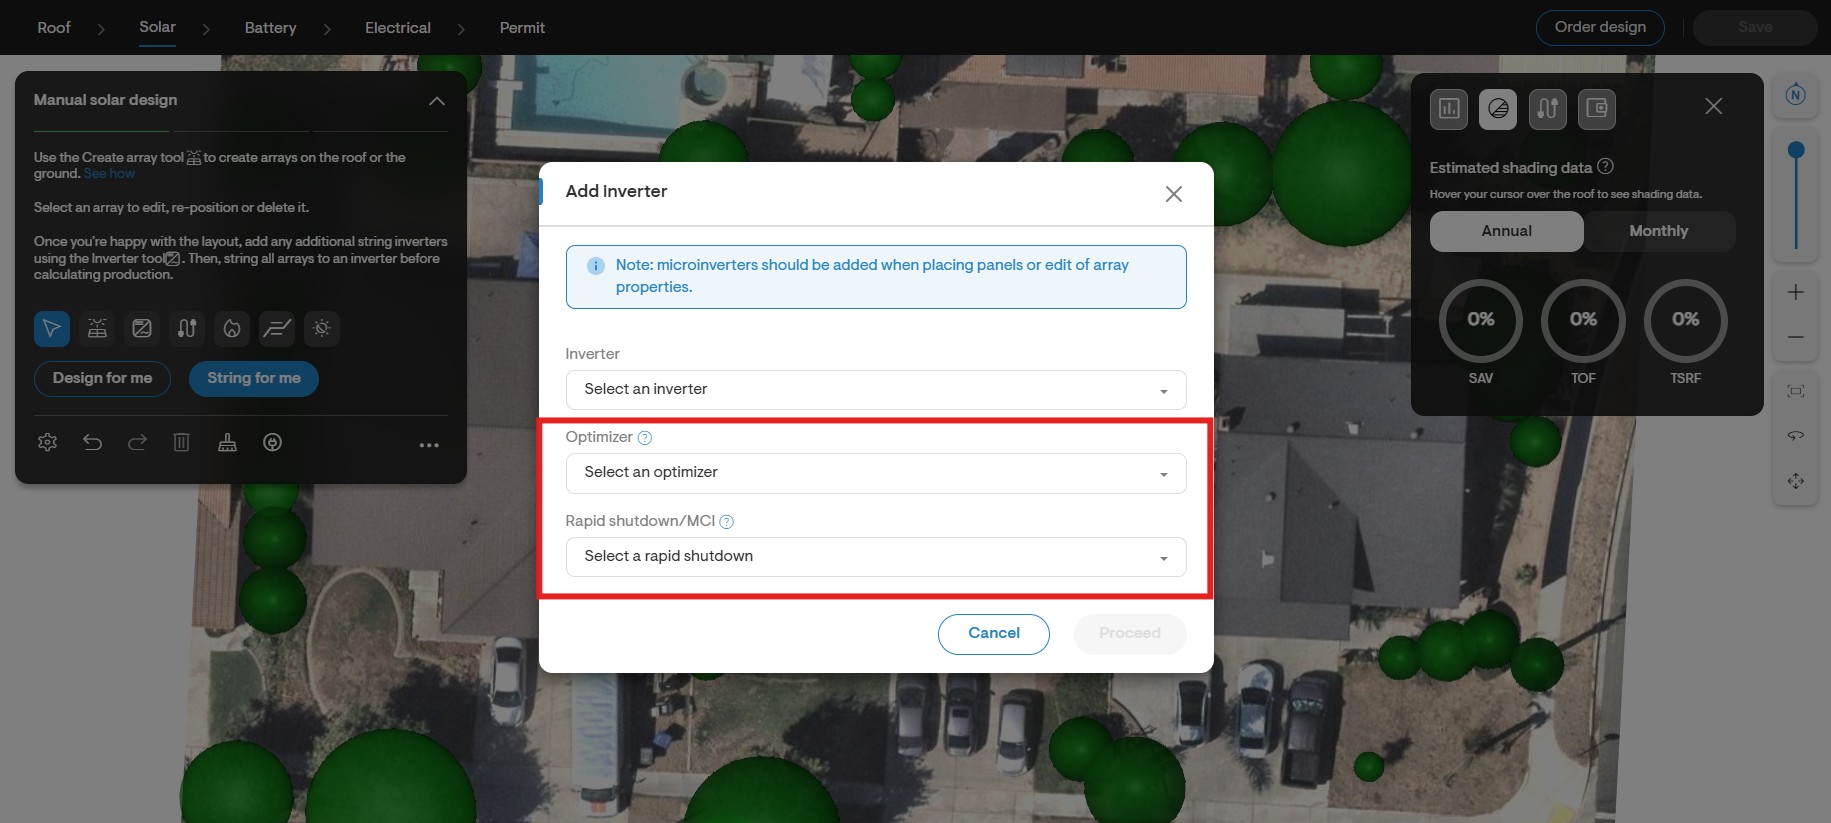
Solar design: Add optimizer or rapid shutdown/MCI in inverter popup.
Creating panel strings (manual stringing)
You can manually string panels using simple mouse actions.
Steps to create a panel string:
- Click the Stringing icon or press the
Bkey to activate stringing mode. - Click on the first panel to start the string.
- Hover over the next panel to extend the string.
- Click on the last panel to complete and place the string.
Additional stringing actions:
- Click the first panel again or press
Escicon to delete the entire work-in-progress (WIP) string before placement.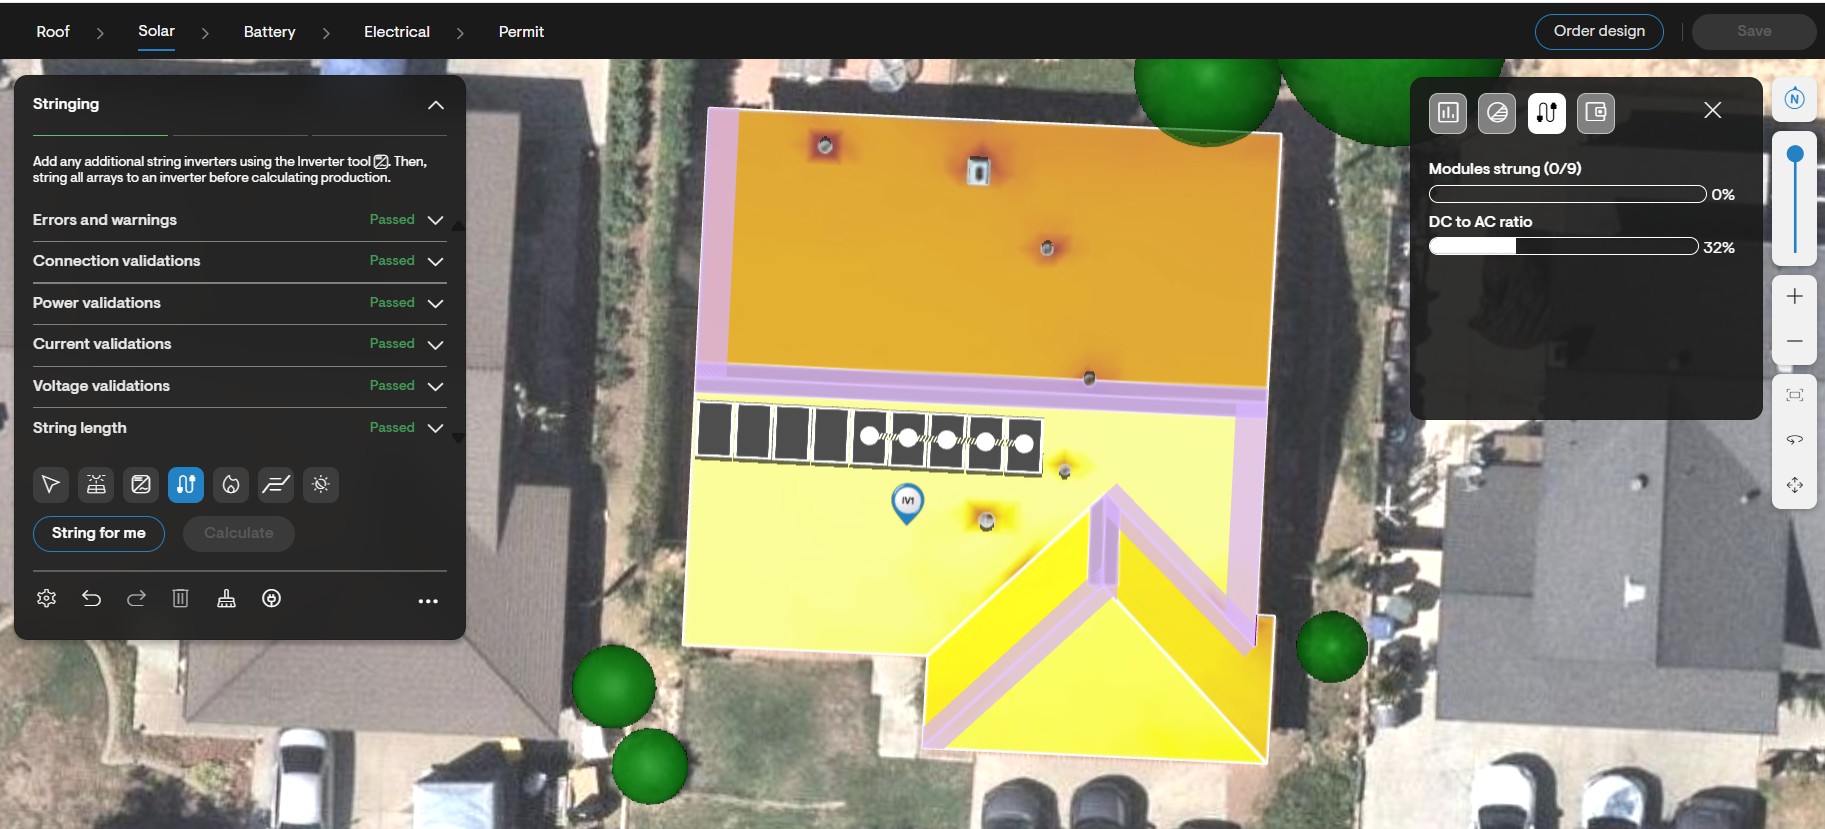
Connecting panel strings to string inverters
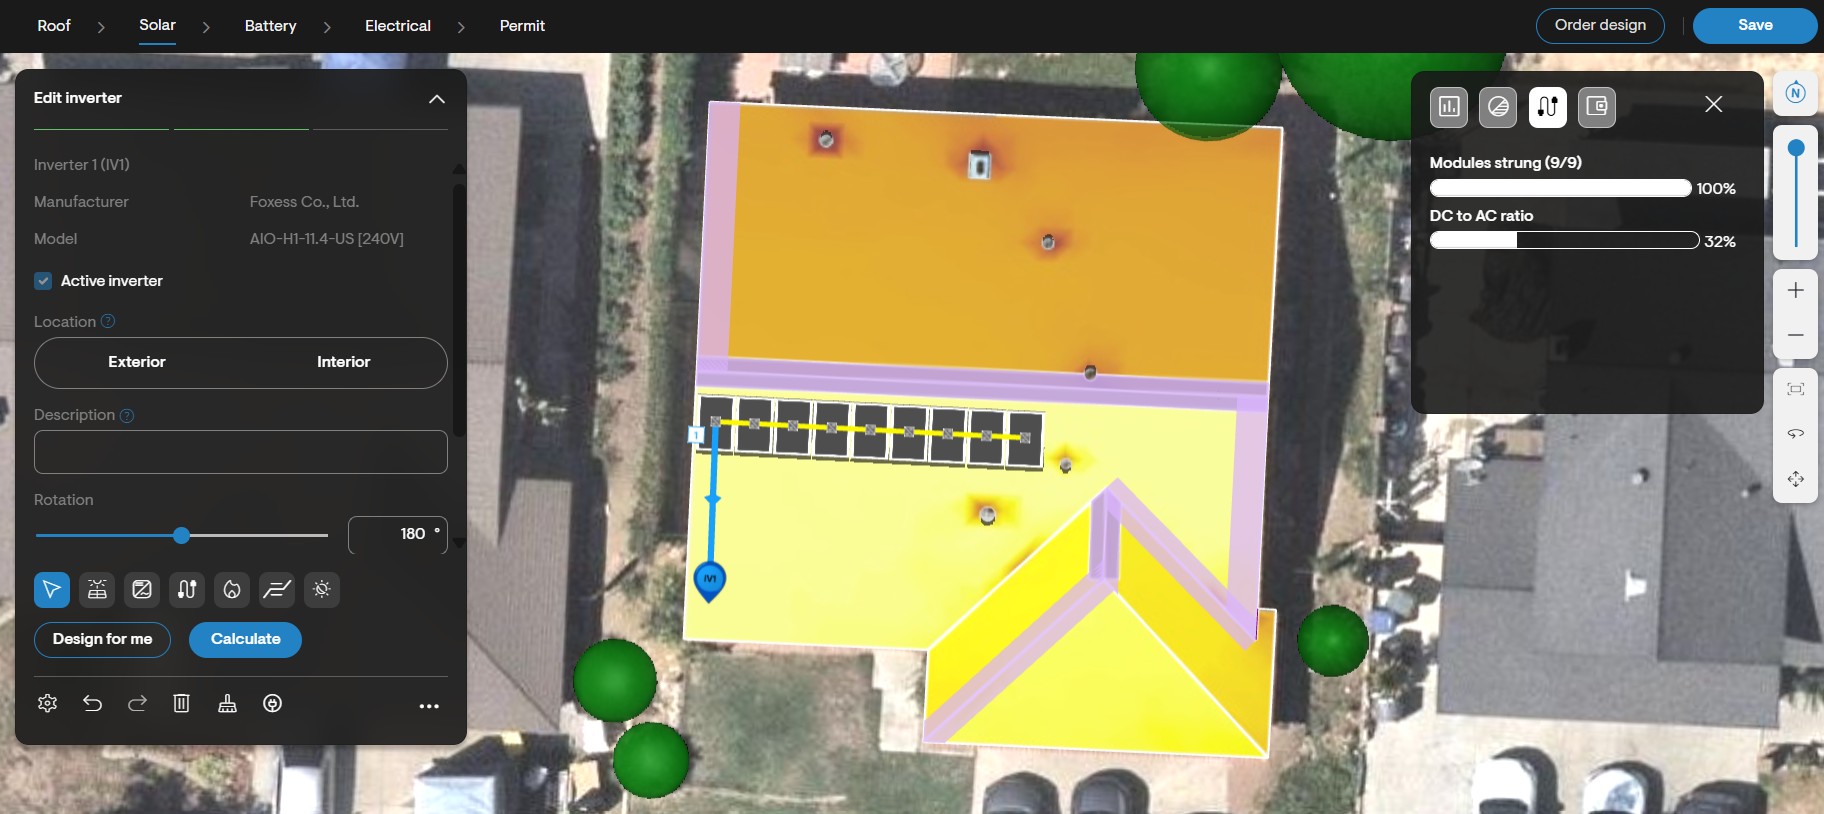
You can manually connect panels strings to string inverter using simple mouse actions.
Steps to connect panel string to string inverter:
- Click the Stringing icon or press the
Bkey to activate stringing mode if not already active - Click anywhere on the panel string to start the connection.
- Click on the string inverter to complete the connection.
Note:Always create and connect panel strings one at a time. Create a panel string, connect it to the inverter, then repeat for the next string. Avoid creating all panel strings first and connecting them together at the end.
Additional stringing actions
You can create additional panel strings and connect them to the same inverter using the same steps.
Electrical validations during stringing
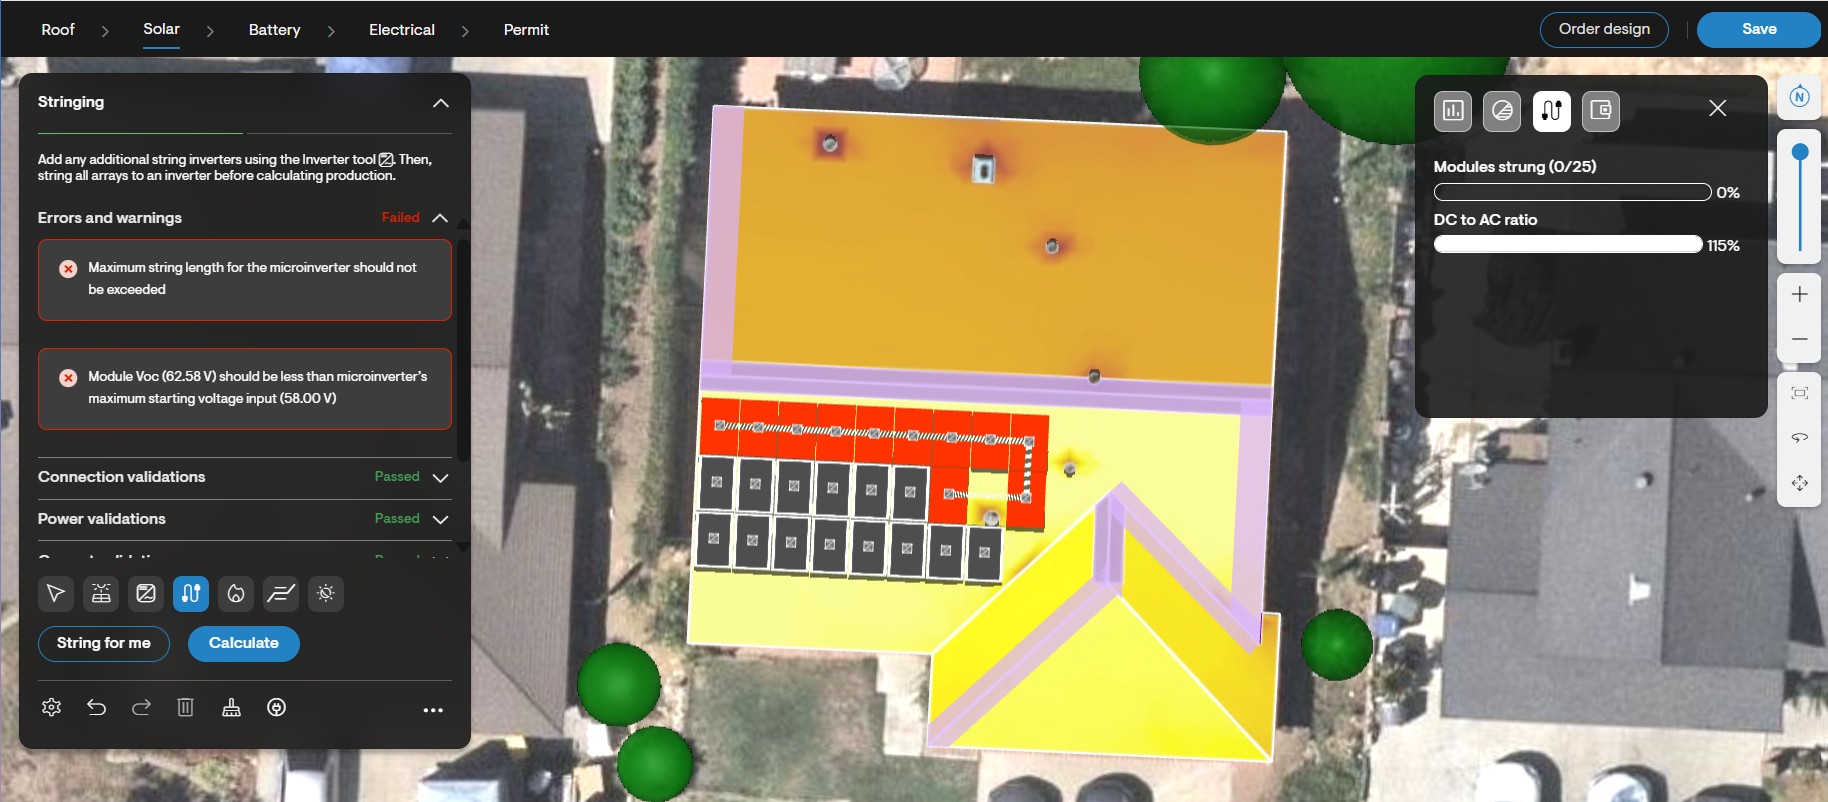
Solargraf performs real-time electrical validations while you string panels and components. These checks ensure compatibility between:
- Panels
- Inverters
- Optimizers or rapid shutdown/MCI
Validation Indicators
- Invalid panel strings appear in red and cannot be placed.
- Warnings and errors are shown in the Electrical Validation menu during panel stringing.
- Errors encountered while connecting panel strings to a string inverter are shown in red in the snack bar.
- Valid panel strings are placed normally.
Summary
Manual stringing in Solargraf gives you full control over how panels and electrical components are connected while ensuring electrical safety through real-time validation. By using the stringing tool, inverter selection options, and validation widgets, you can confidently design compliant and optimized systems.