Help Center Pricing
How to set up: Solar pricing tables
Published on 23 Jan 2024
Solar pricing tables determine the guidelines to use when calculating the gross cost of the solar design based on the design’s system size. Each row within a table defines the price per watt for a given kilowatt range. A pricing table may consist of a single row, but adding more than one allows the price per watt to change along with the size of the project.
The multi-pricing feature enables more pricing scenarios to be defined in your company settings. Tables can be assigned as the default within a U.S. state or territory, allowing companies to manage numerous sales teams and quote homeowners over a large territory. Additional tables can remain unassigned to any one location and instead provide alternate pricing configurations for projects once the design process has started.
Pricing settings
- To review or make changes to a company’s solar pricing setup, navigate to the Company settings page.
- Next, scroll down to the Pricing section and click on the listing for Solar pricing.
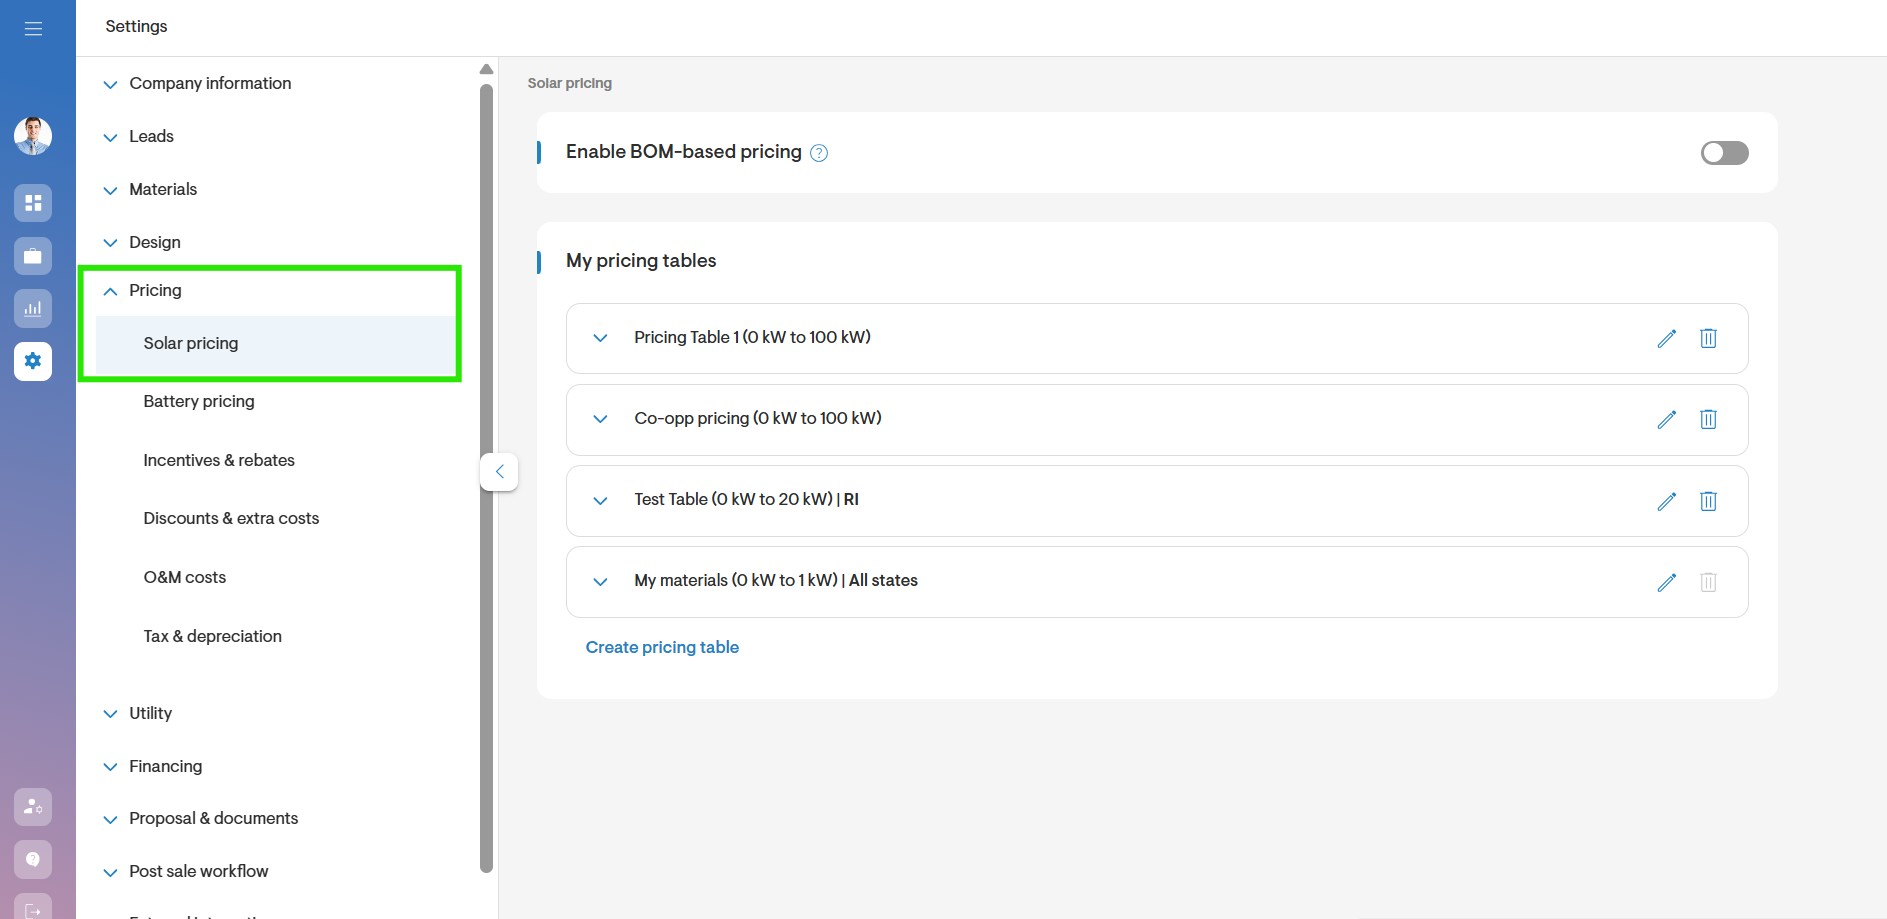
Add a new pricing table
To add a new table, click the + New pricing table button below the list of existing tables.
- Complete the Pricing table name field.
- Select an option from the Default state dropdown menu.
Note: Each state can have only one pricing table as its default. States already assigned to a table are removed from the list of available options.
Select “None” if the table does not need to act as the default for any state or if another table has already been set as the intended state’s default. - Enter an upper limit for the range in kilowatts (kW).
- Enter the price to use in dollars per watt ($/watt).
- If entering further price ranges, click + Add another price range. Otherwise, click Save to finish setting up the new table.
Edit an Existing Table
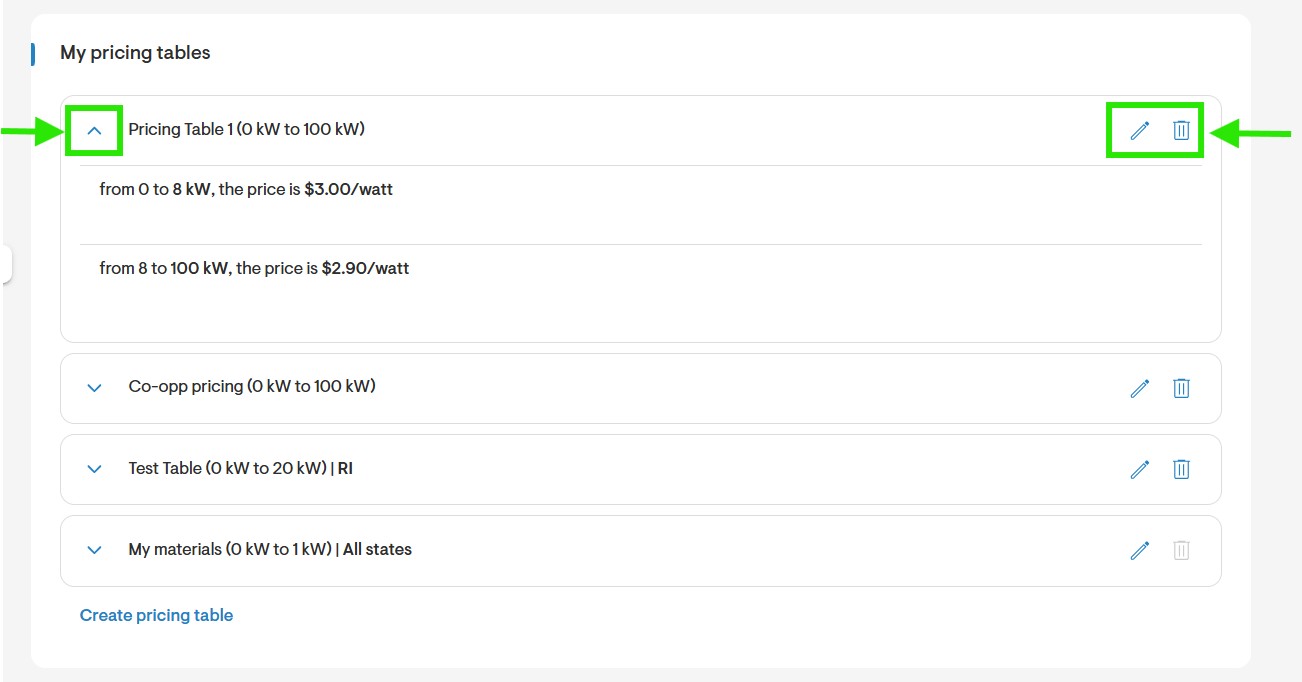
To view the details of an existing pricing table, click the downward arrow to expand it.
- To change any part of the table, click the edit pencil icon.
- To delete a table, click the bin icon.
Note: Editing or deleting a pricing table will only affect new projects going forward. Changes do not carry over to existing projects automatically. But if the user were to go back to an existing project and change the pricing table to something else and then back to the edited one, then the system will use the updated pricing.
Change a project’s assigned pricing table
Each project is initially created with a default pricing table, but this can be updated at any time. For projects that include multiple design options, you can assign a unique pricing setup to each option individually.
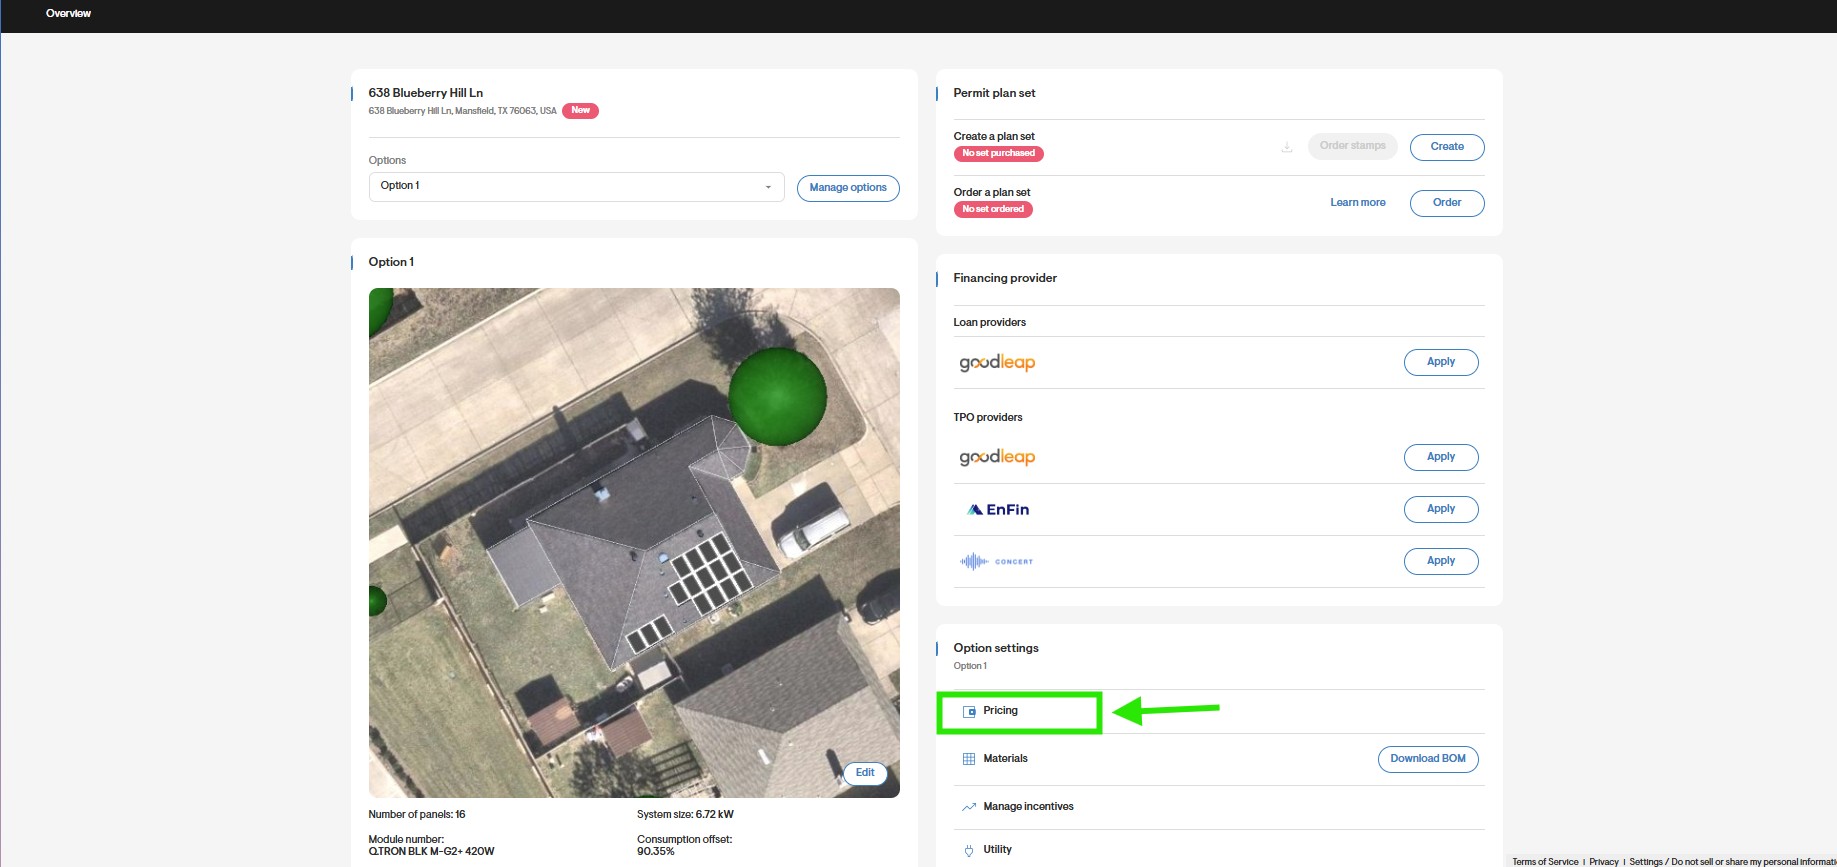
- From the project’s Overview page, select the design from the Options drop-down menu and navigate to the Pricing settings.
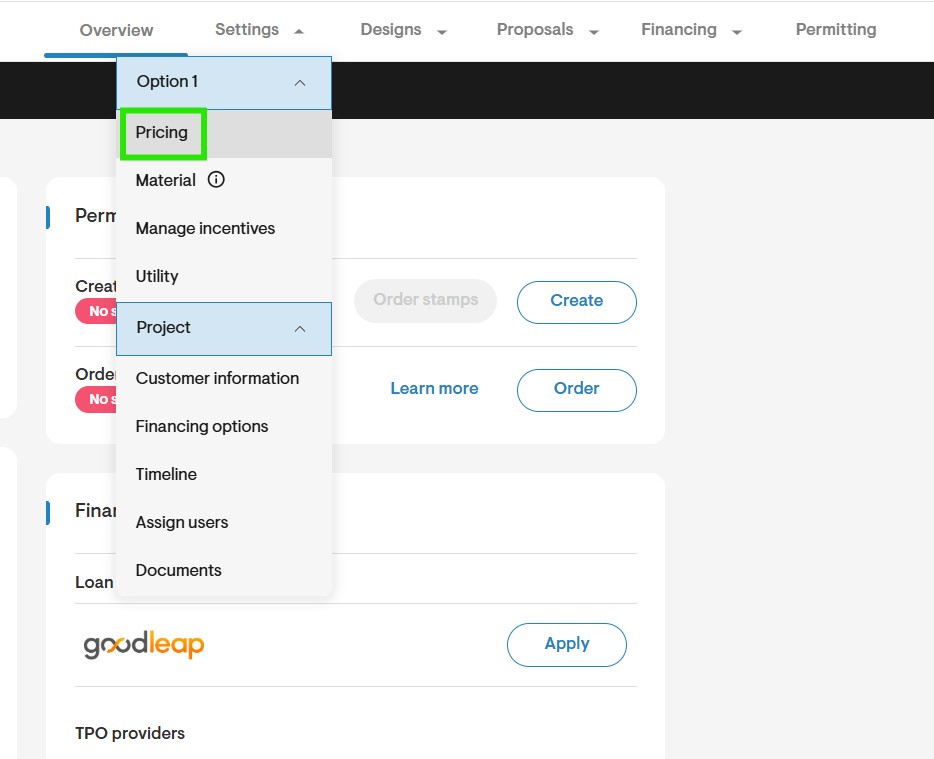
- Alternatively, from anywhere in the project, navigate to the Settings menu in the top-right corner of the page, expand the appropriate design option in the drop-down menu and then click Pricing.
- To override the current table’s defined pricing, enter a new value in the Price per watt field.
- To switch to a different table altogether, click on the Pricing table drop-down menu and choose from among the company’s existing options.
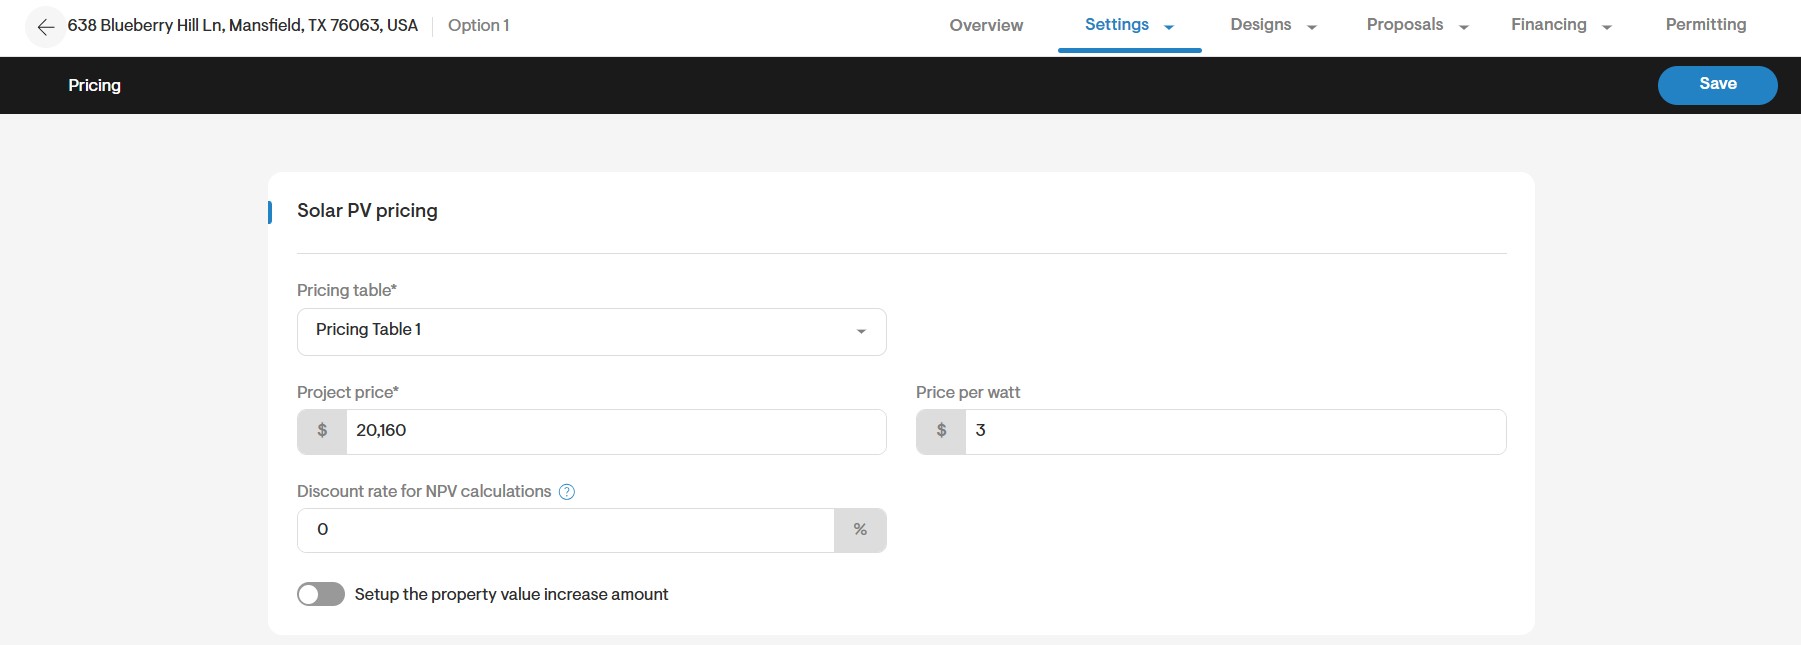
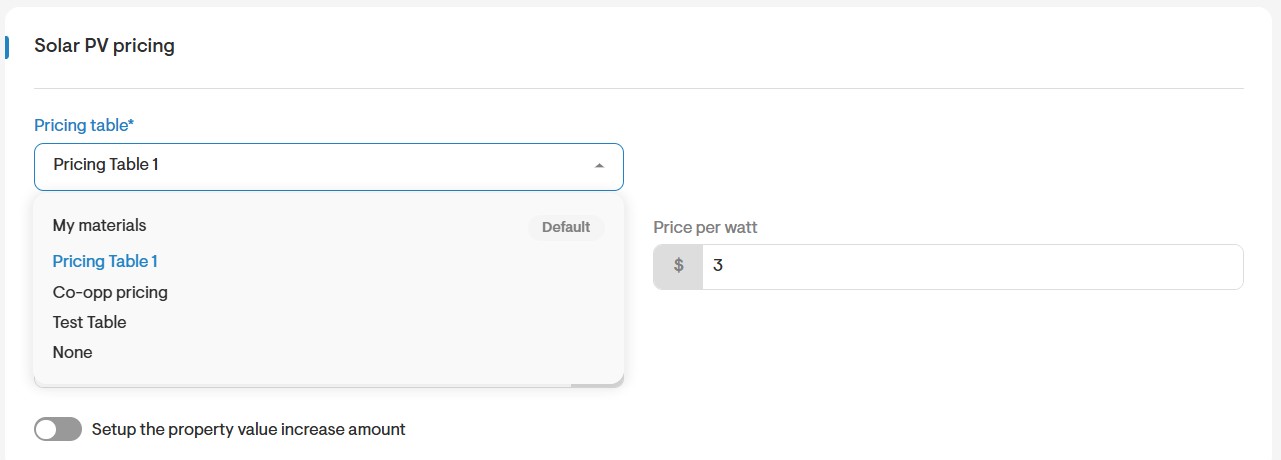
- Finally, click Save in the top-right corner of the page.