Help Center Battery Design
Creating a Battery Only Proposal
Published on 20 Apr 2023
The following guide provides some information on how to create a battery only proposal on Solargraf.
Create a New Project
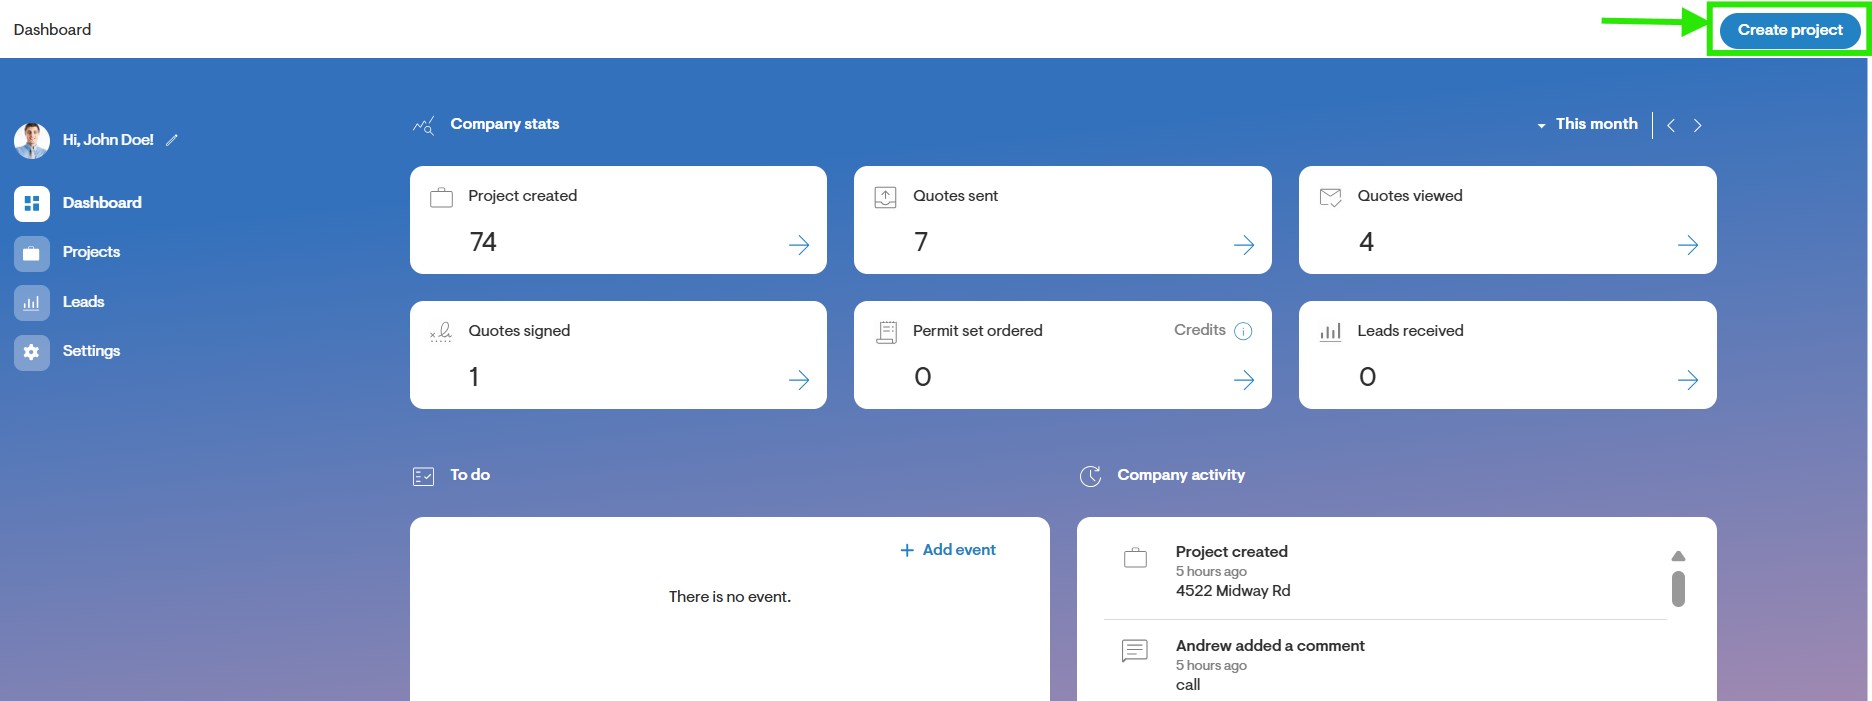
- Start by creating a new project. To do so, click the New project button on the top right of the Dashboard page.
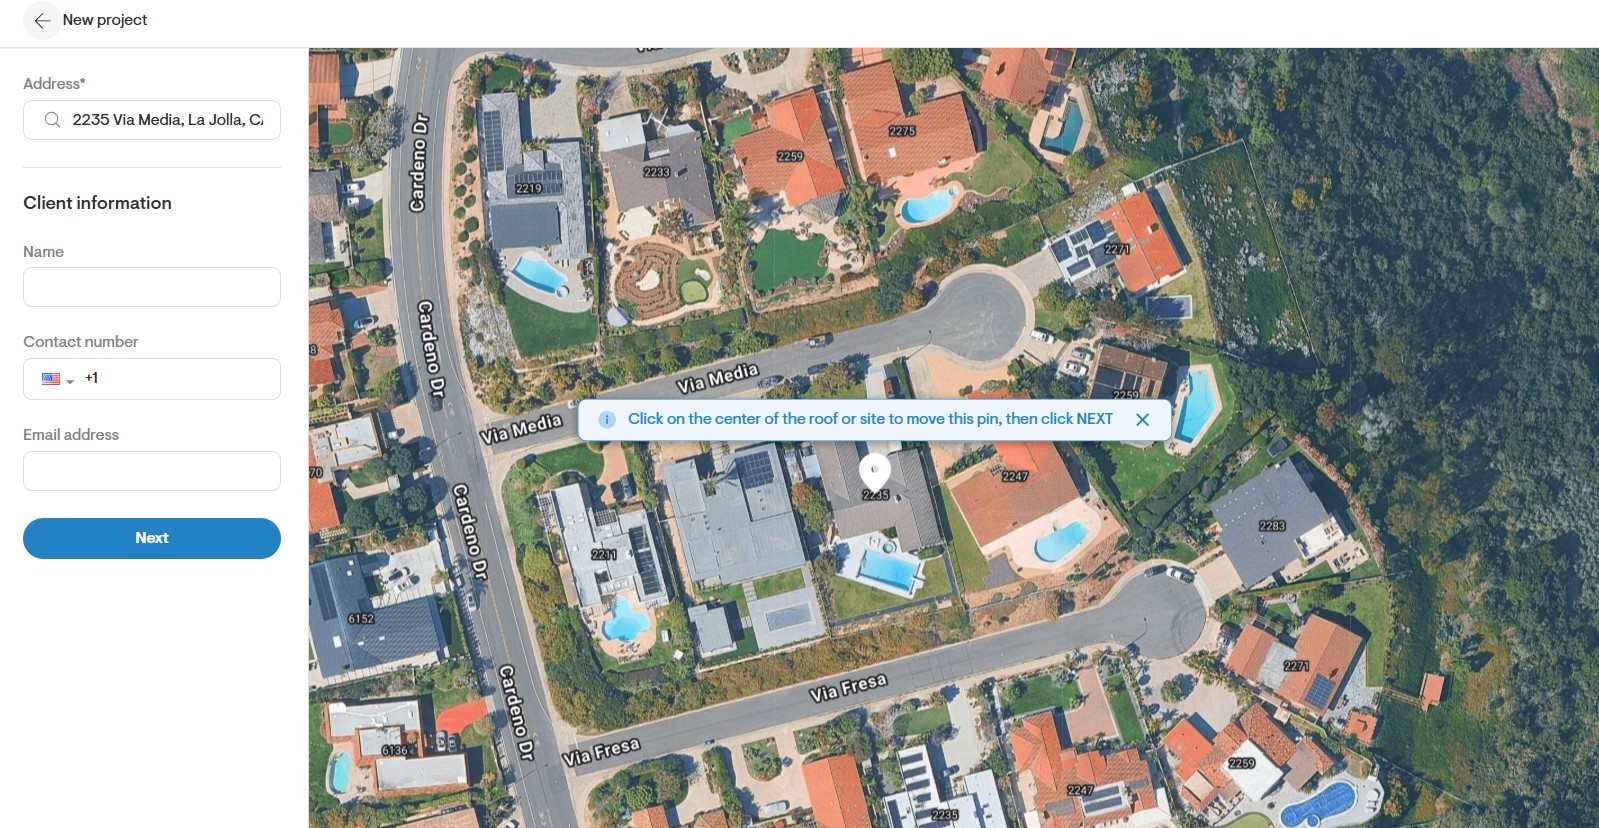
- Enter the address and place the pin on the correct home.
- Click Next.
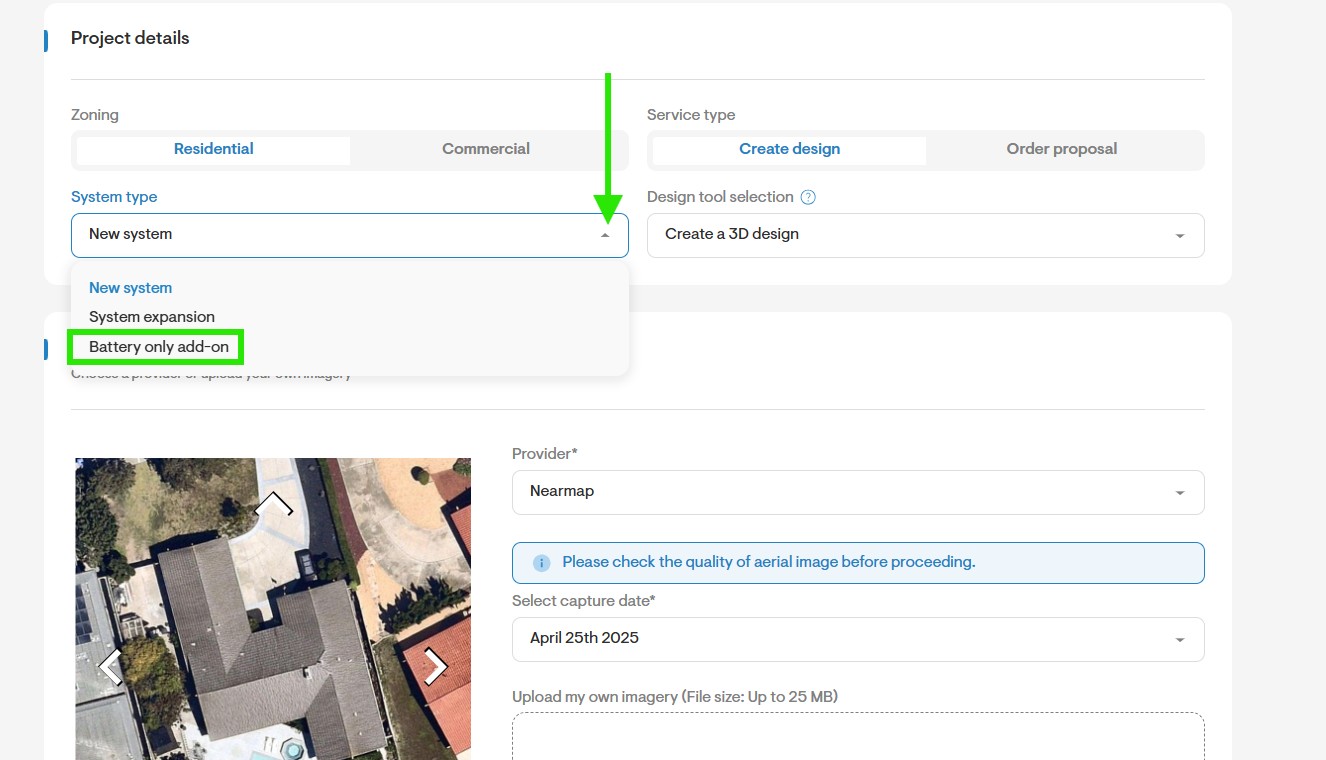
Select Battery only add on
- Under Project details find the System type drop-down as seen below, select Battery only add on for a site with existing solar.
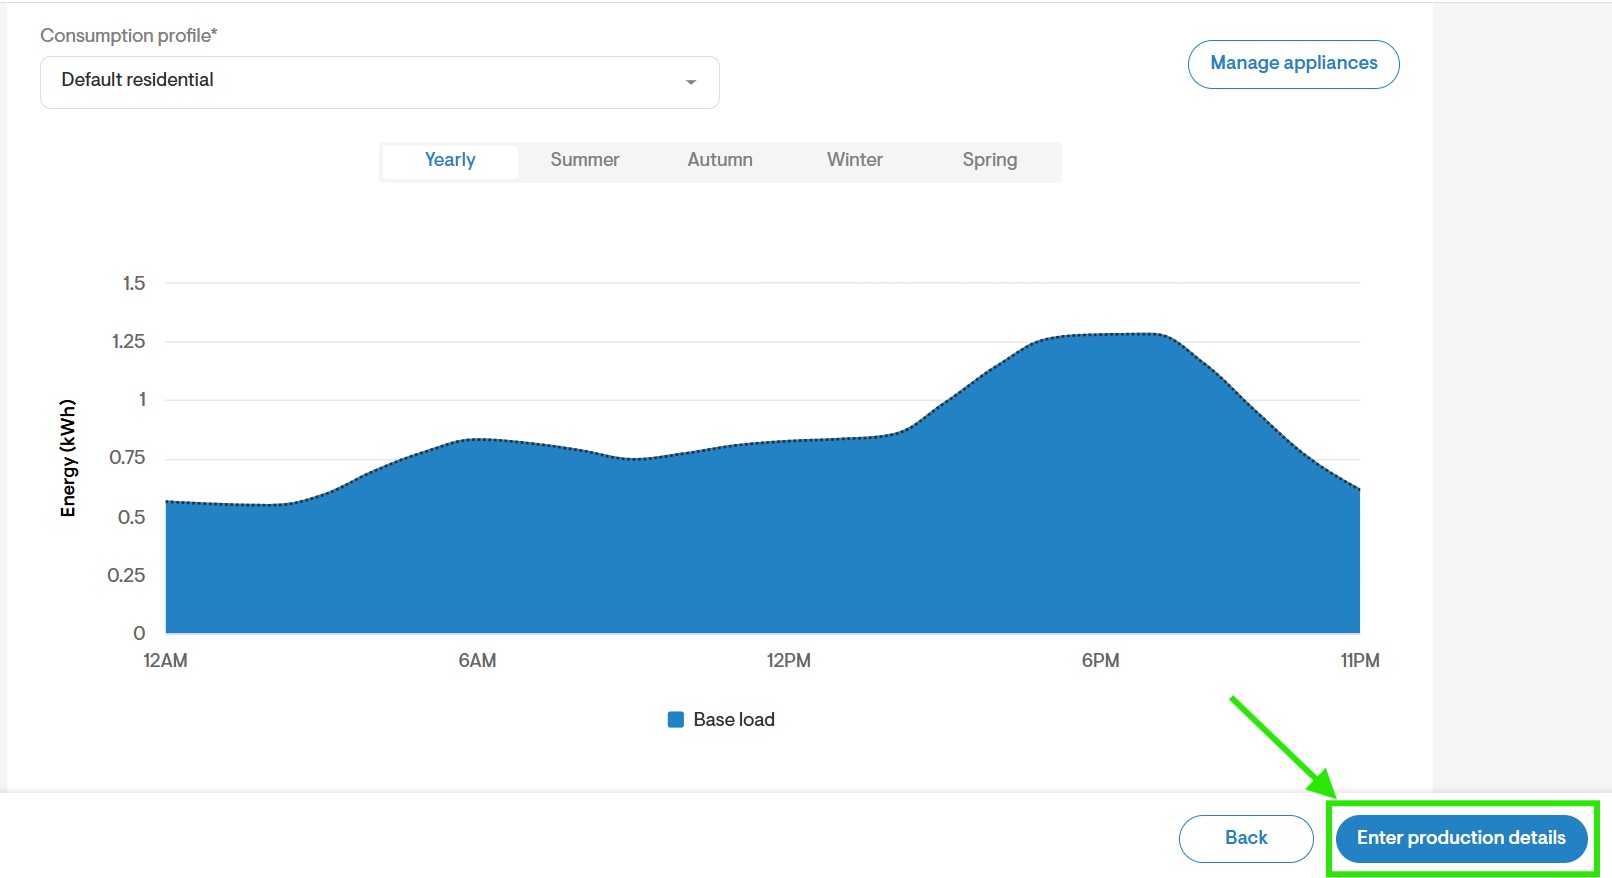
- Complete the remaining Energy consumption and Consumption profile.
When modeling a battery add-on in Solargraf, users should enter the total annual home consumption not just the remaining grid usage.
Solargraf calculates the old bill based on net grid import/export, factoring in the impact of the existing solar system. The new bill includes the effects of both the battery and the existing solar. This ensures that savings, ROI, and payback calculations reflect the battery's contribution accurately.
Example:
If a home uses 10,000 kWh annually and the existing solar system produces 7,000 kWh, the grid import is 3,000 kWh.
- Estimated usage entry: Enter 10,000 kWh as total consumption.
- CSV upload option: Upload the 3,000 kWh grid import/export data and enter 7,000 kWh as solar production. Make sure to check the box labeled “Uploaded data corresponds to grid imports/exports” so Solargraf can combine the values correctly.
Entering only the grid usage (e.g., 3,000 kWh) without accounting for solar production will result in inaccurate modeling and misleading offset calculations.
- Once this information has been added in, click Enter production details to proceed to the next steps.
Enter Production Details
- On the Enter Production there are four different ways to enter production.
- Annual production
- Monthly production
- Existing solar details
- Hourly production data
- Home with no solar
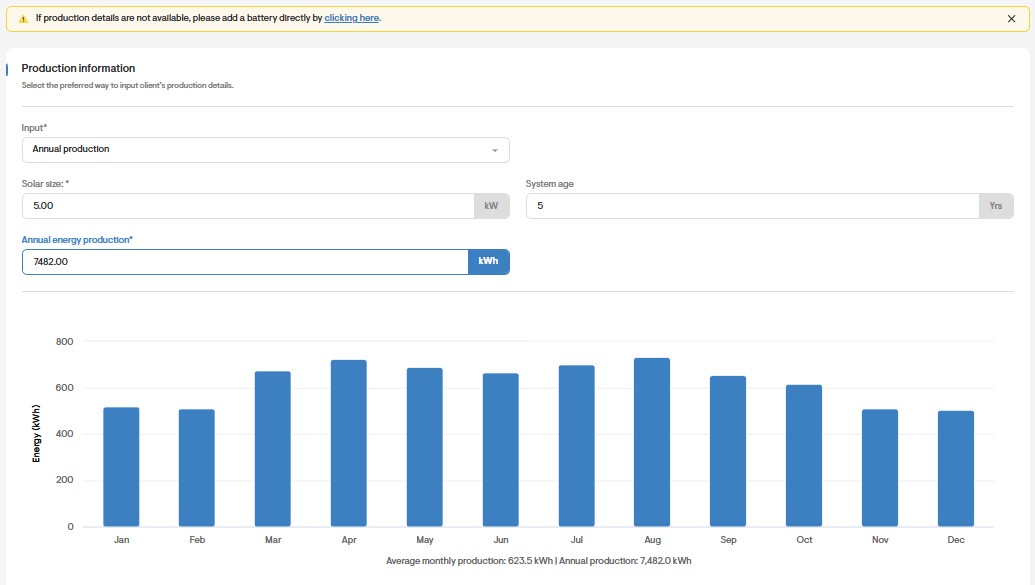
- When Annual production is selected, you will need to enter the Solar size (kW), System age (Years), and the Annual energy production (kWh).
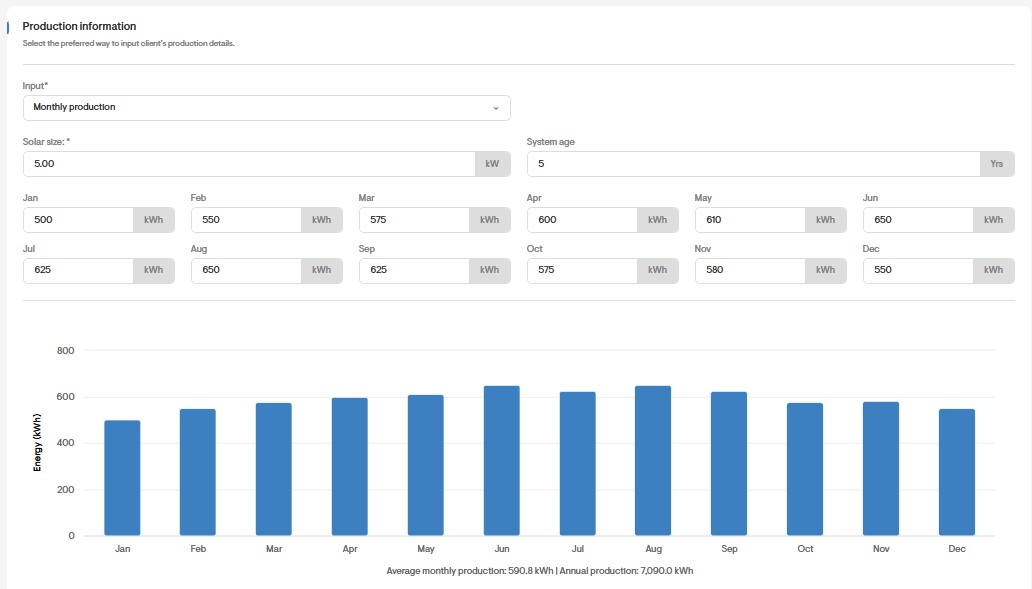
- When Monthly production is selected, you will need to enter the Solar size (kW), System age (Years), and the production for each month (kWh).
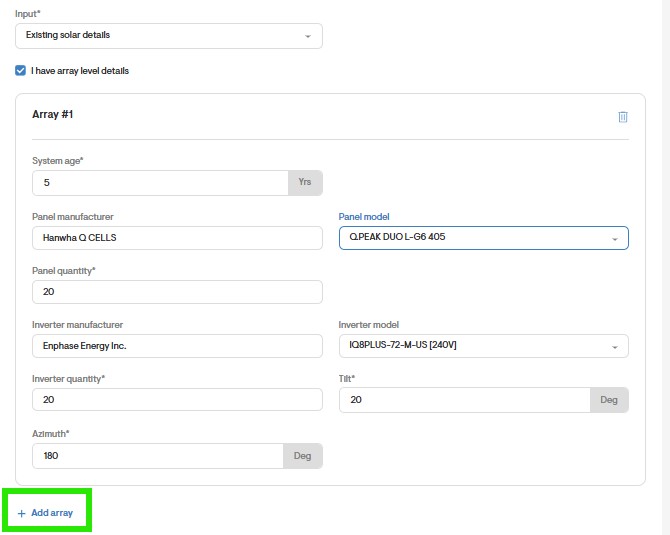
- When Existing Solar Details is selected, you will need to enter the Solar size (kW), System age, Panel make/model, and Inverter make/model.
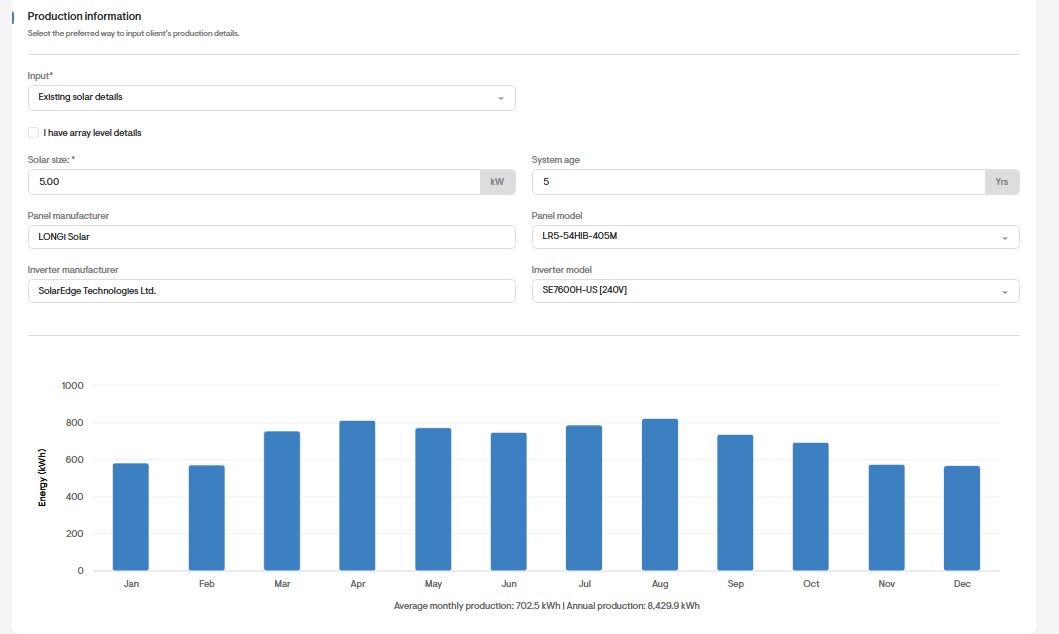
- You may choose to enter the array level details. To do so, check the box for 'I have array level details'. You will be required to enter the System age, Panel make/model, Panel quantity, Inverter make/model, Inverter quantity, Tilt, and Azimuth for each array.
- To add information for additional arrays, click Add Array.
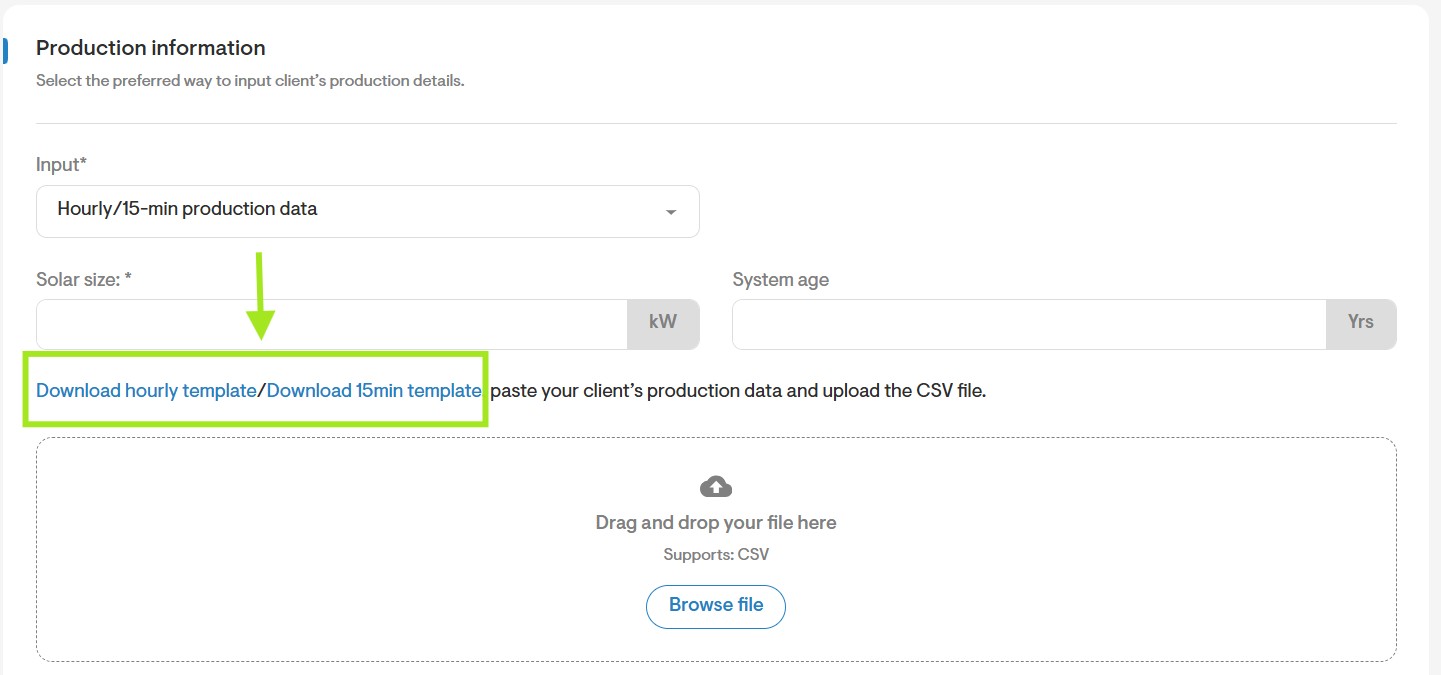
- When Hourly/15-min production data is selected, you will need to enter the Solar size (kW), System age, as well as upload a CSV file with hourly production data. You may download the CSV template to view how to format this production data.
- Finally, once you have finished entering the production details, click Save to proceed to the next step.
When Home with no solar is selected, the battery is added to a home that does not have a solar system and is not planning to install one. In this setup, the battery charges and discharges from the grid based on the battery mode you choose.
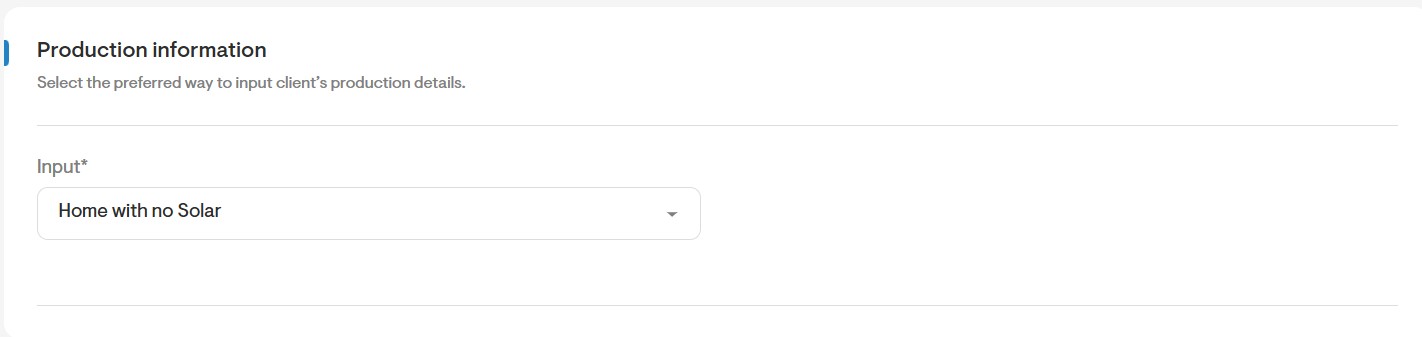
- Simply click Save to proceed to the next step.
Add the Battery Design
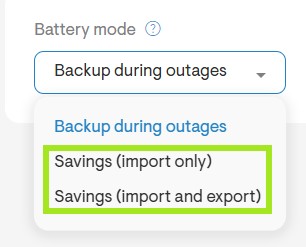
- Next, you will need to add the battery design. Start by selecting the Manufacturer, Battery series, and Battery mode. For Enphase batteries, there are three modes you may select from:
- Self consumption
- Backup during outages
- Savings on electricity bill
- Savings (import only)
- Savings (import and export)
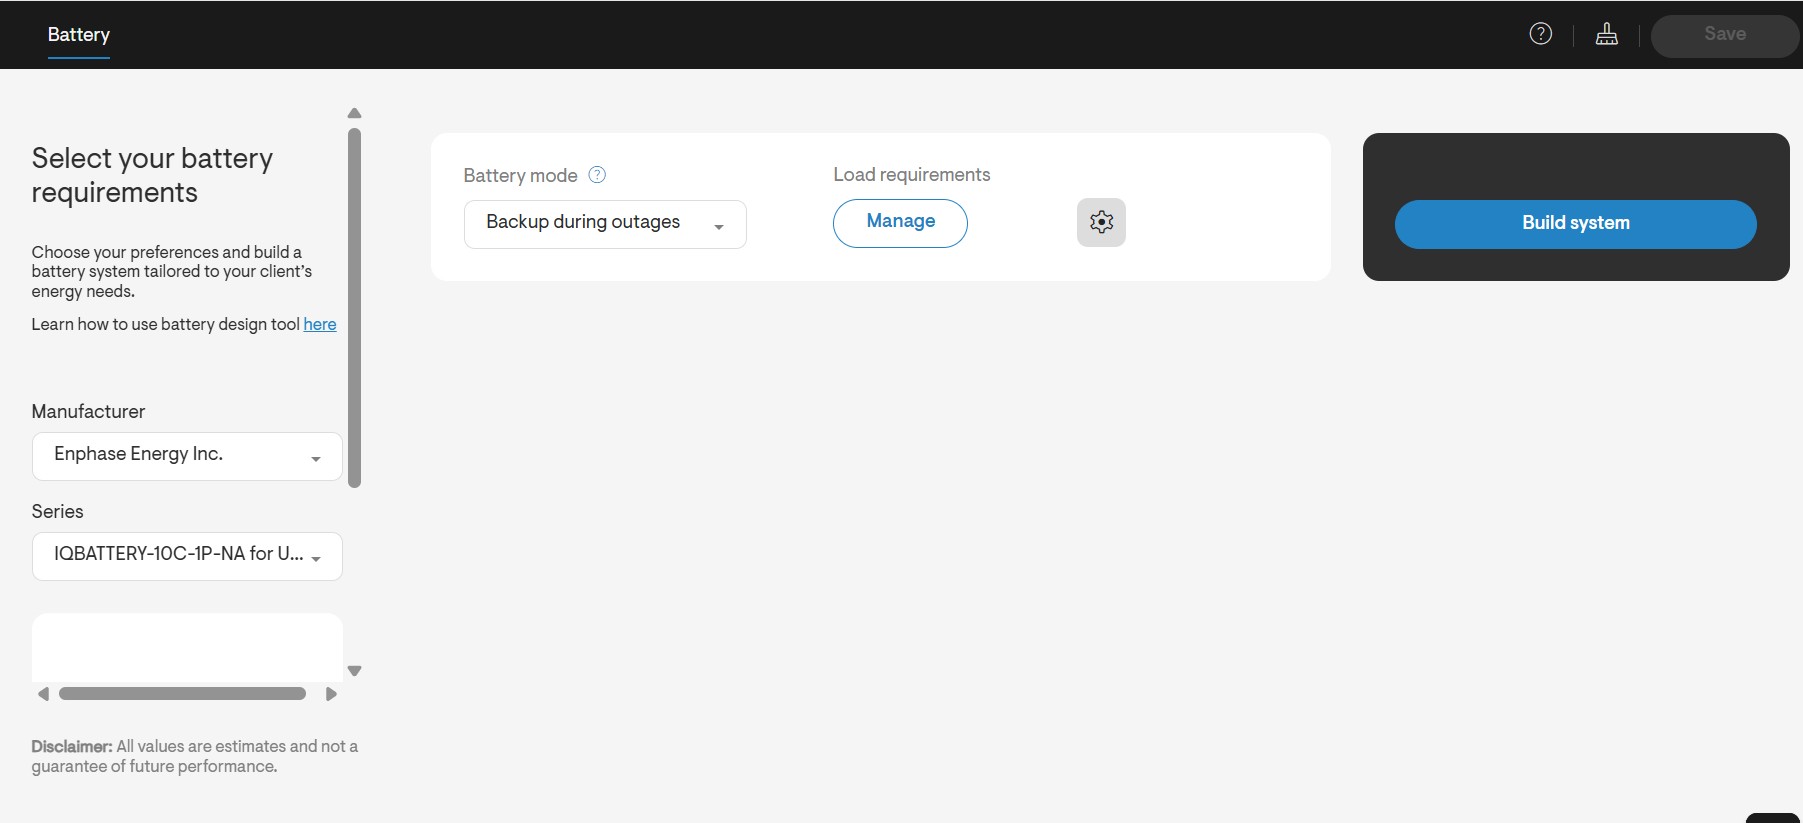
- If you select Self consumption, you may enter the Target backup duration, Target self consumption and Battery Reserve. You can do so by clicking on the gear icon and a window will appear with the Advanced settings.
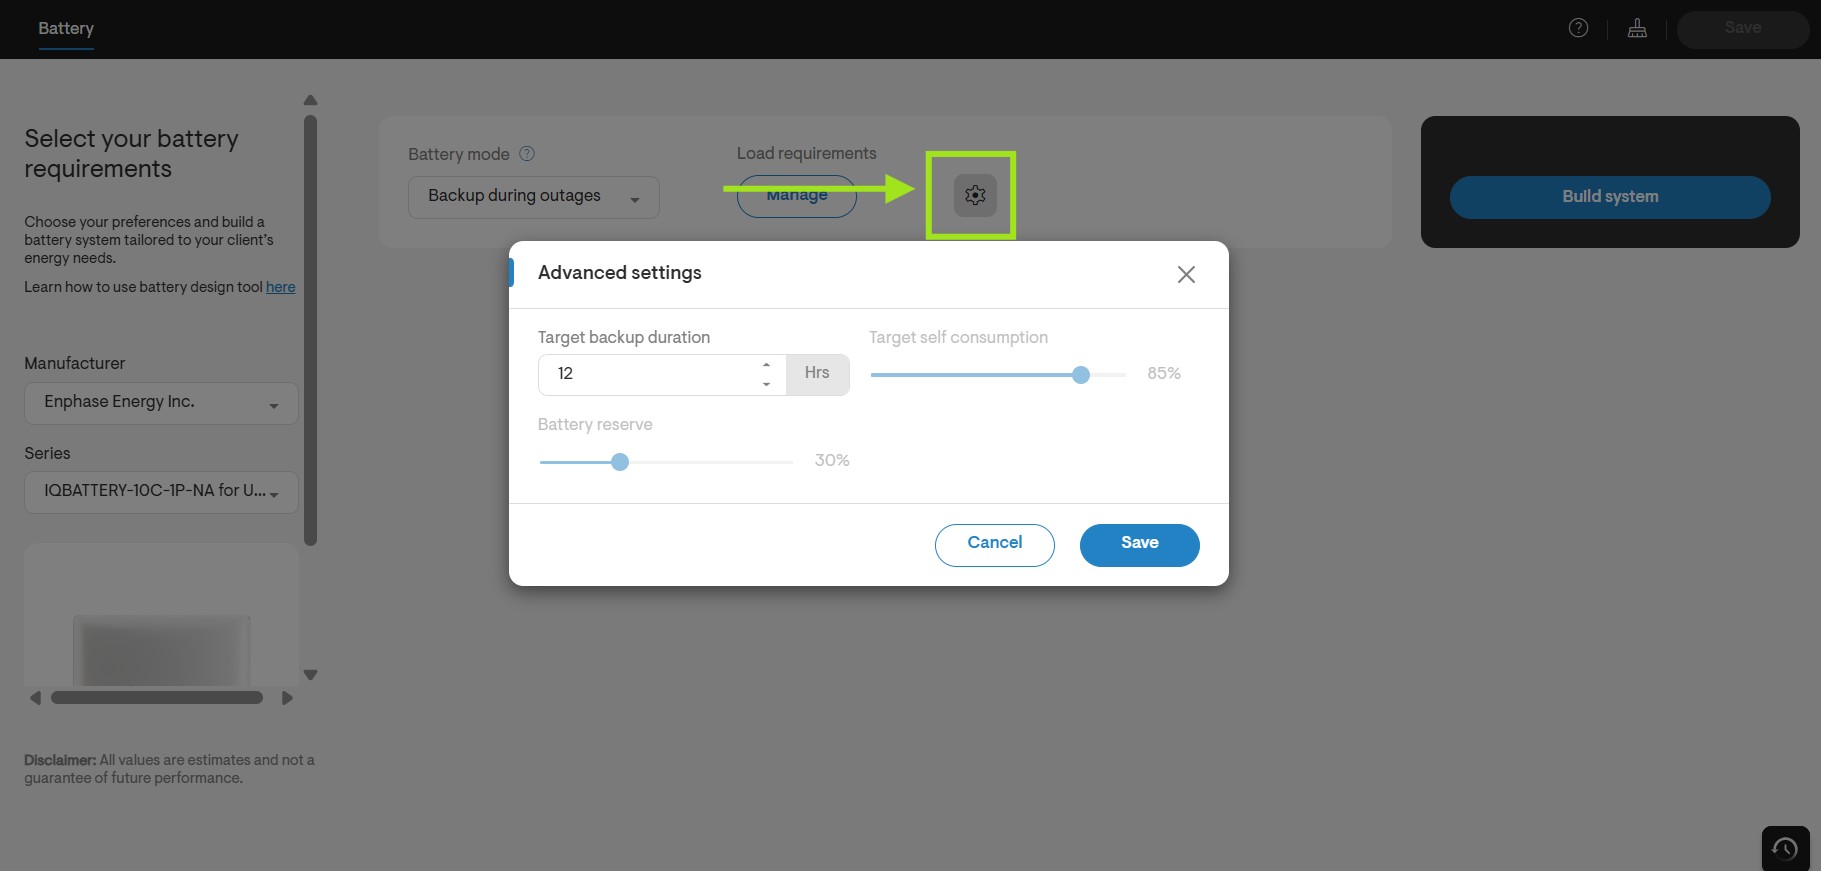
- If you select Savings on electricity bill you will be required to enter the Battery reserve.
- Next, select the target backup duration.
- You will also need to add in the energy and power usage information for the appliances installed. To do so, click the Manage button under load requirements You will be able to adjust the ratings and hours of operation for each appliance to make sure all the required appliances are backed up by the battery as needed.

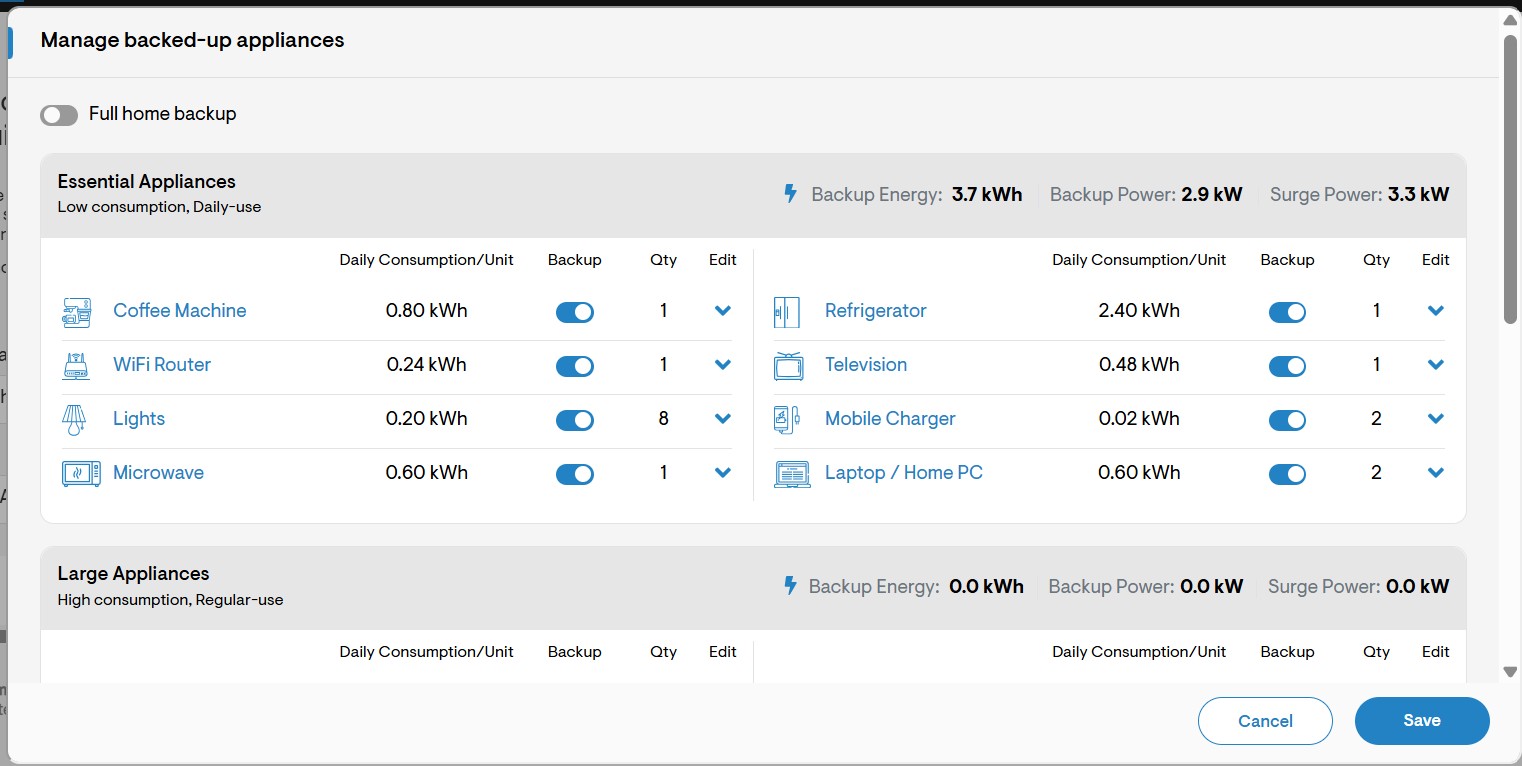
- Once you have completed the battery and appliances information, click Build System to view the list of available system recommendations to be added.
- You may use the recommended battery size, or you may select a different battery from the dropdown list.
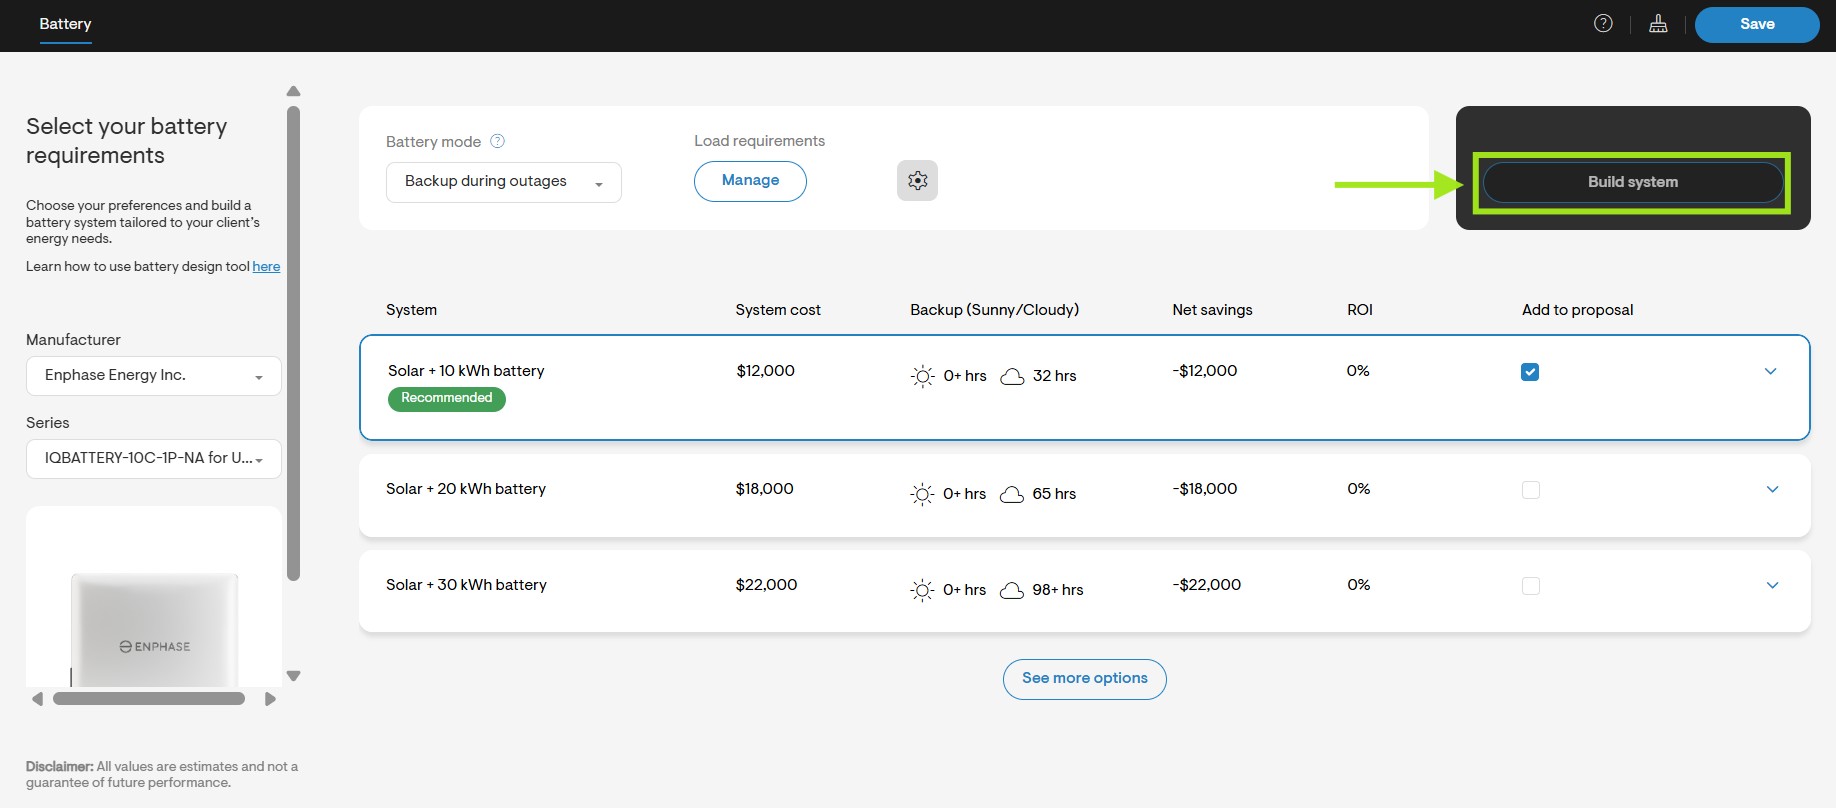
If you would like to add a Load Controller, you may select this option.
Finally, once the battery design has been completed, click Save on the top right of the page to save your battery design.
The battery modes Savings (import only) and Savings (import and export) are only available when designing a battery add-on system for homes that have no solar.
Editing the production details and battery design
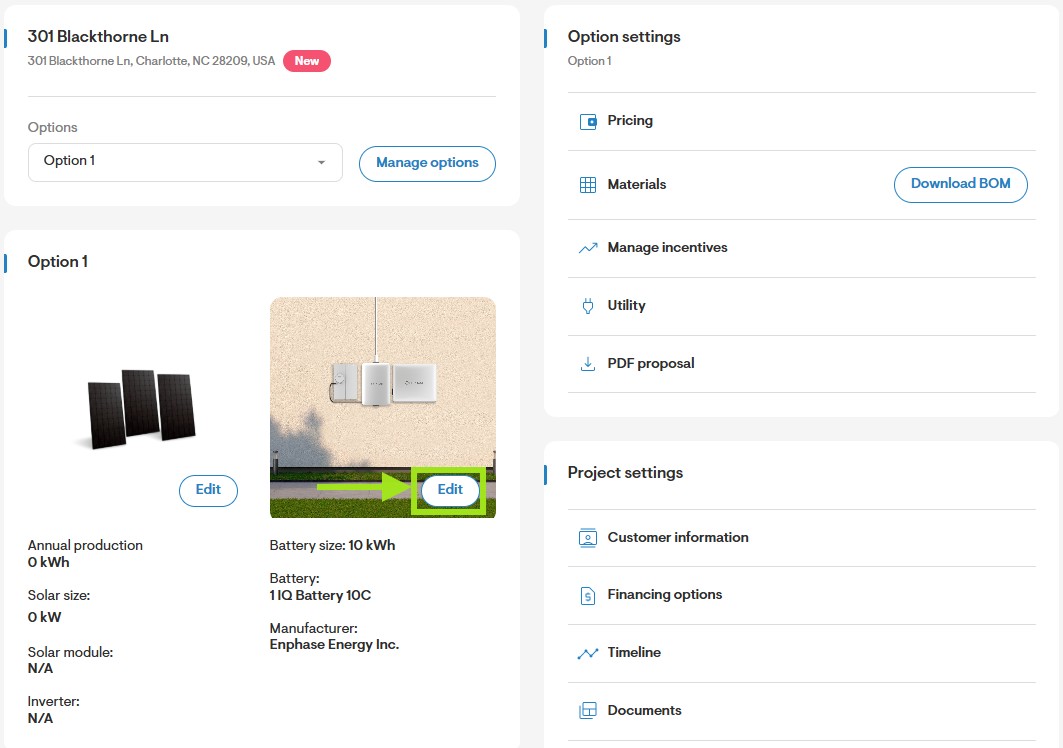
- To make changes to the solar production details entered, navigate to the Overview page. On this page, select the relevant Option and click the edit button over the image of the solar panels. This will direct you to the Production details page where you will be able to edit the solar production for the project.
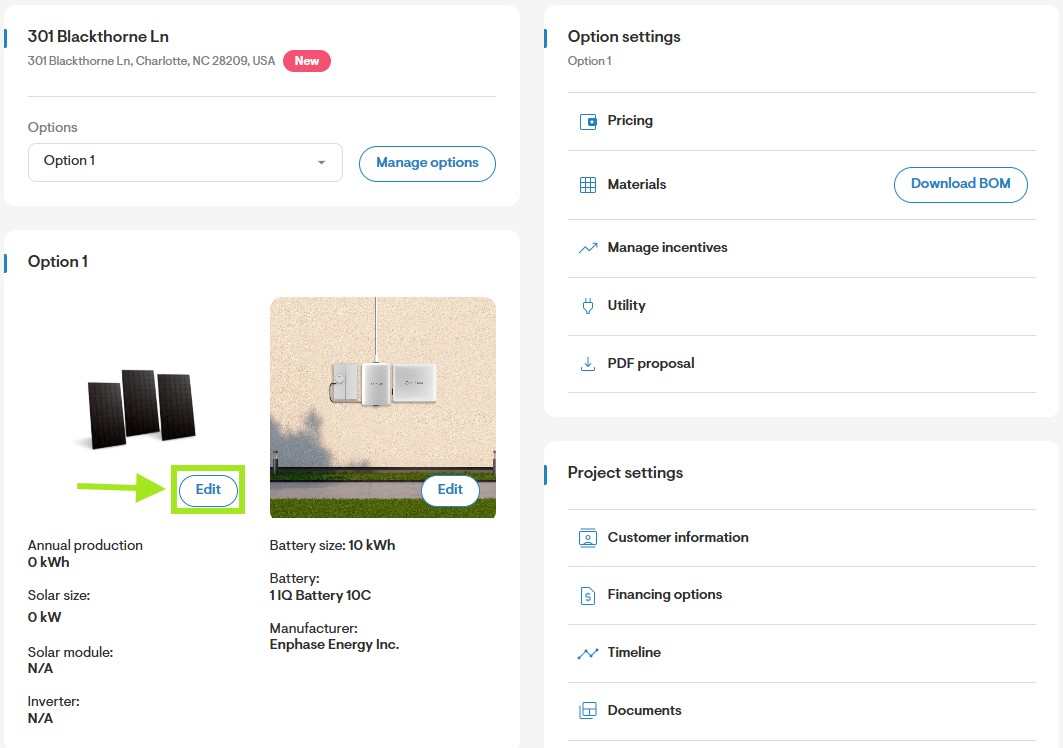
- You may also make changes to the Battery Design by clicking the pencil icon over the image of the battery.