Using Auto-stringing: A step by step guide
String inverter
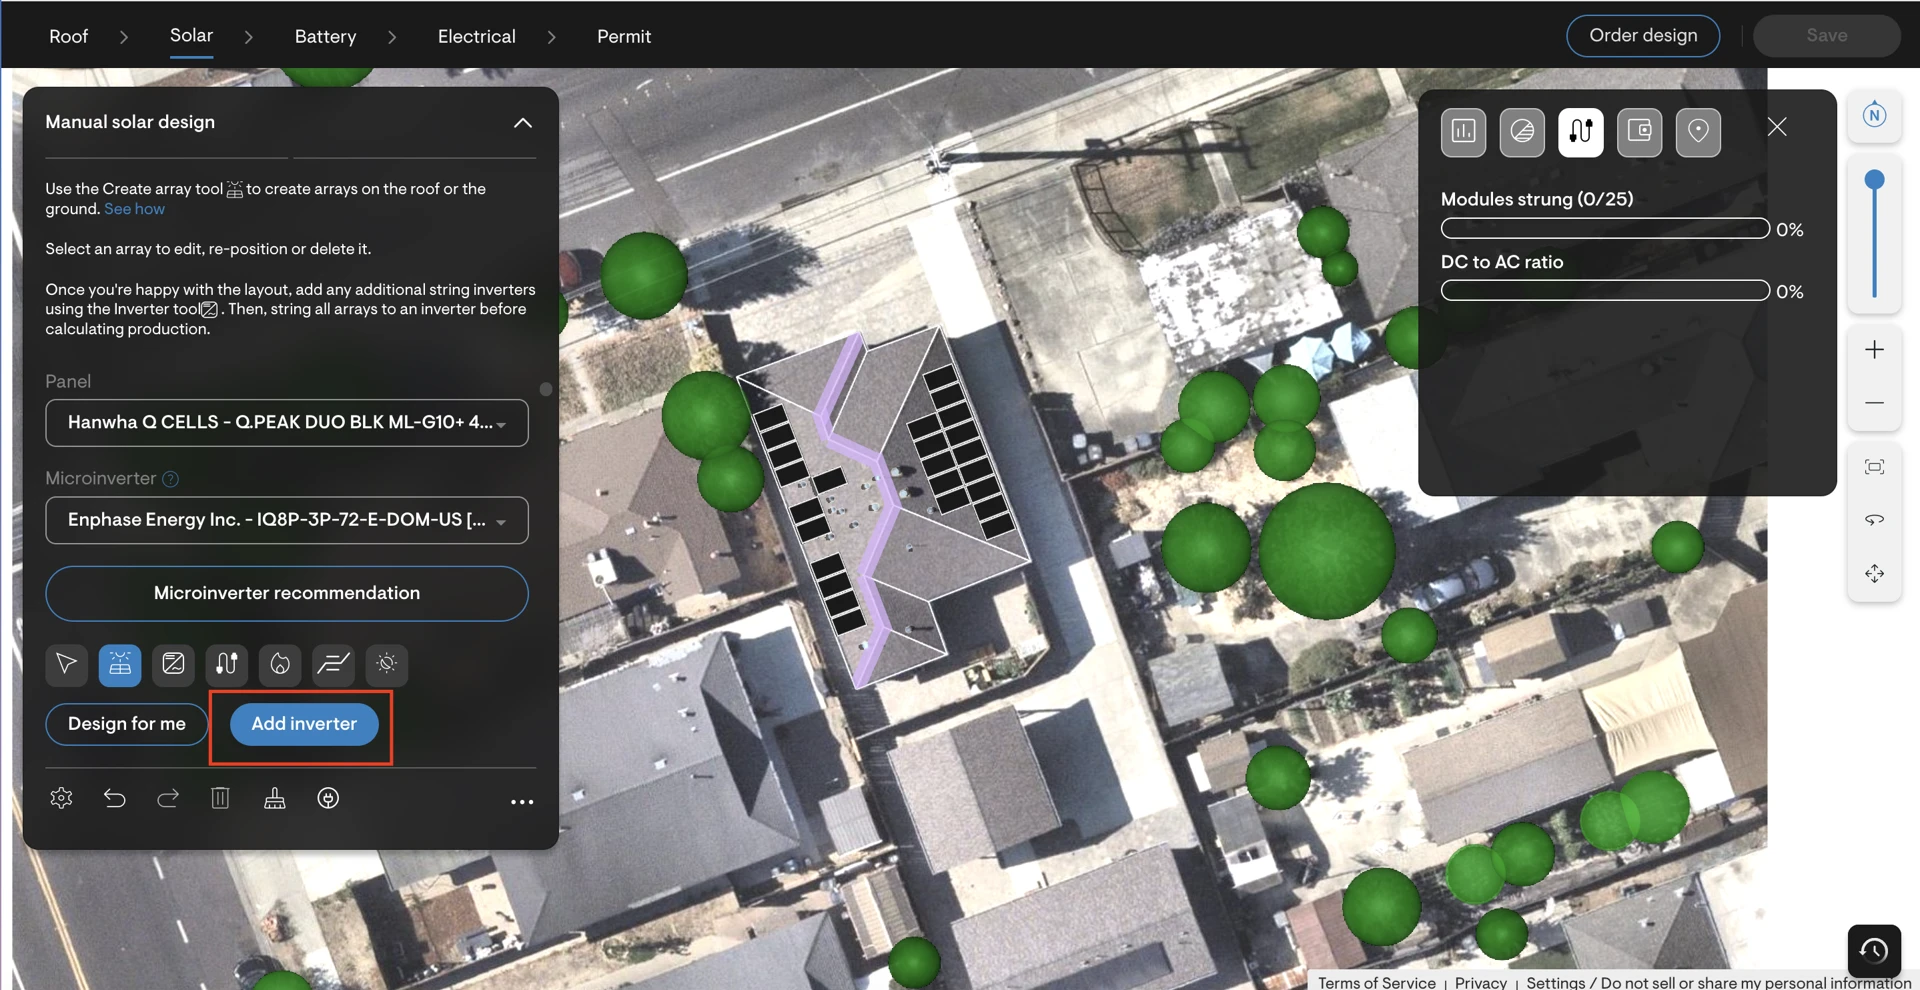
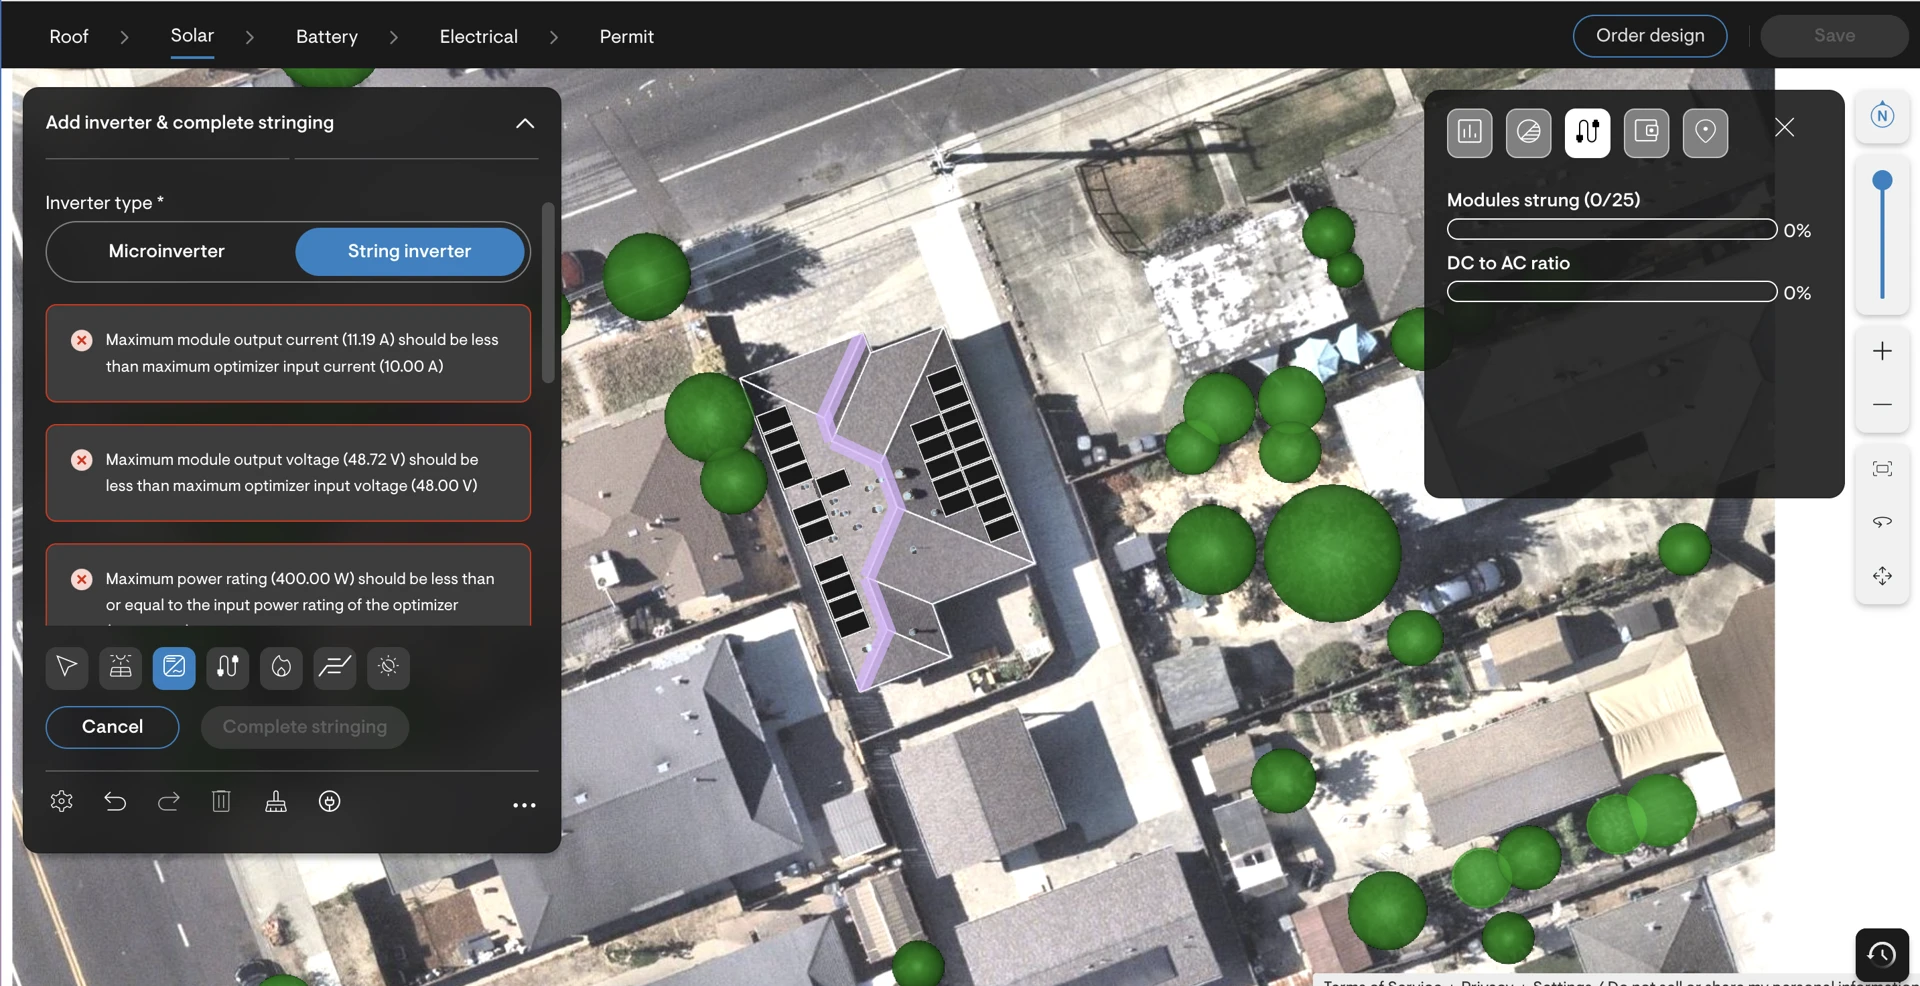
Within Solar design tab, after panel placement,
Click on Add inverter button.
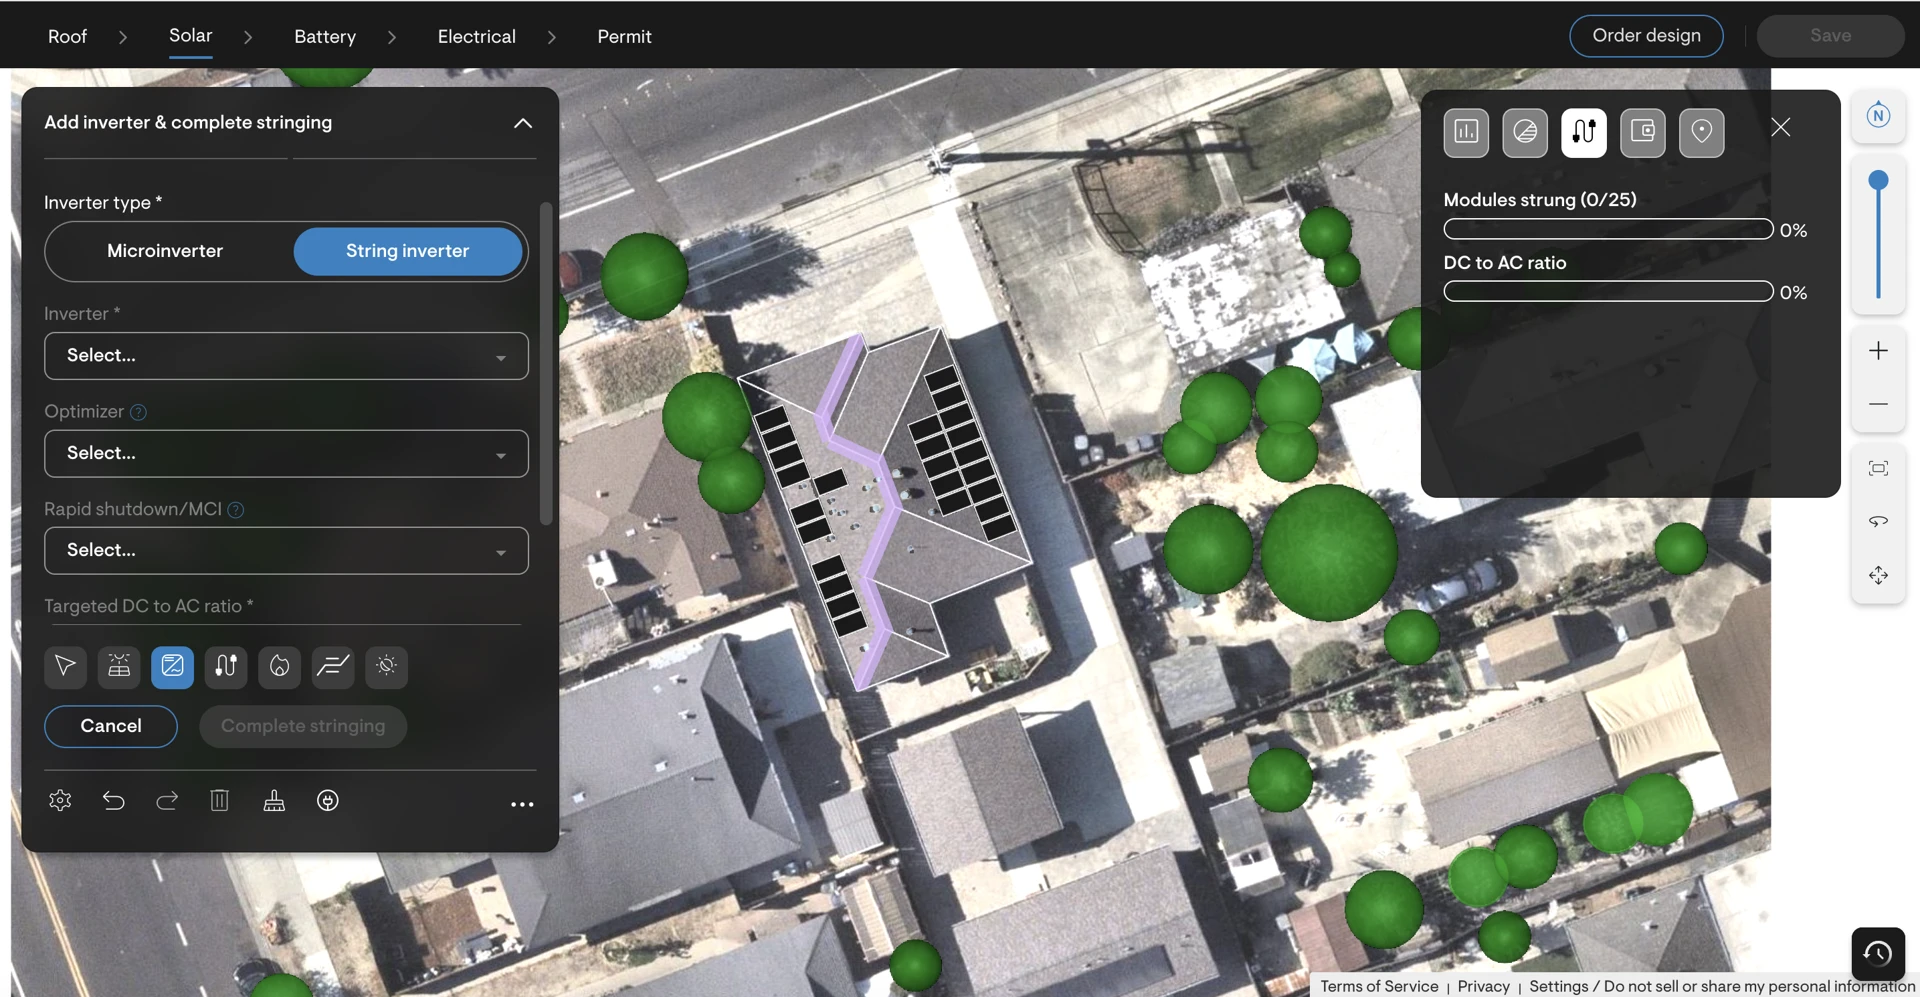
Select the string inverter and (optionally) optimizer or rapid shutdown/MCI you want to use.
Once you've made your selections, click "Complete stringing” button.
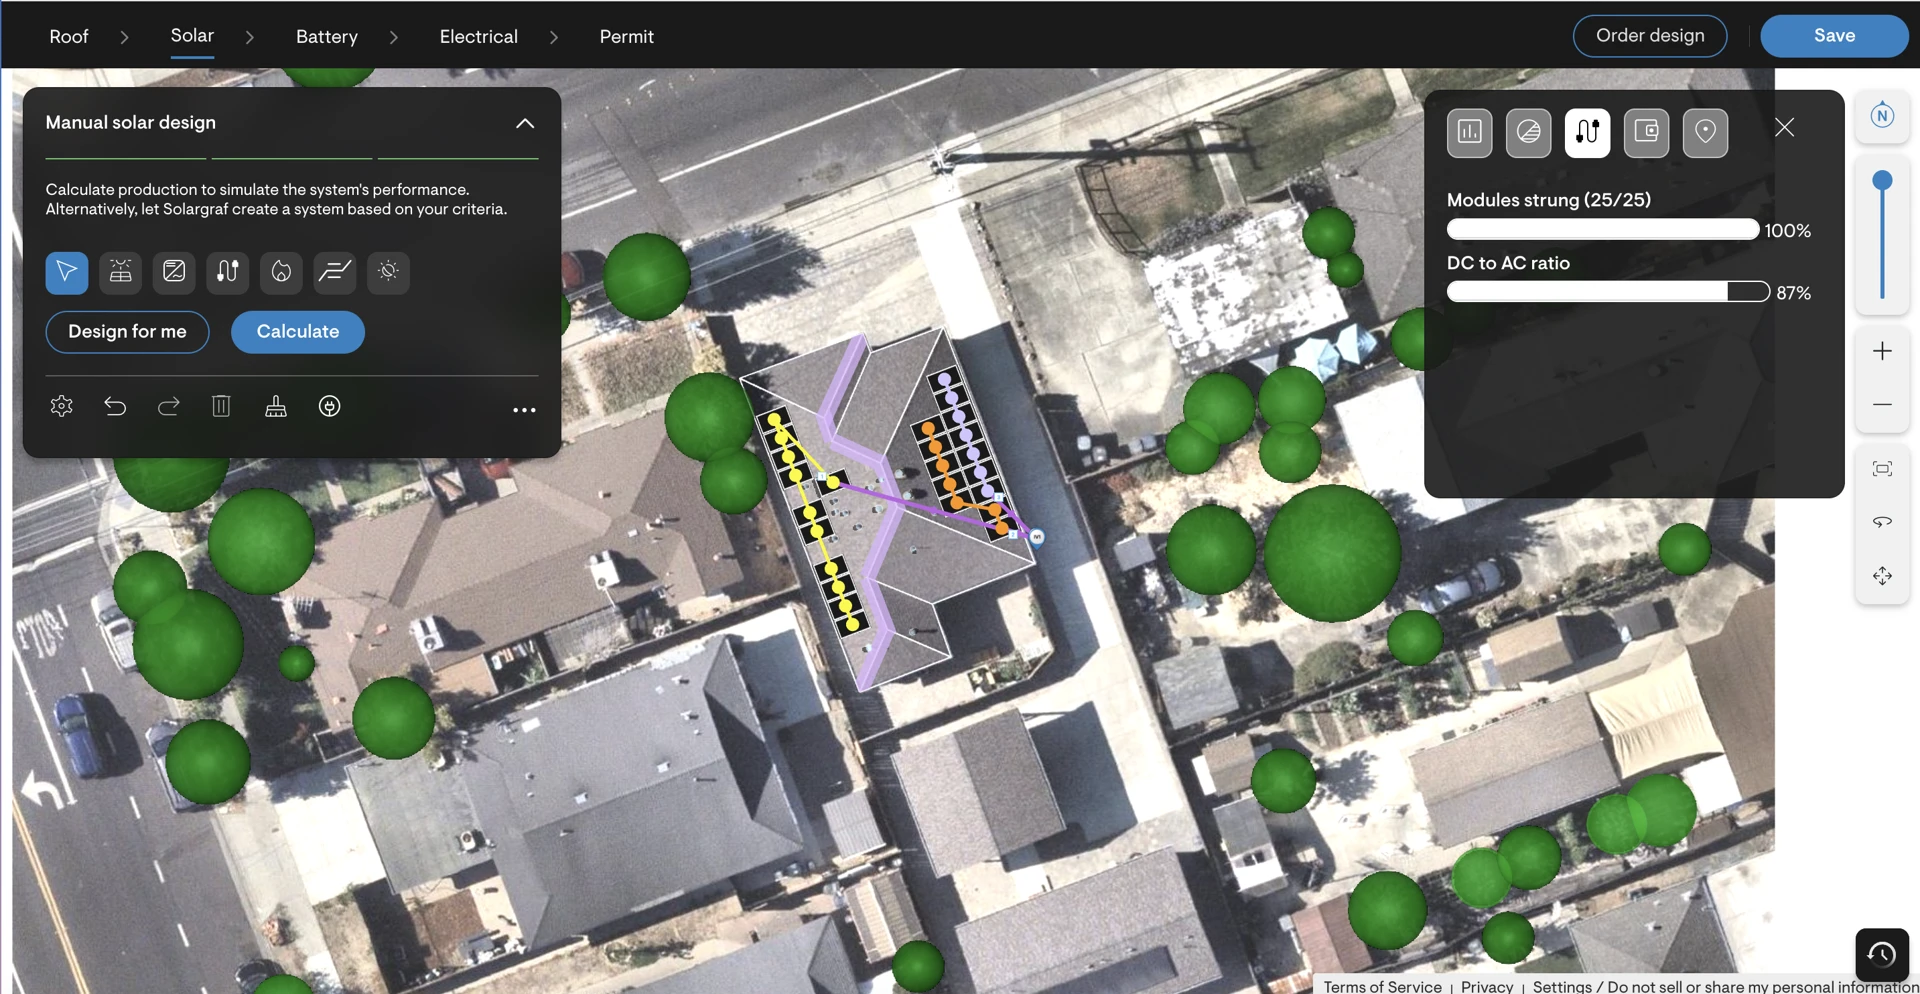
Solargraf automatically creates optimal strings within seconds, maximizing energy output and minimizing project costs by optimizing string number and length within structural and electrical limits. It also determines the number and placement of inverters.
You can manually adjust the generated strings or inverter positions if needed.
Solargraf will immediately notify you of any stringing validation issues, allowing you to correct them and rerun the auto-stringing tool.
Microinverter
Within Solar design tab or electrical design tab, after panels and microinverters placement,
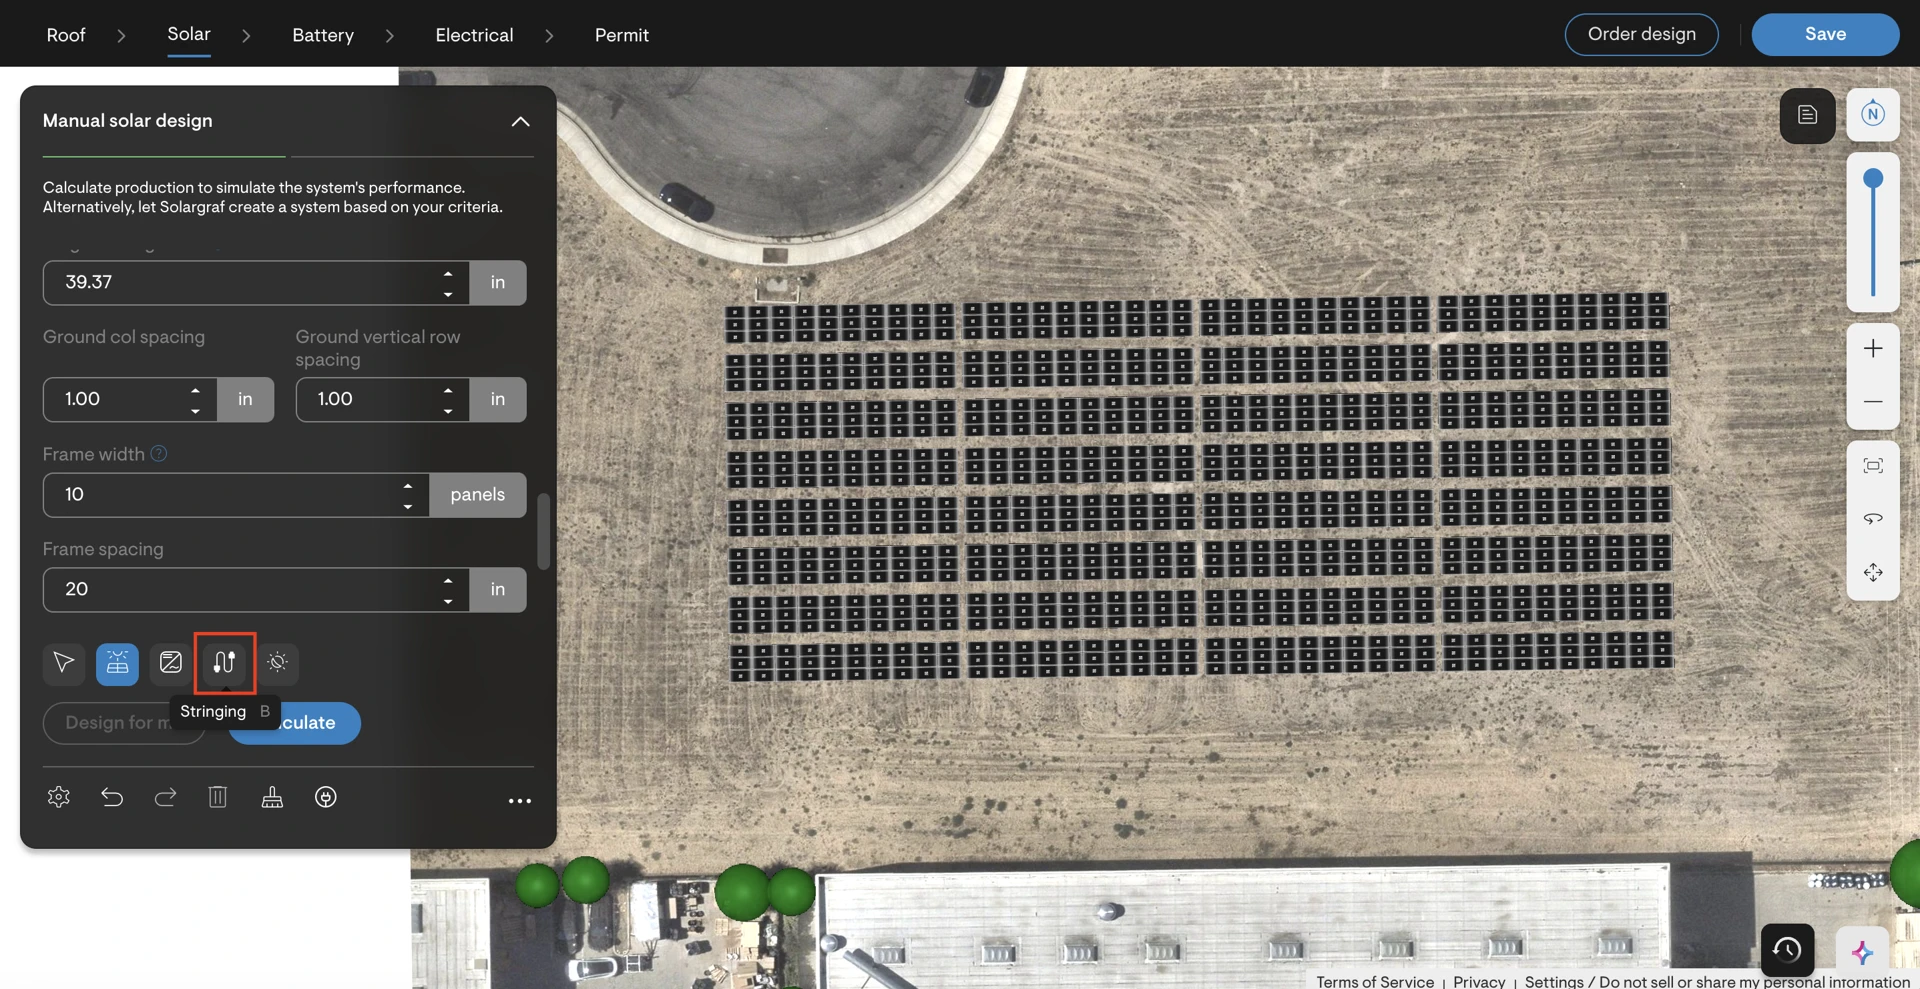
Click the stringing icon (or use the shortcut "B").
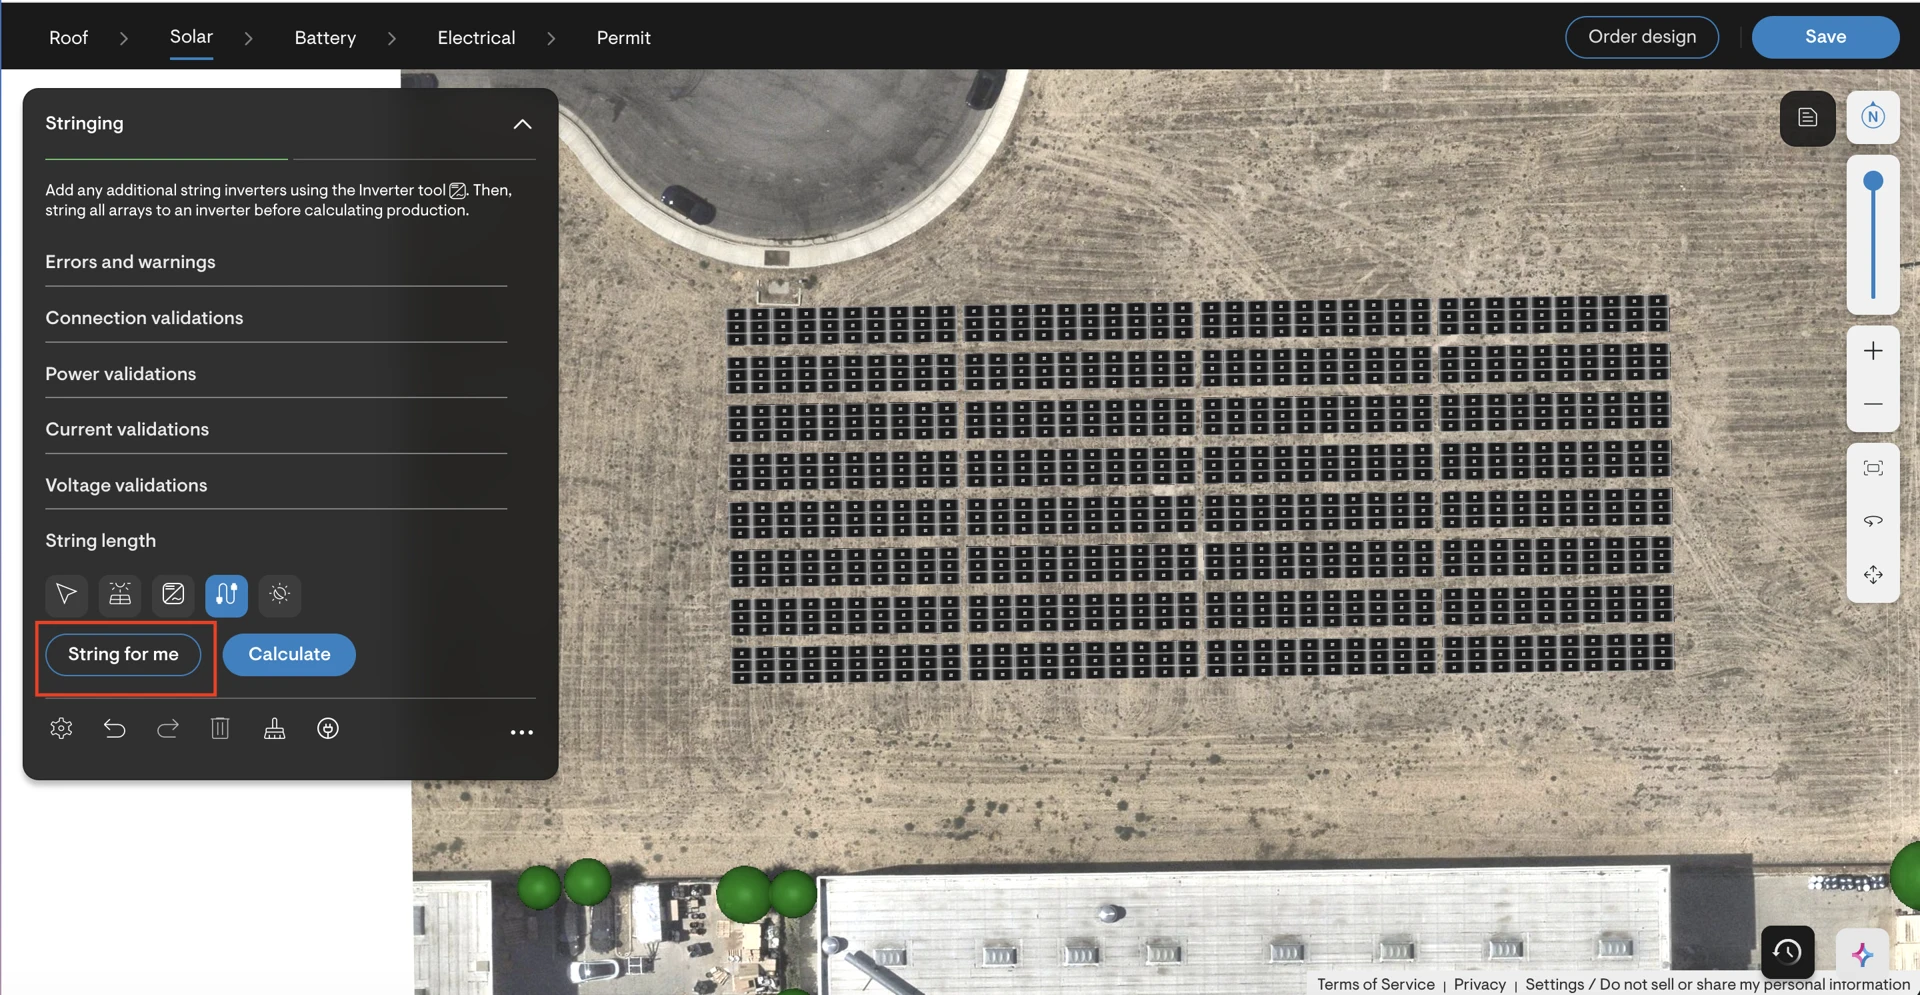
Click String for me button.
Solargraf automatically connects microinverters into optimal parallel branches within seconds, optimizing the number and length of branches within structural and electrical limits.
You can manually adjust the generated branches or microinverter placement if needed. This branching is the first step in generating Single Line Diagrams (SLDs).
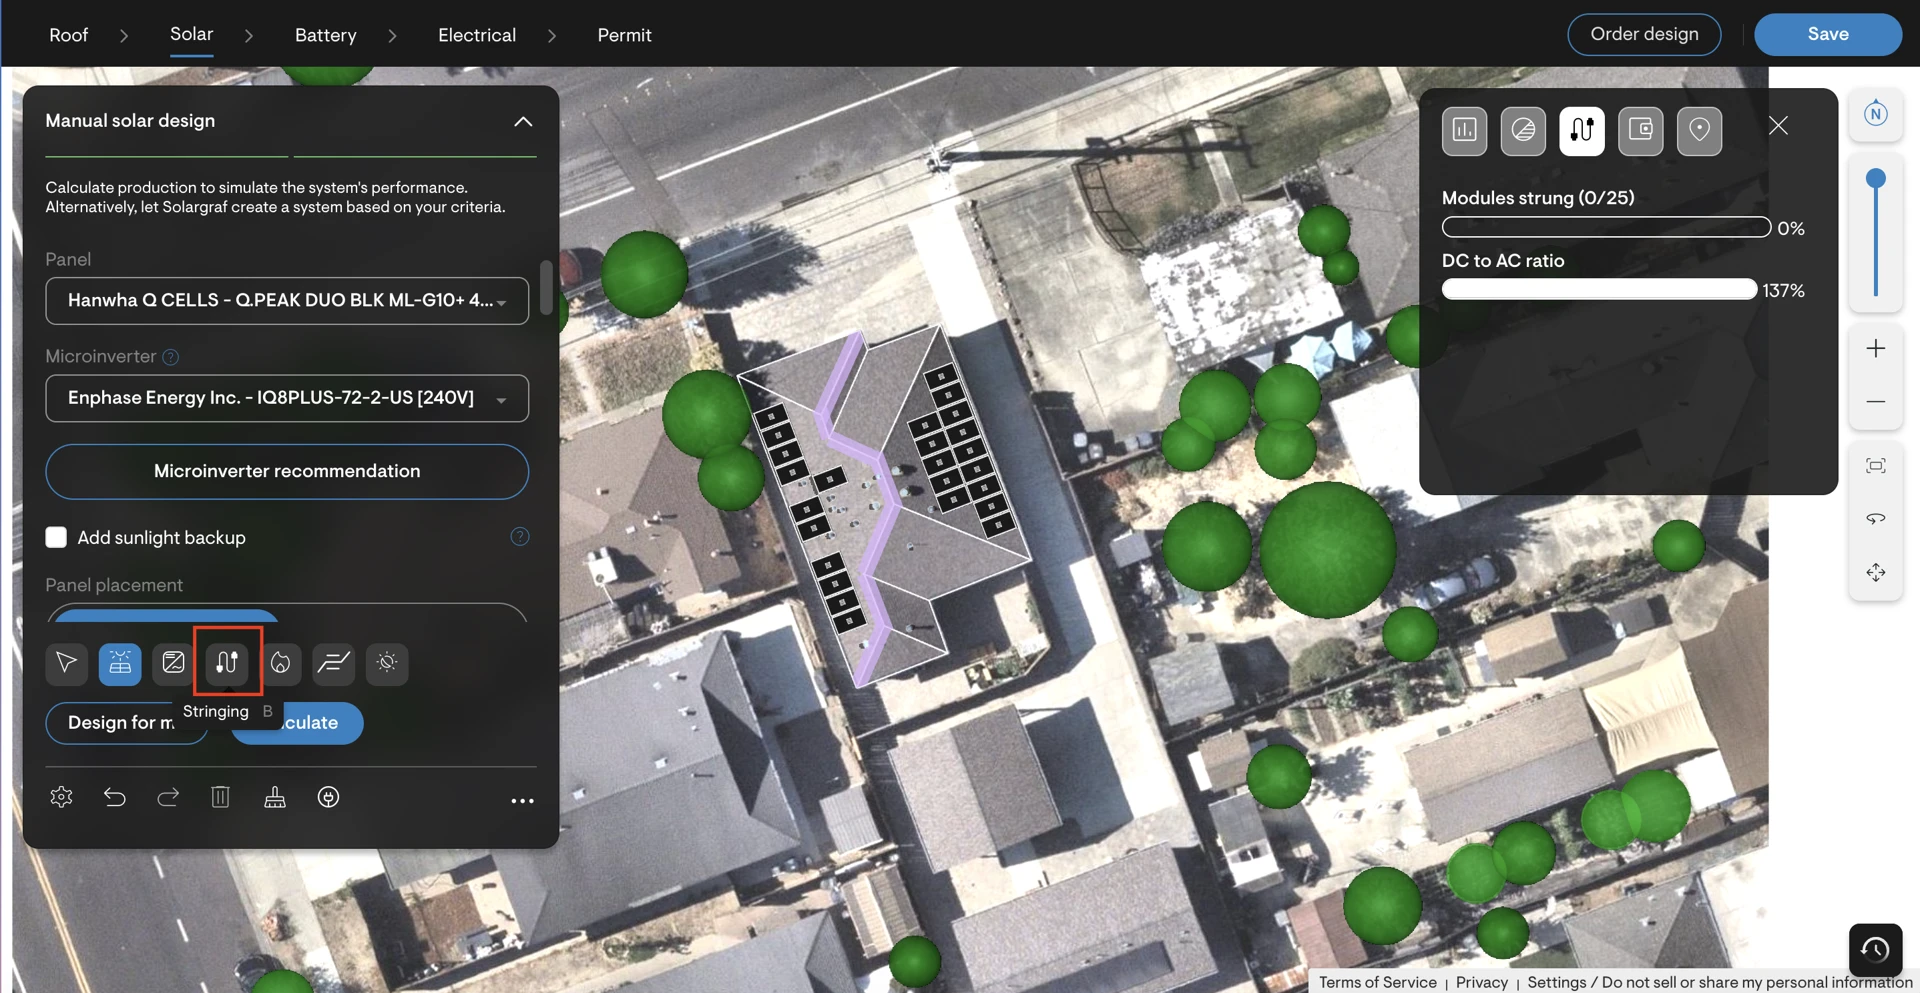
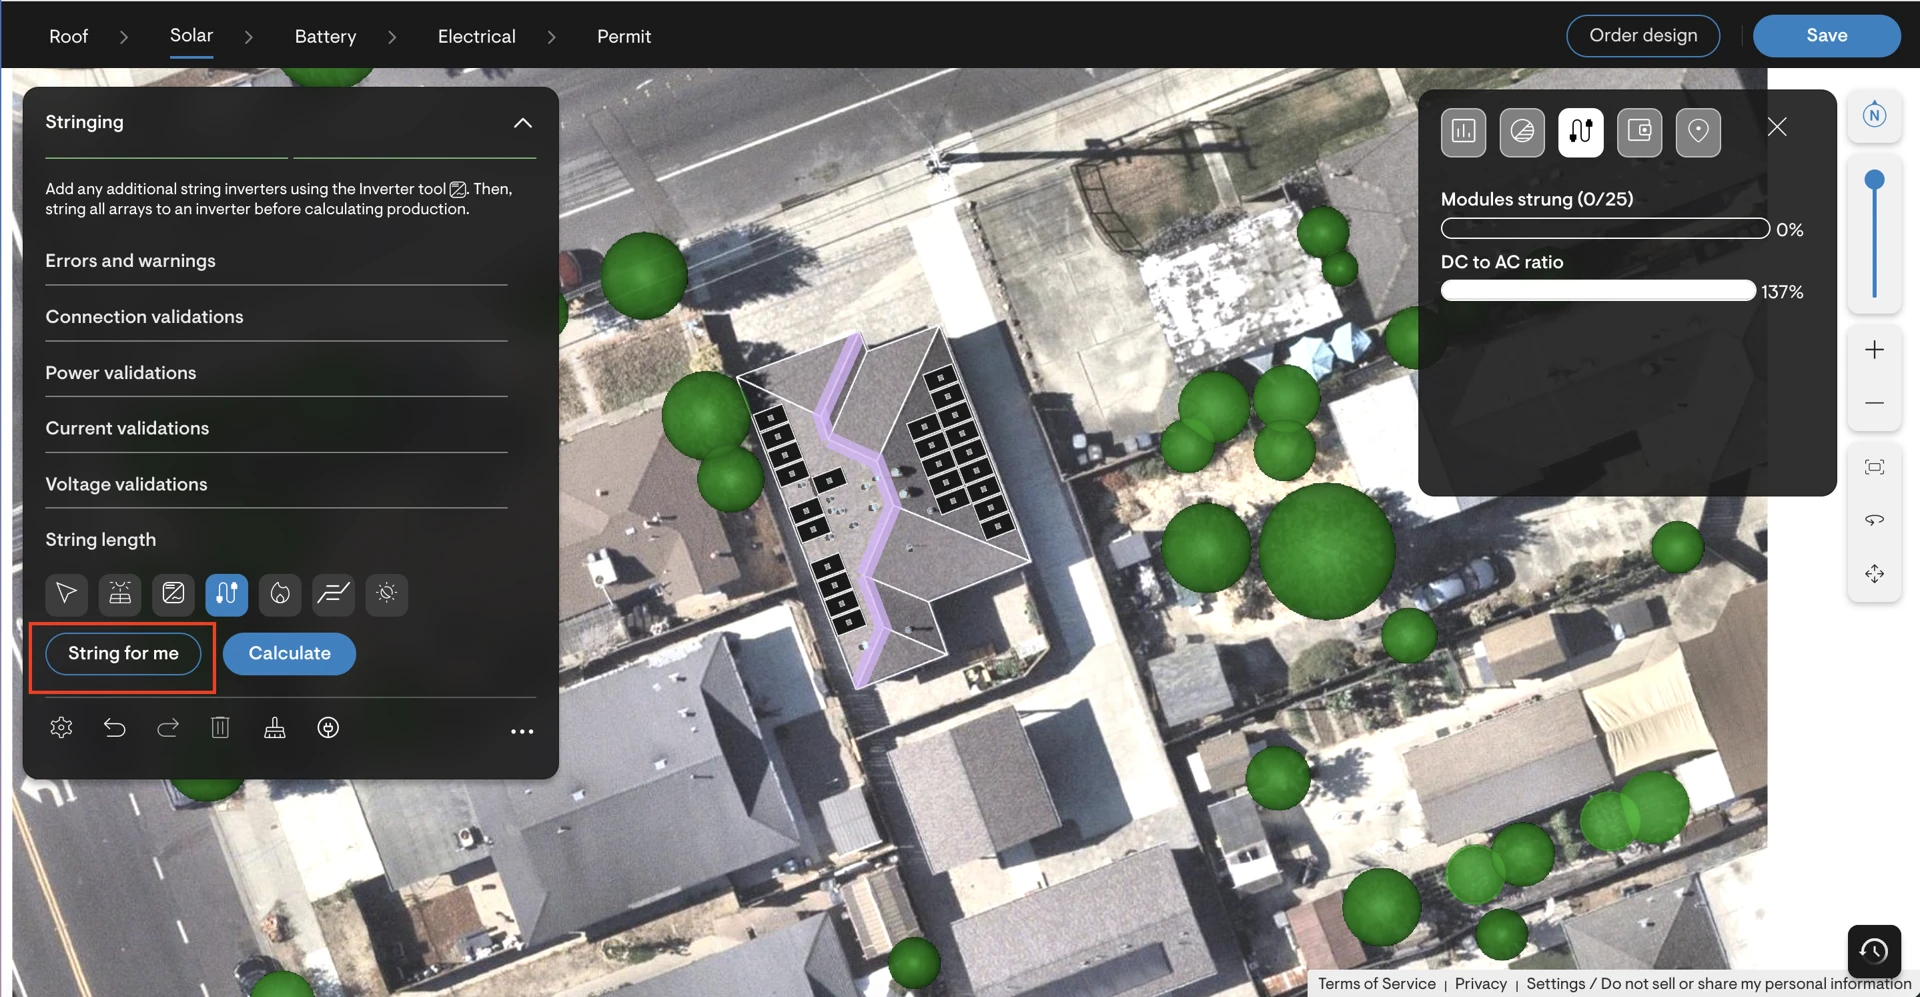
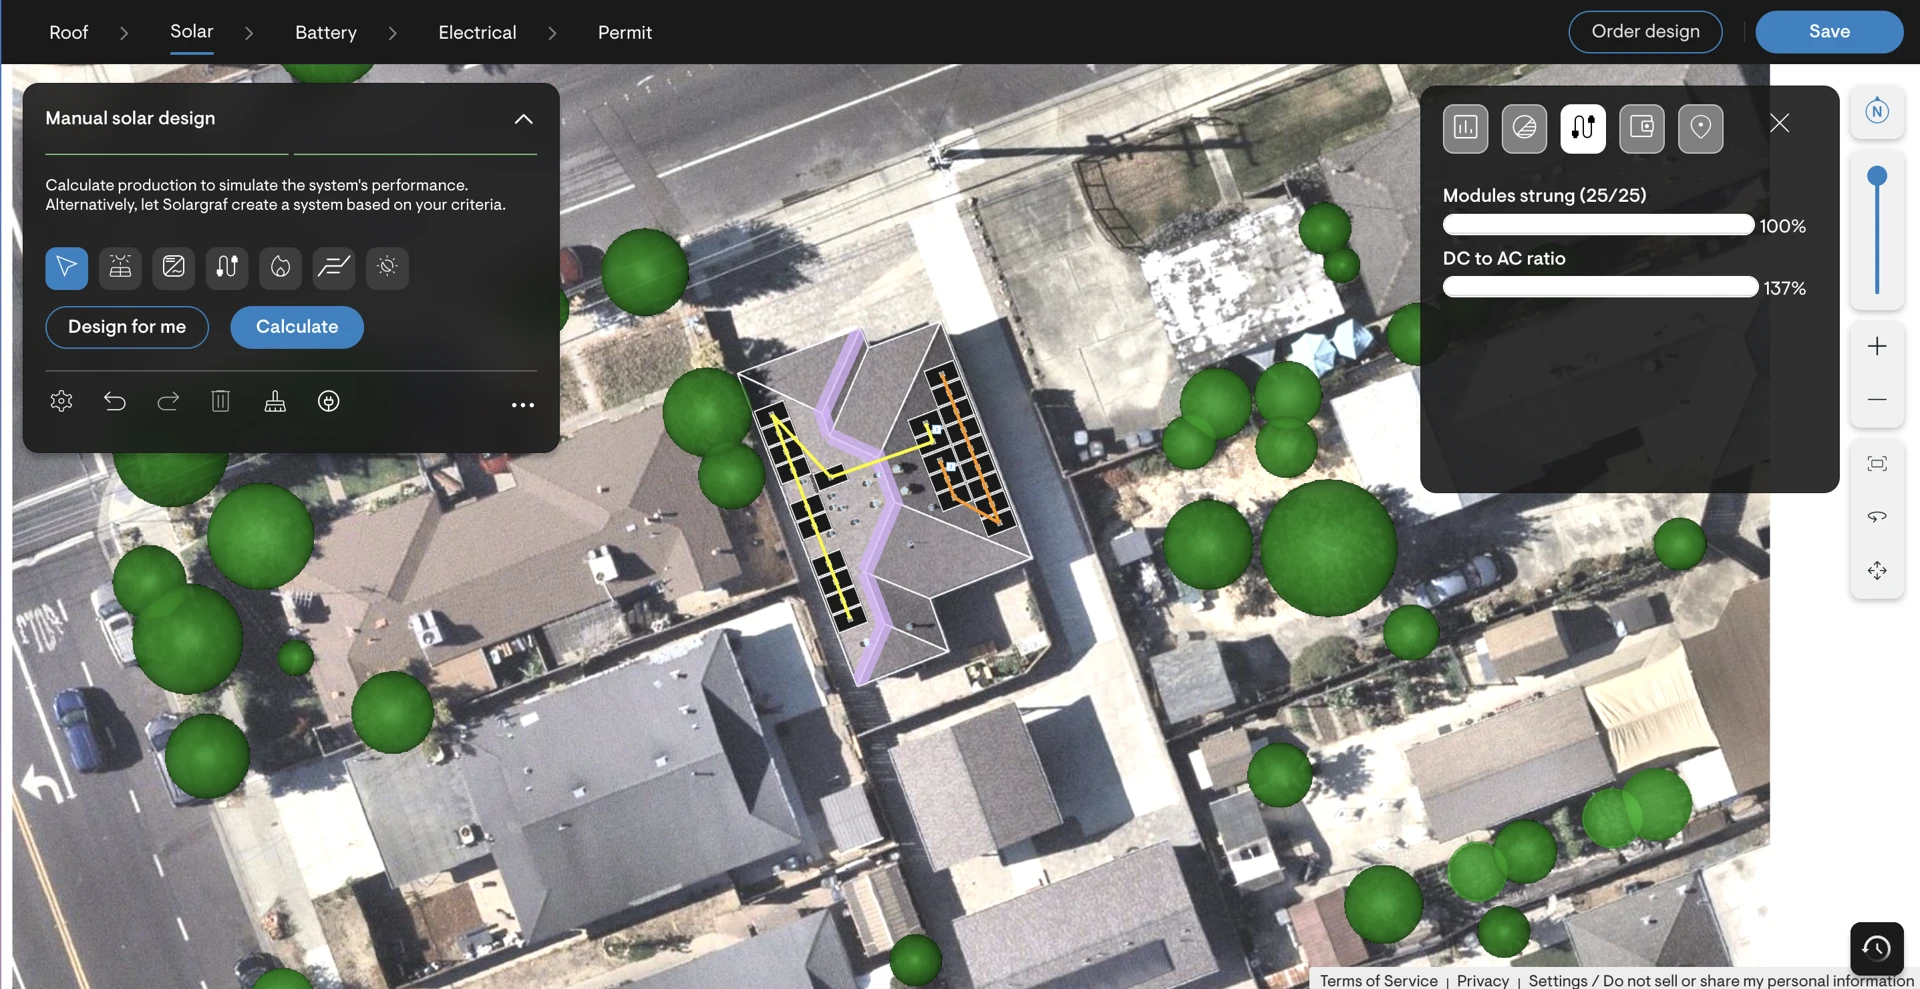
While auto-stringing's primary benefit is streamlining series connections for string inverters, it also simplifies parallel connections in microinverter systems, essential for SLD generation within Solargraf's Electrical Design tab.
Ground Mount
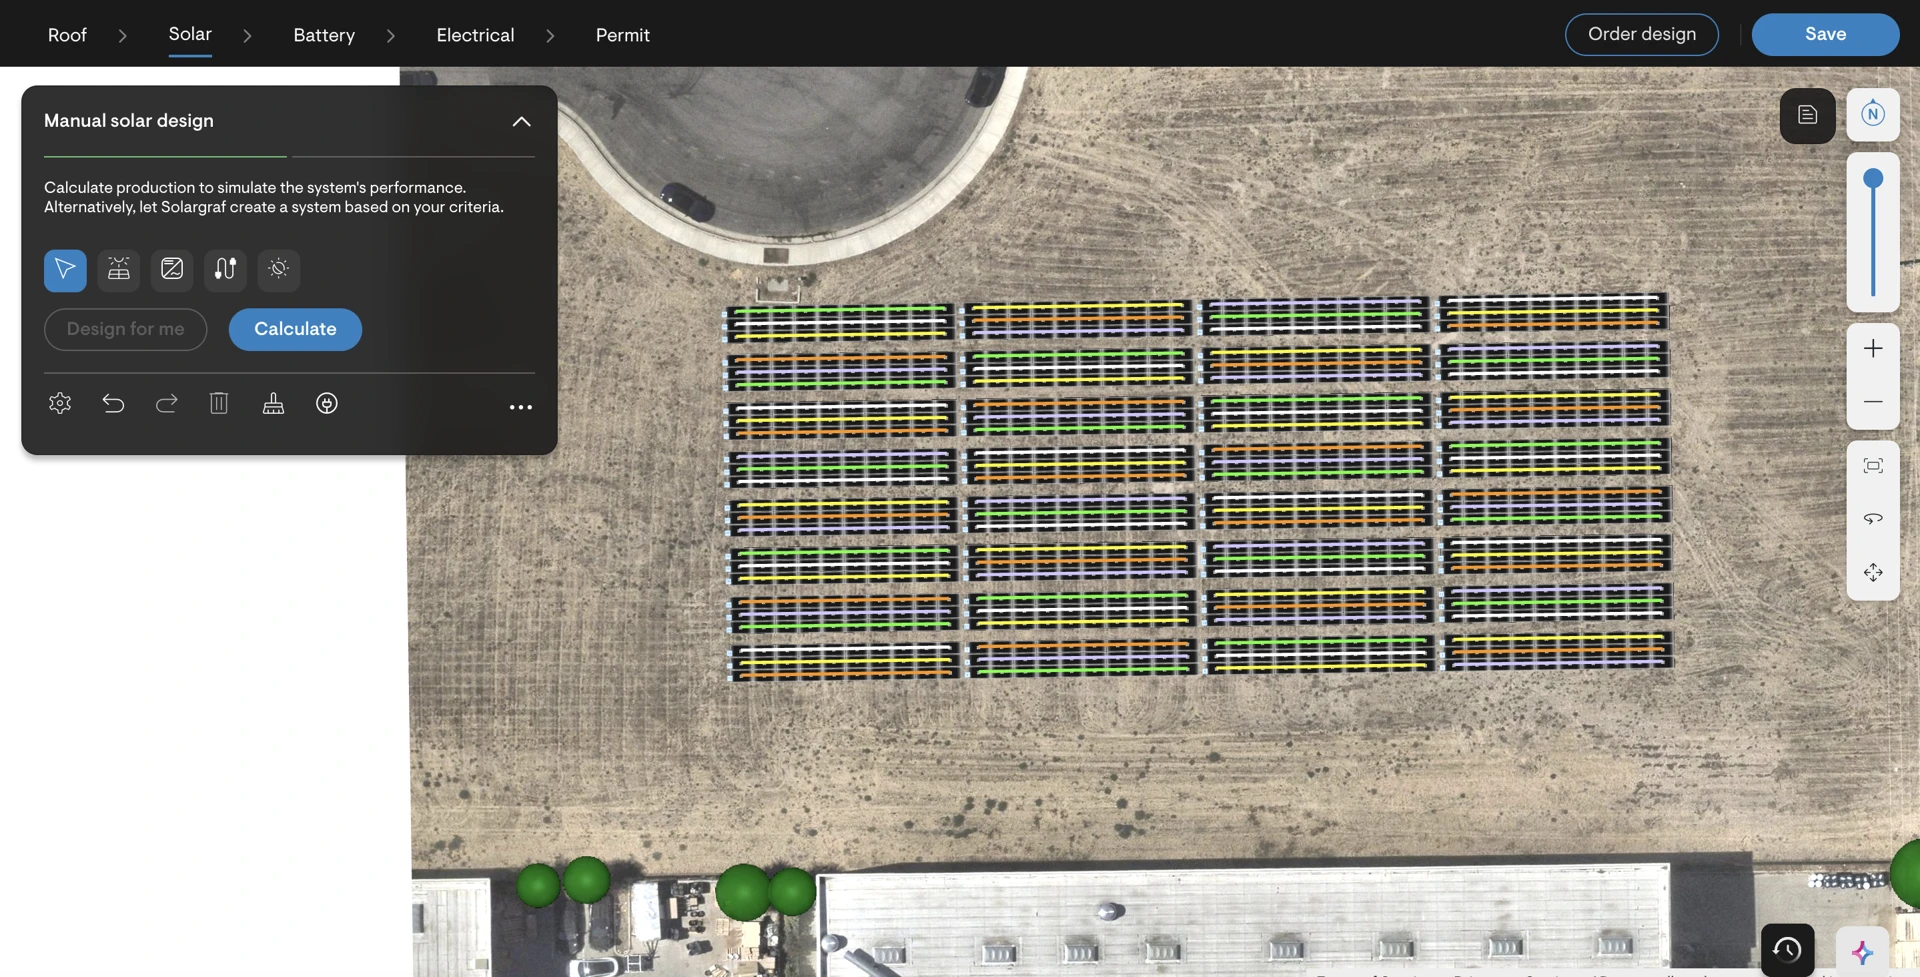
Project used in staging to create ground mount design Solargraf
Within Solar design tab or electrical design tab, after panels and inverters placement,
Click the stringing icon (or use the shortcut "B").
Click String for me button.
Toggle ON “Jump between frames” if you want panels to be connected across frames in the same string.
Solargraf automatically creates optimal strings within seconds, maximizing energy output and minimizing project costs by optimizing string number and length within structural and electrical limits.
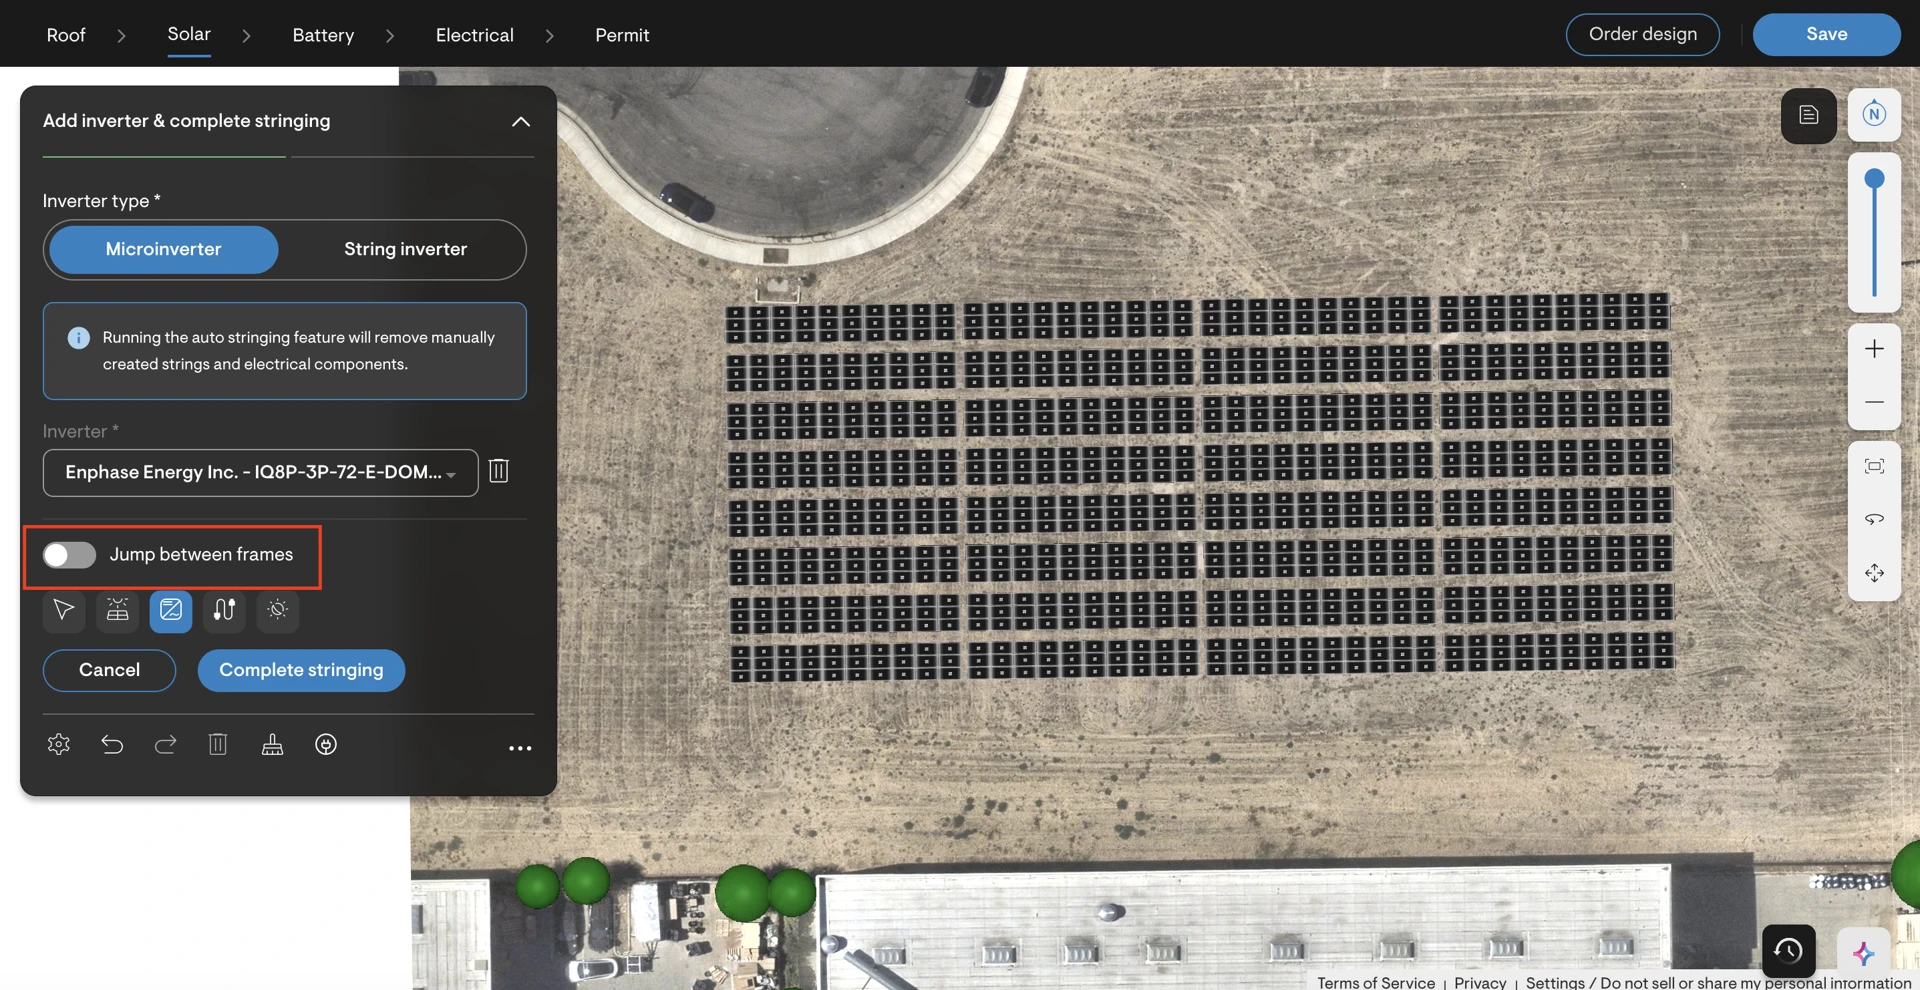 Option to select “Jump between frames”