Help Center Proposal
How to order a Proposal in Solargraf
Published on 10 Aug 2023
This article will walk you through ordering a proposal using Solargraf.
Step 1: Enter the address
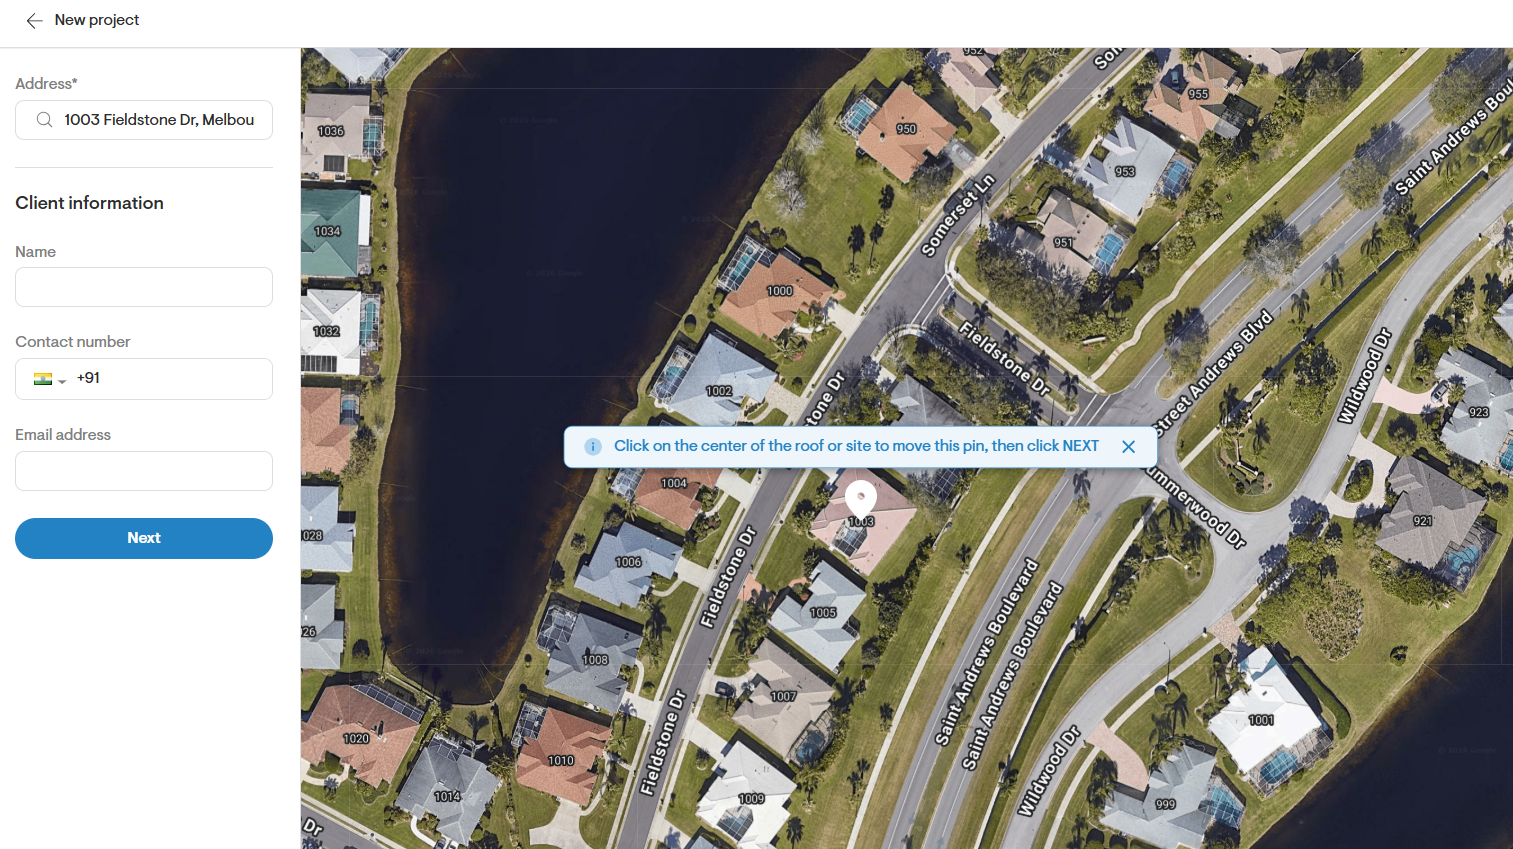
- The first step is to start creating a project as you normally would by going to the 3 white lines at the top of the screen > Dashboard > Select the + icon at the top right of the screen.
- Enter the address for which you wish to order a proposal.
- Click on the Next button.
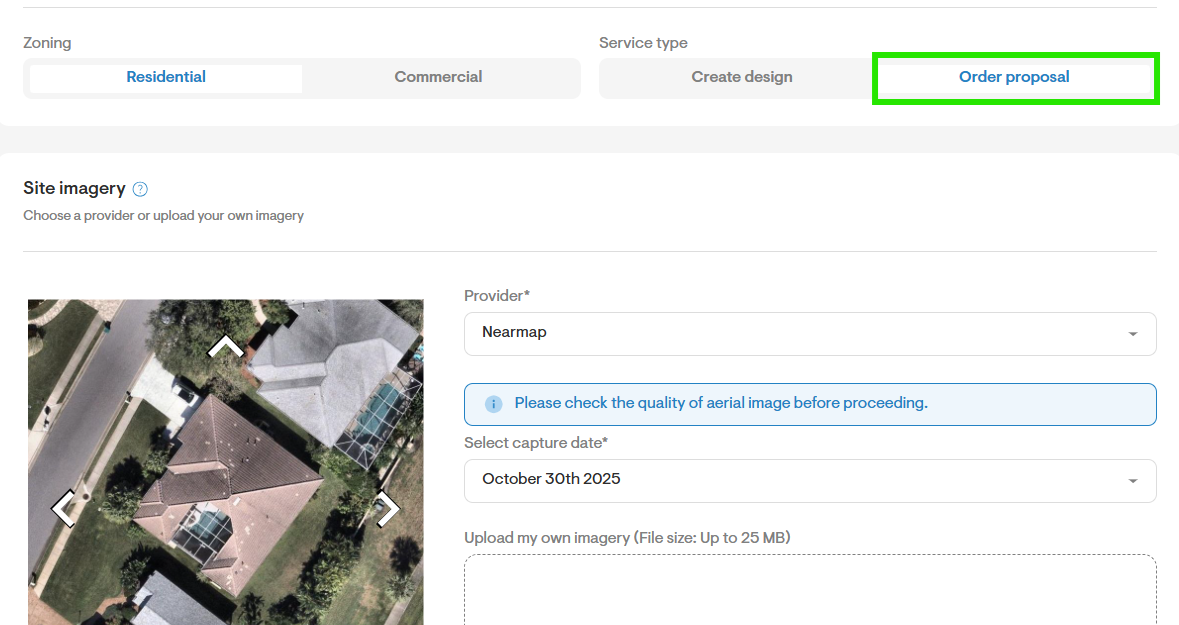
Step 2: Change Service Type to "Order Proposal".
- At the top center of the screen you will find the service type field, now you can select the Order Proposal field.
Step 3: Complete all the sections in the project creation page
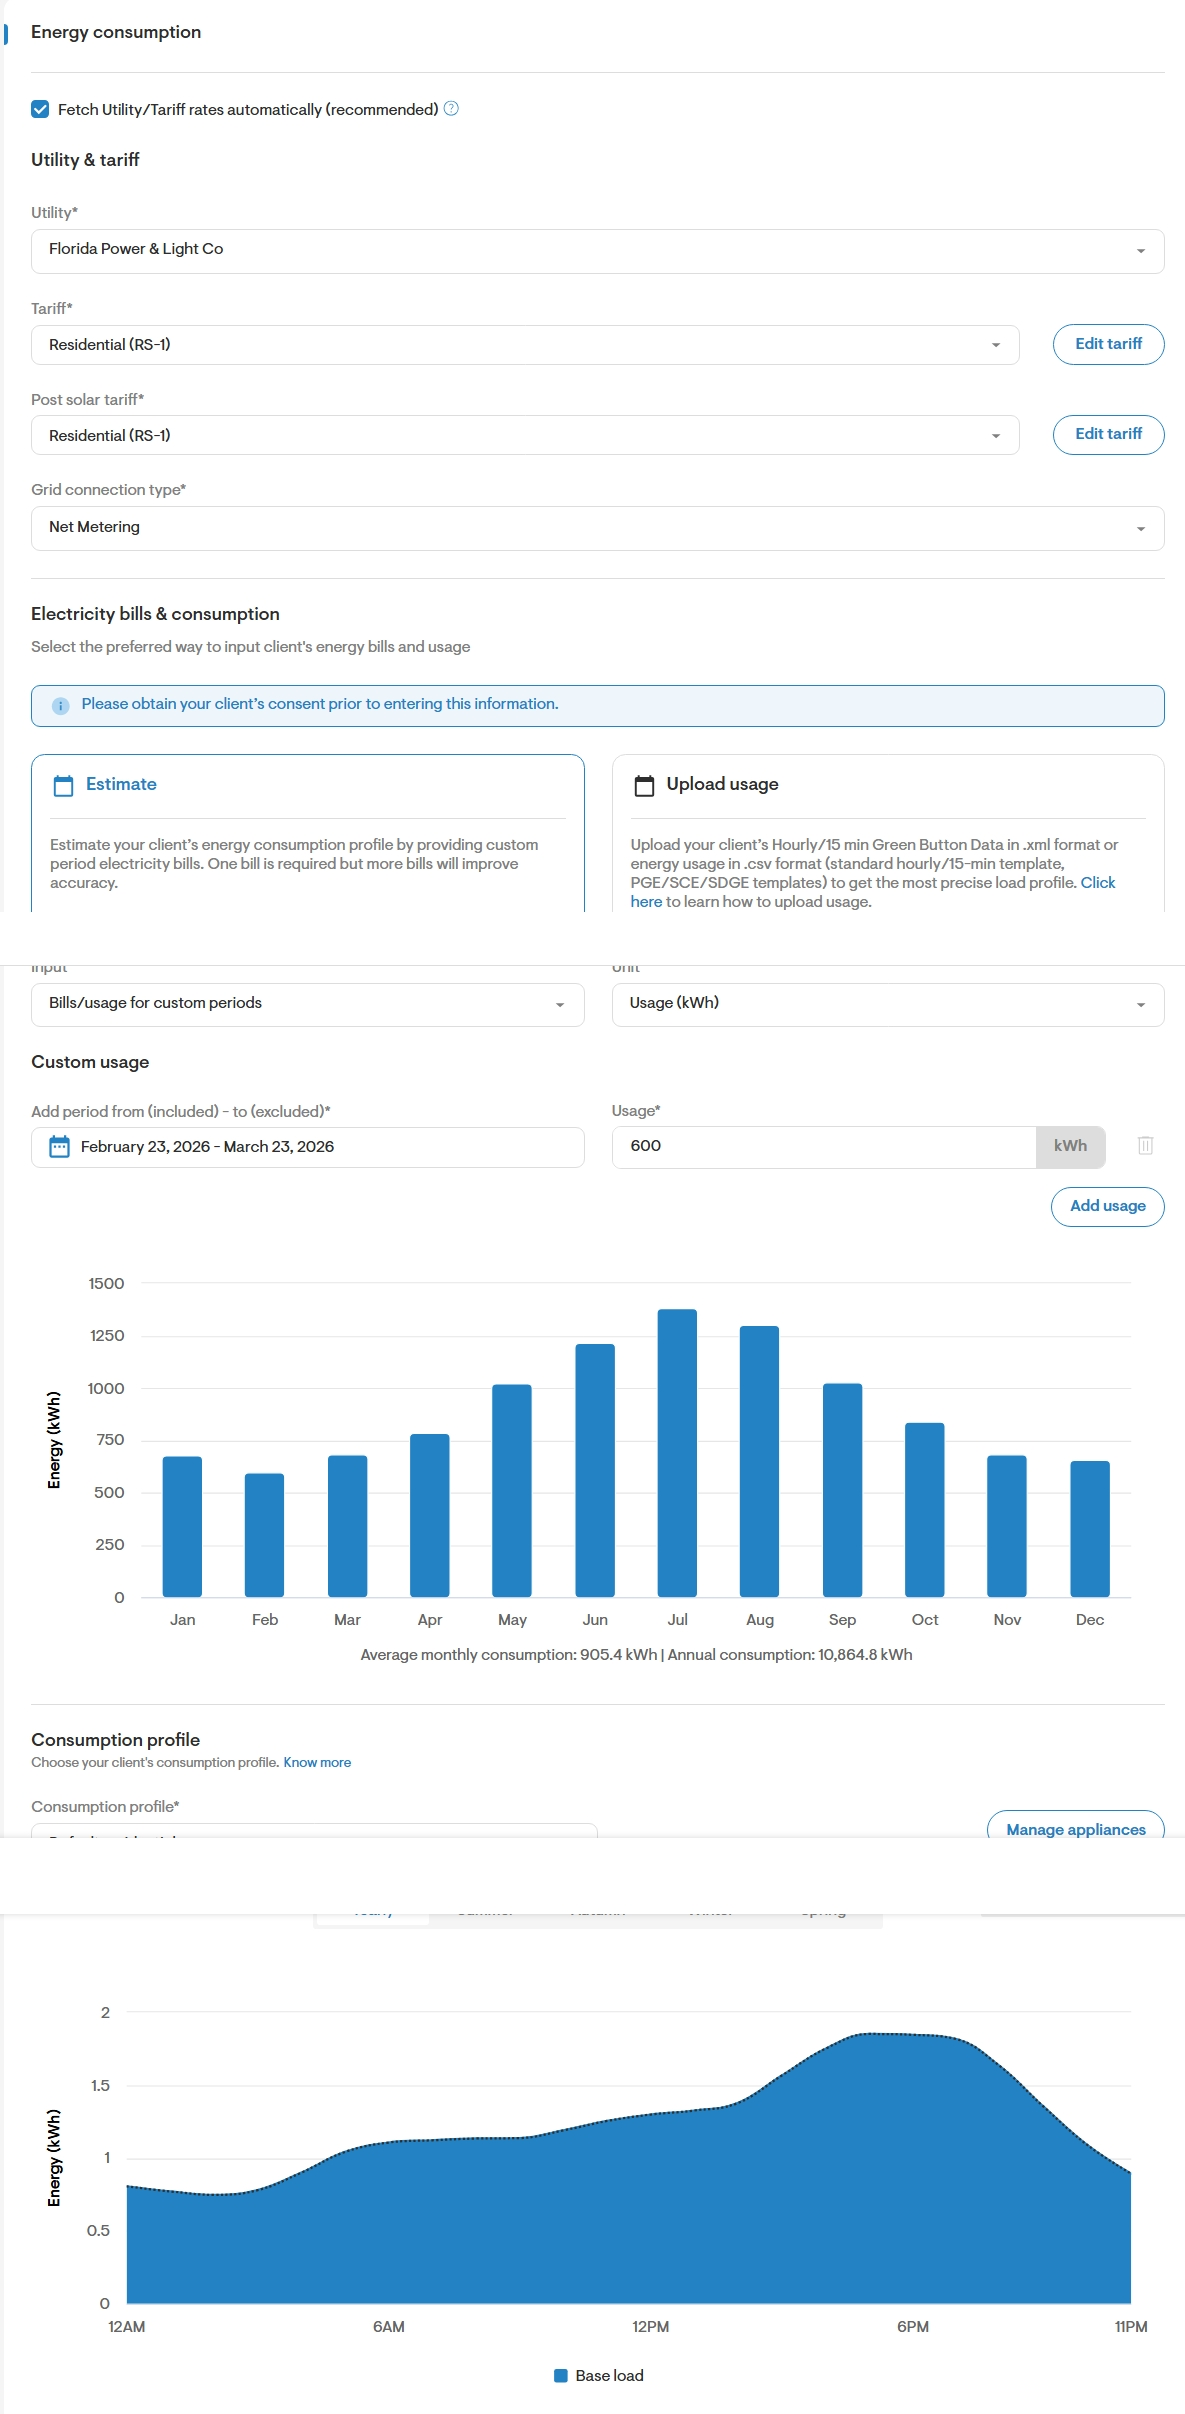
- Add the Energy Consumption of the property by selecting the Utility and applicable tariff.
- Enter the energy consumption either from our Fetch Utility/Tariff rates automatically feature or custom Utility.
Step 4: Complete Proposal related fields
- Once you have filled out the form above, you can now click on the OrderProposal button.
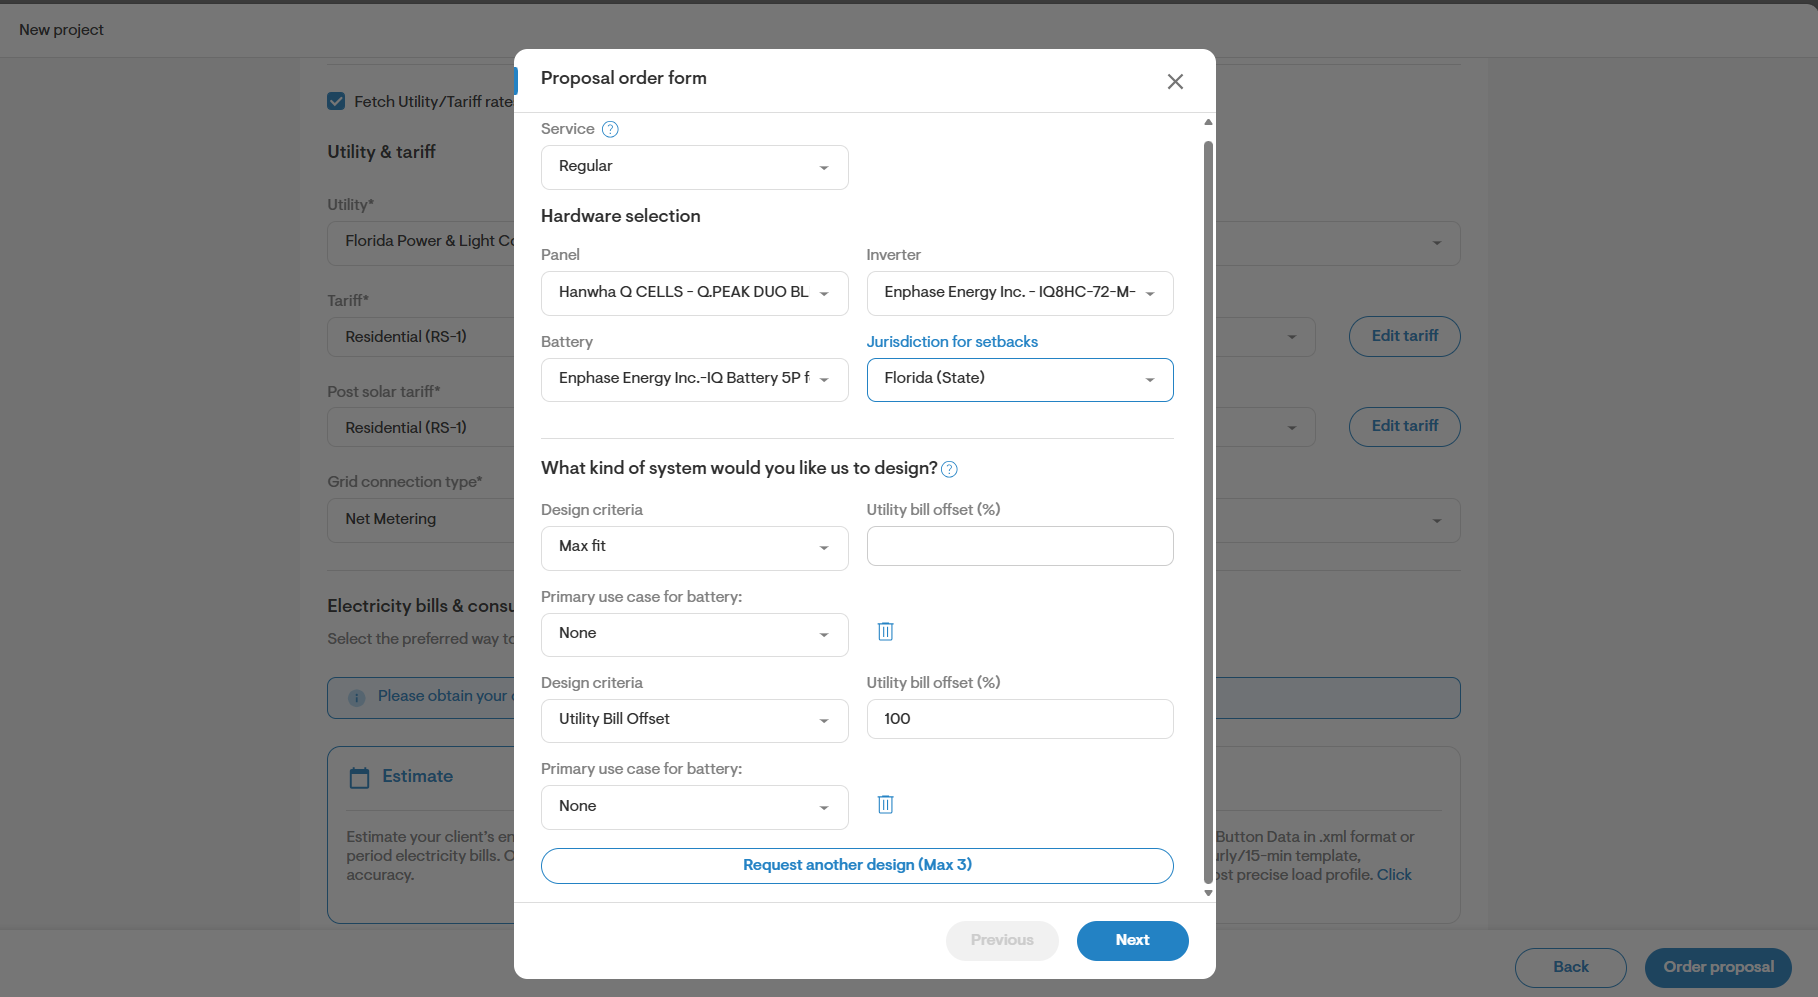
- You will see a new box appear with design related fields to complete to help our designers provide an accurate drawing.
- Make sure to add notes with any relevant details which were not included in the fields.
- Please review the Design Assumptions provided under the comments section in order to get a better idea of the guidelines our designers follow at the time of working on your order.
To upload files with your proposal:
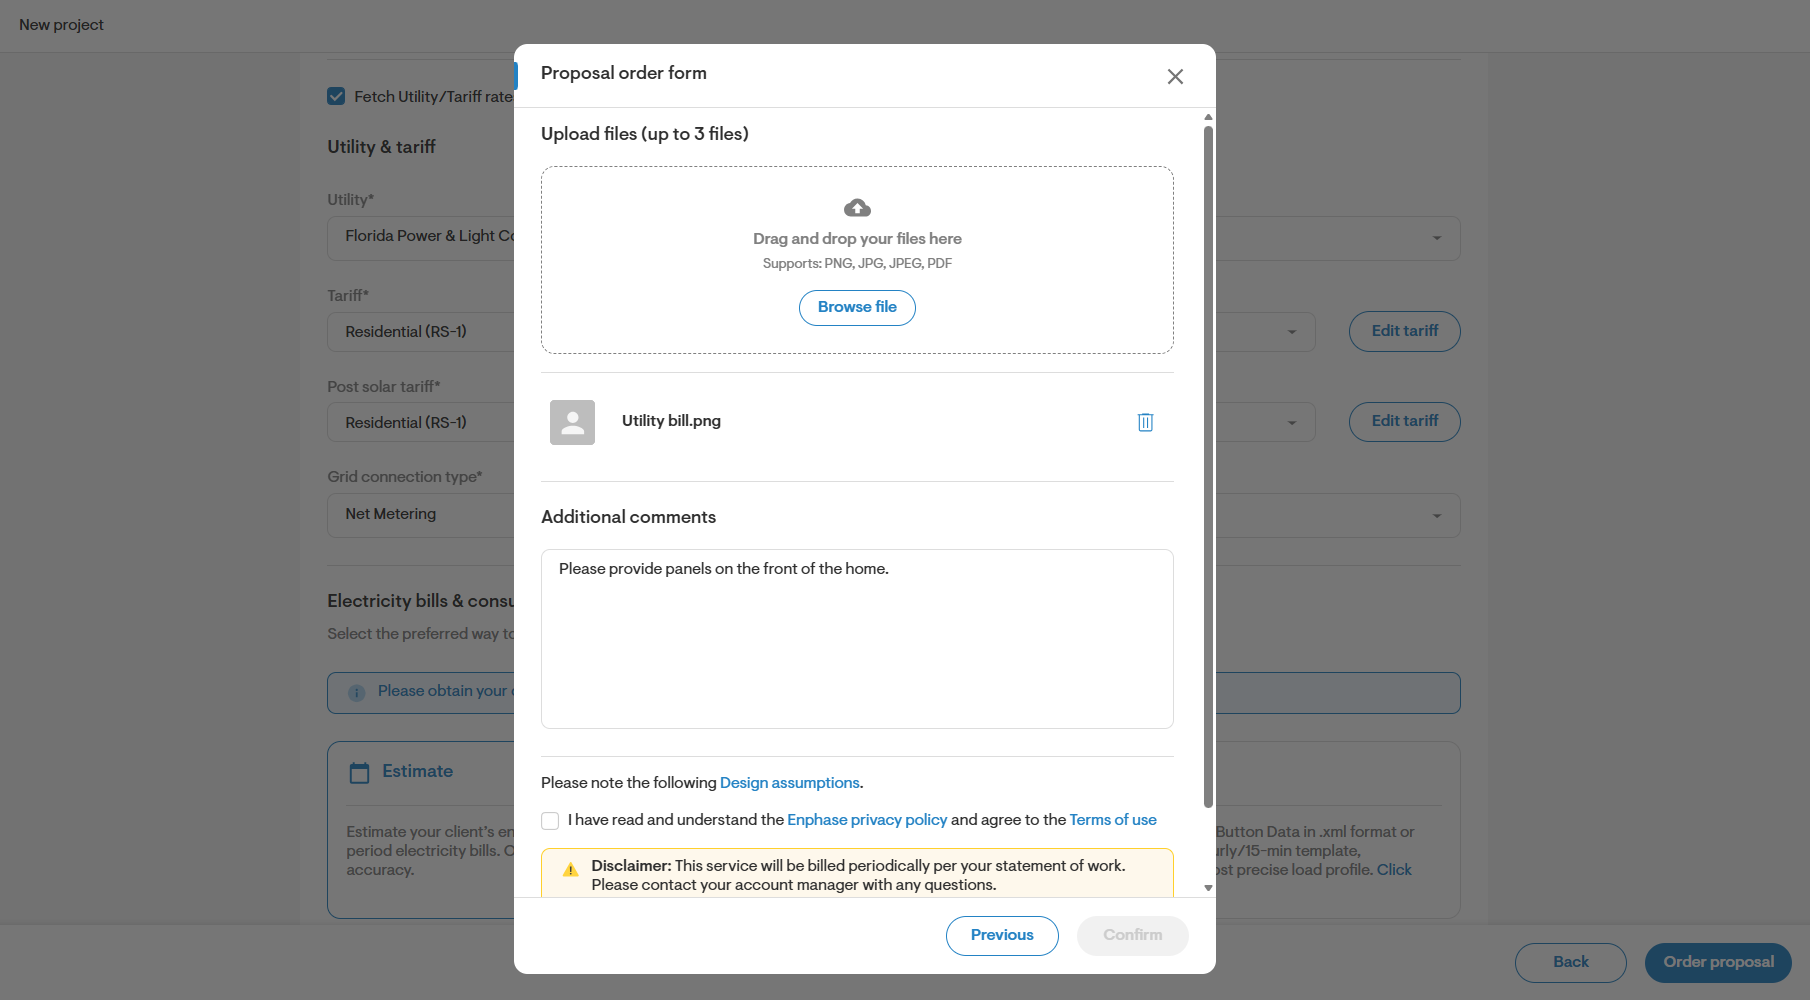
Attach up to 3 files (PDF, PNG, or JPEG) on Page 2 of the order form. Each uploaded file shows a trash icon for removal. Once 3 files are added, upload is disabled. After submitting your order, files are downloadable by admins via the Orders Dashboard.
Step 4: Submit your request
- Once you have agreed and reviewed the Terms and Conditions you can click on the Confirm button.
- You will receive the proposal in 1 business day(s).
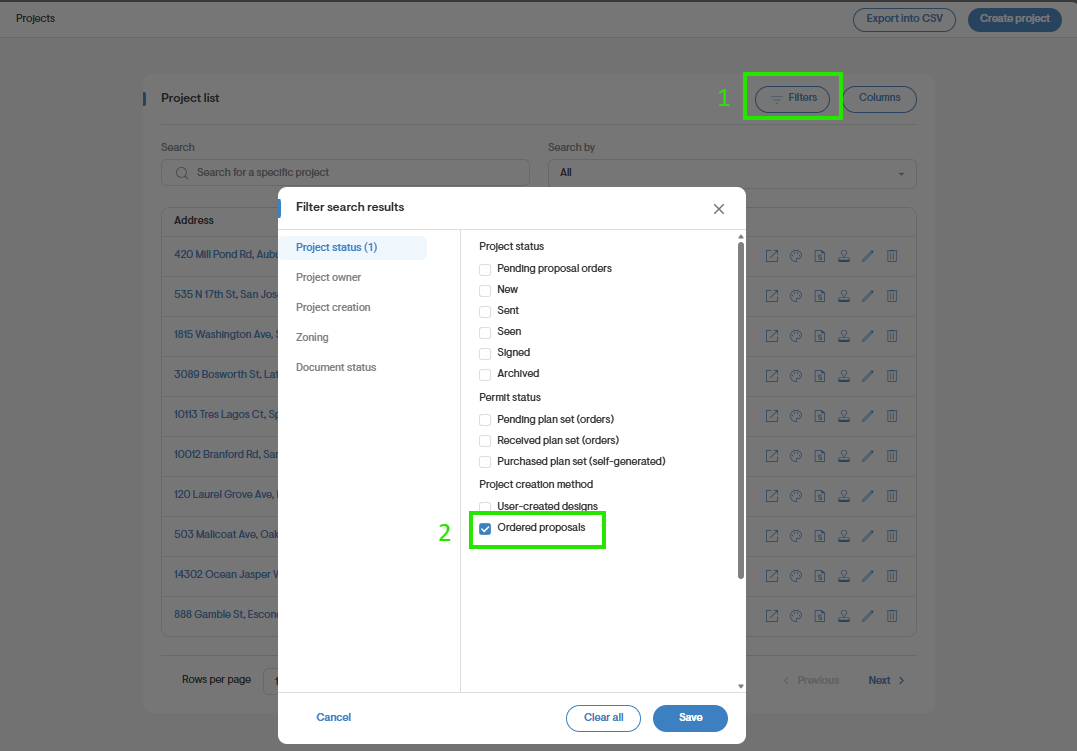
Note: Your proposal can be accessed via your project's page by check marking the Ordered Proposals box in the projects search page.