Help Center Grid Connection Types
How to Set Up a Gross Feed-in Tariff
Published on 10 Dec 2021
This articles describes how to setup a tariff under a gross feed-in-tariff (FiT) scheme (grid connection type). The following steps apply for both manually created and automatically generated utility tariffs.
Step 1: Specify the utility and tariff
- This can be done using the manual utility setup, or by using the Fetch Utility/Tariff rates automatically (recommended).
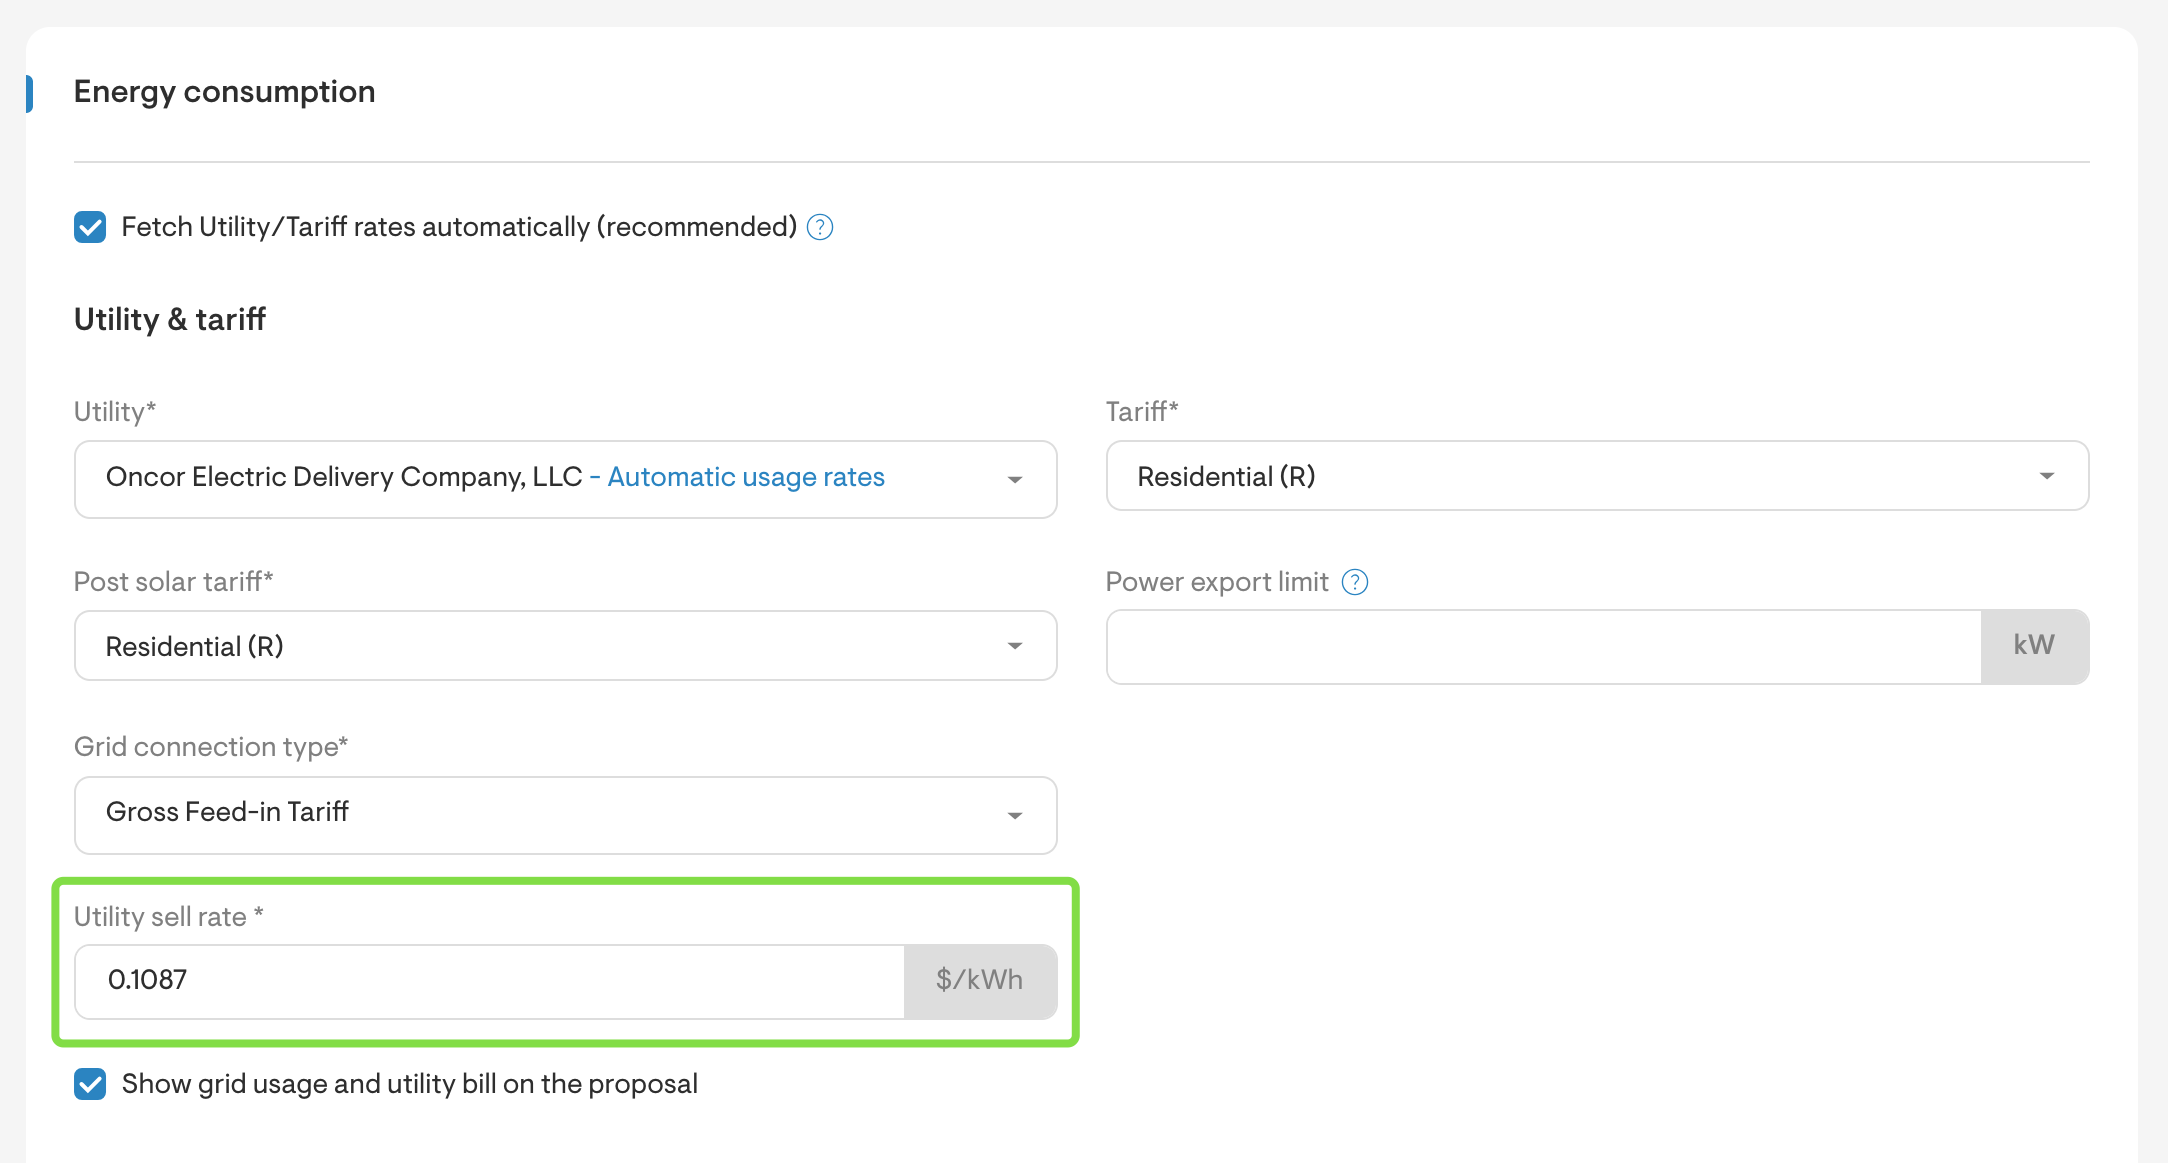
- If Fetch Utility/Tariff rates automatically is selected, you may select a Utility and Tariff from the list of available options. You may also specify a post solar tariff.
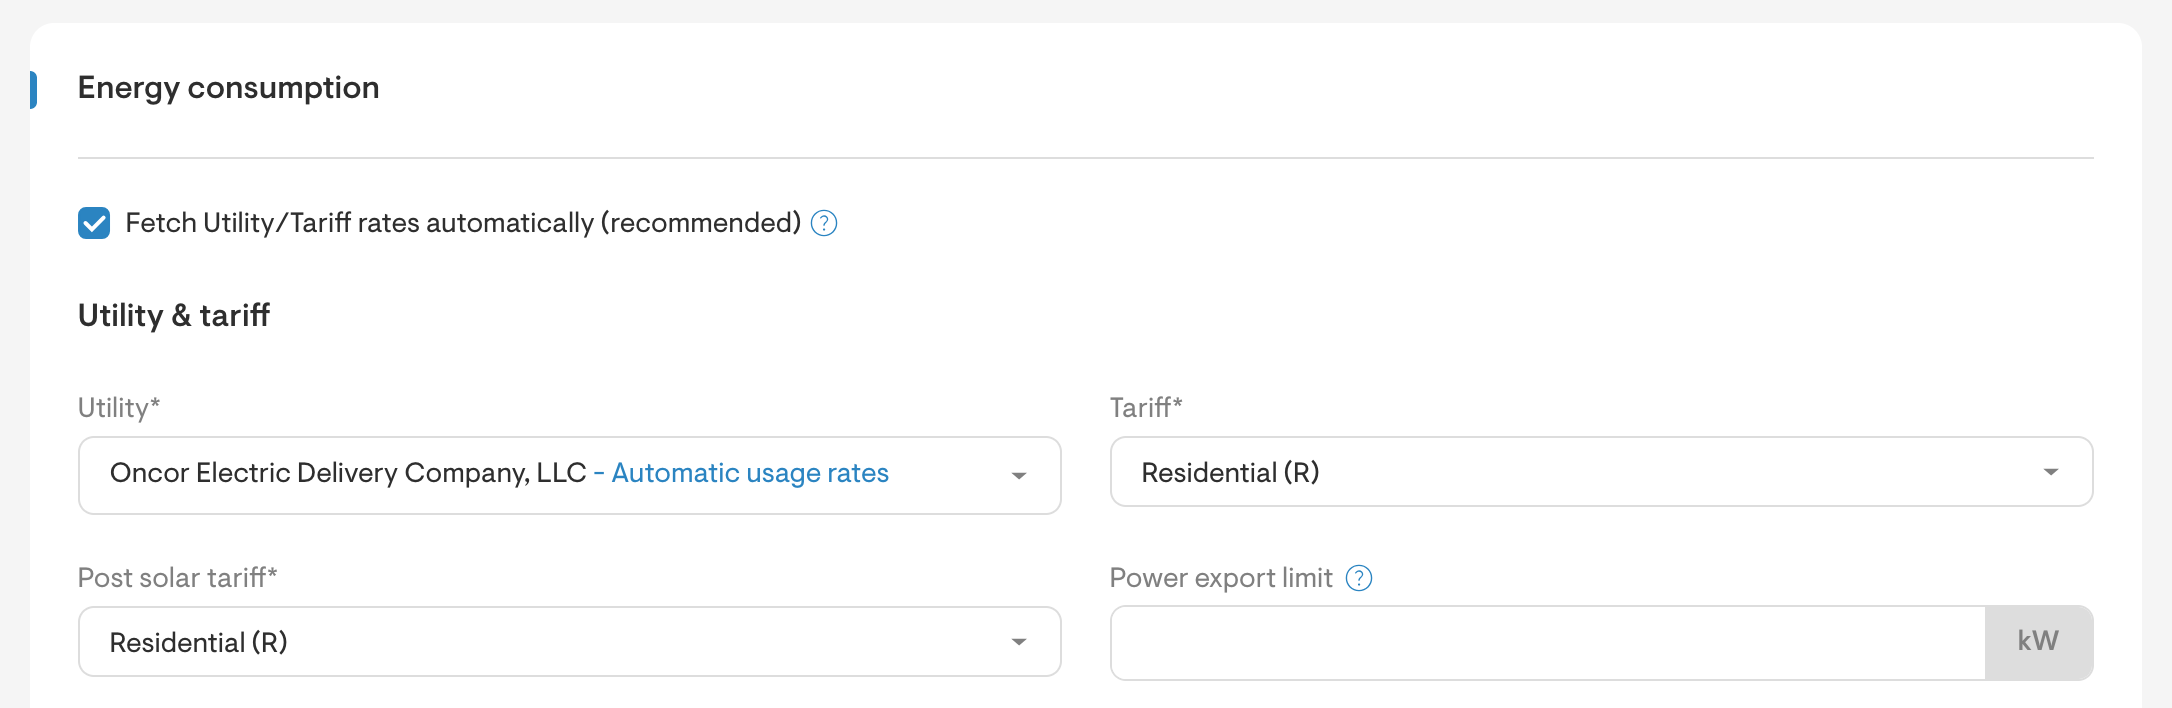
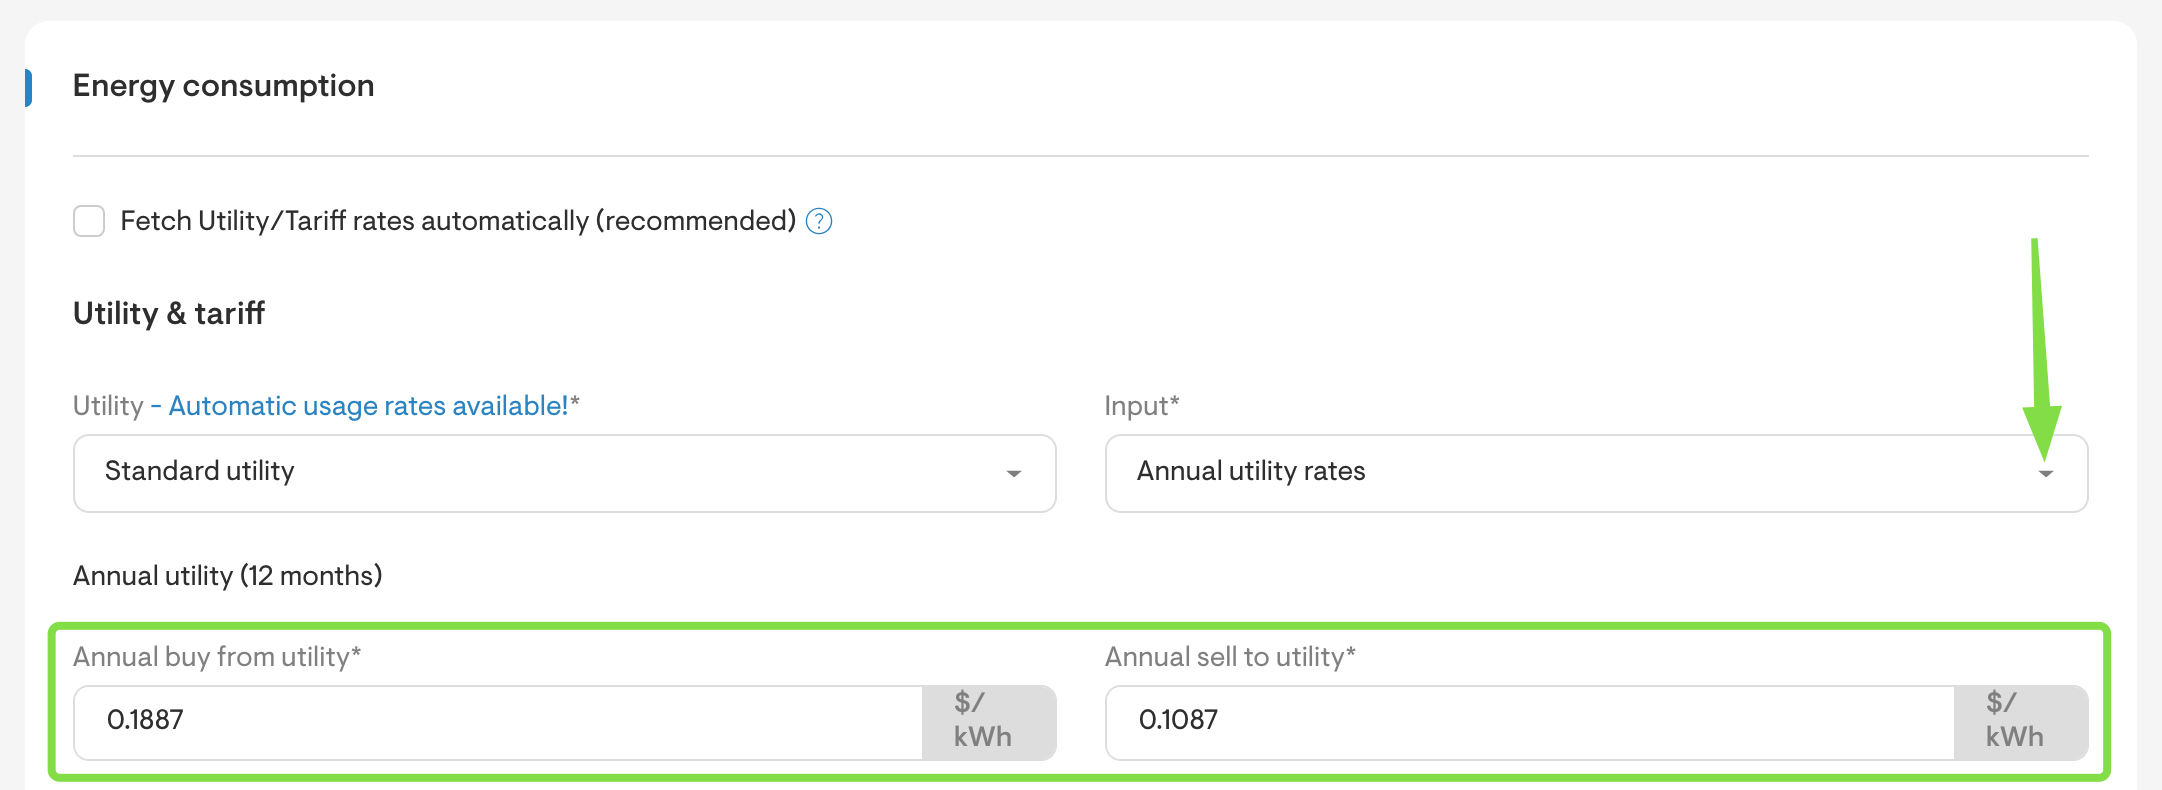
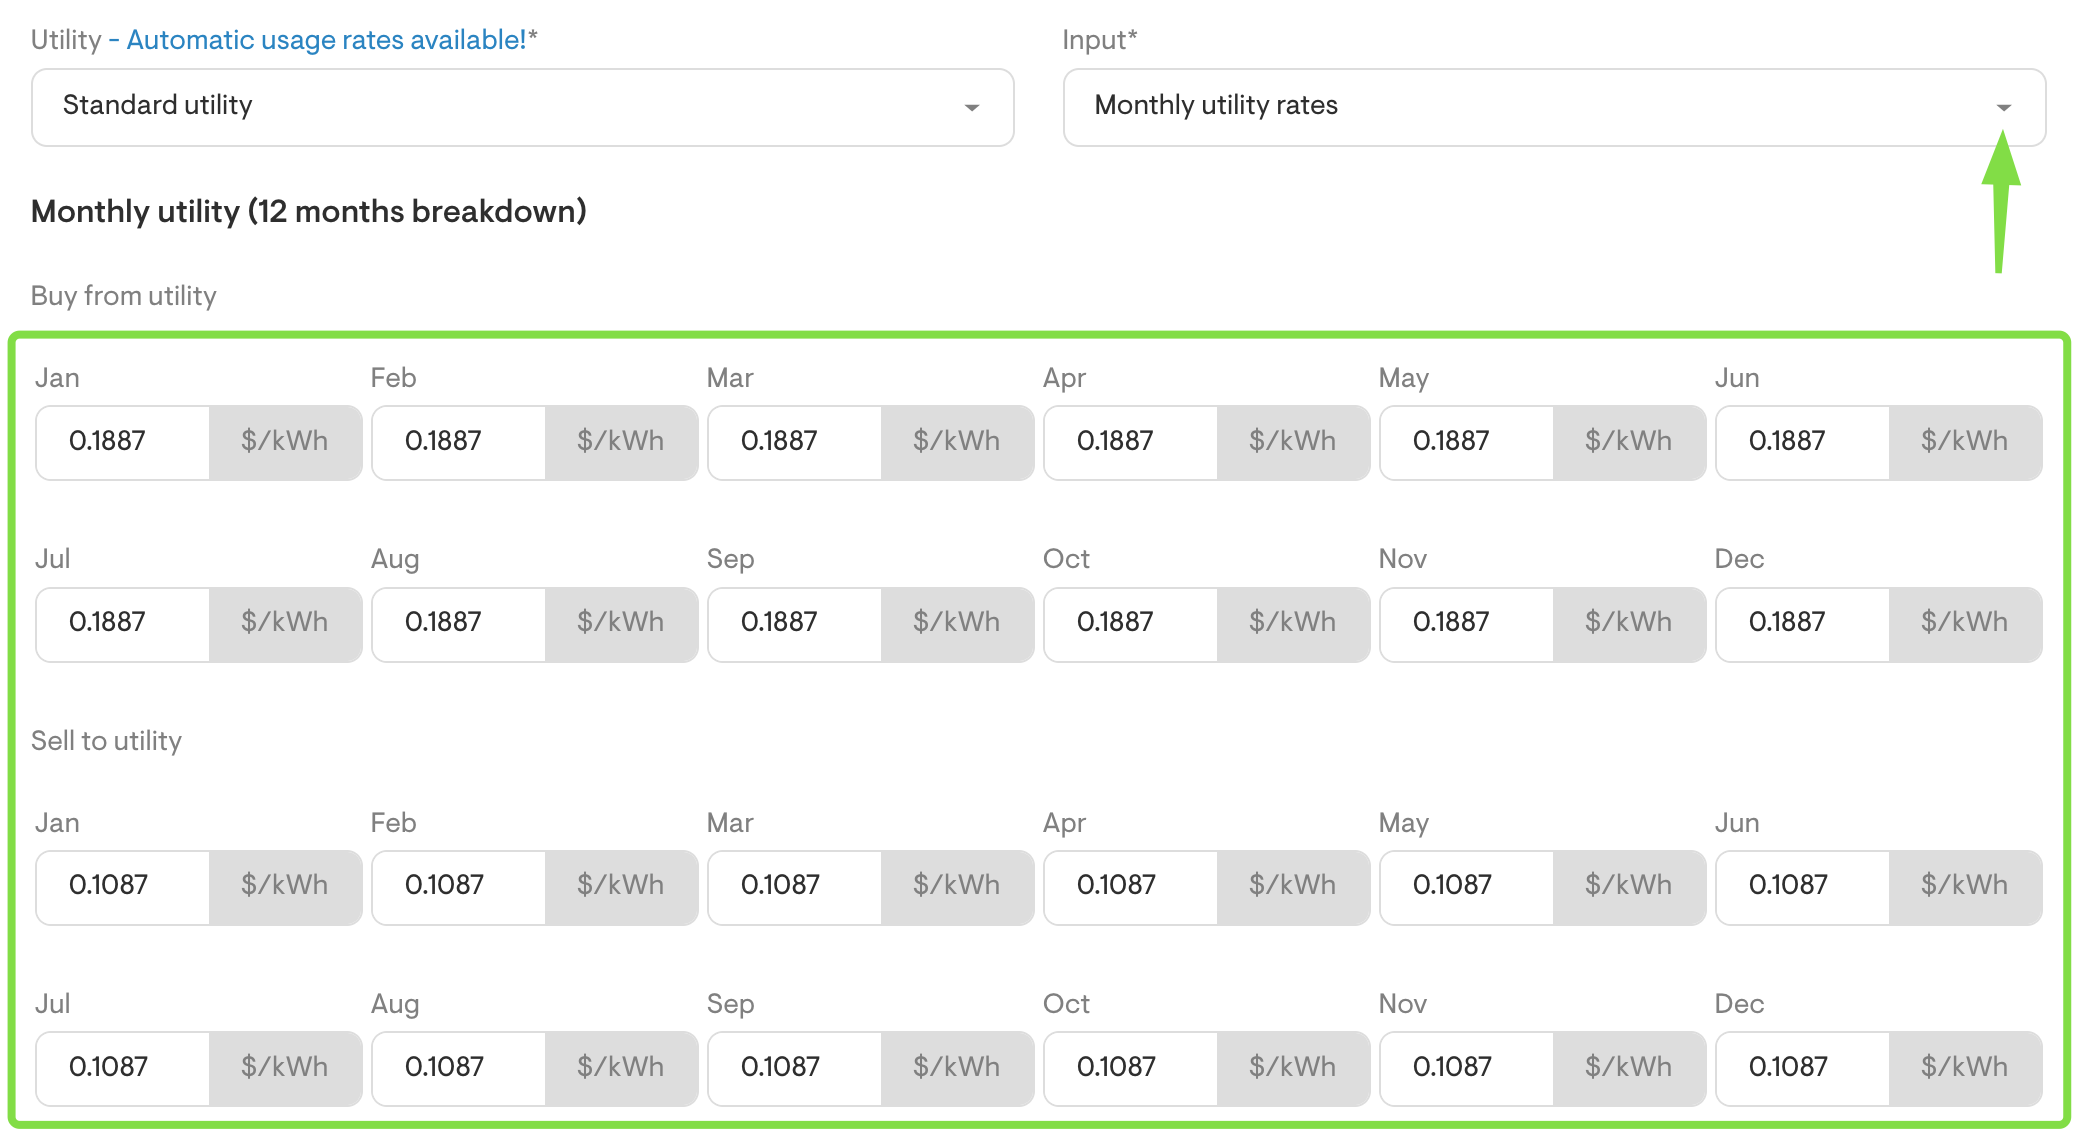
- Alternatively, you may choose to enter the tariff and bill information manually. When this option is selected, you may choose an annual or monthly input.
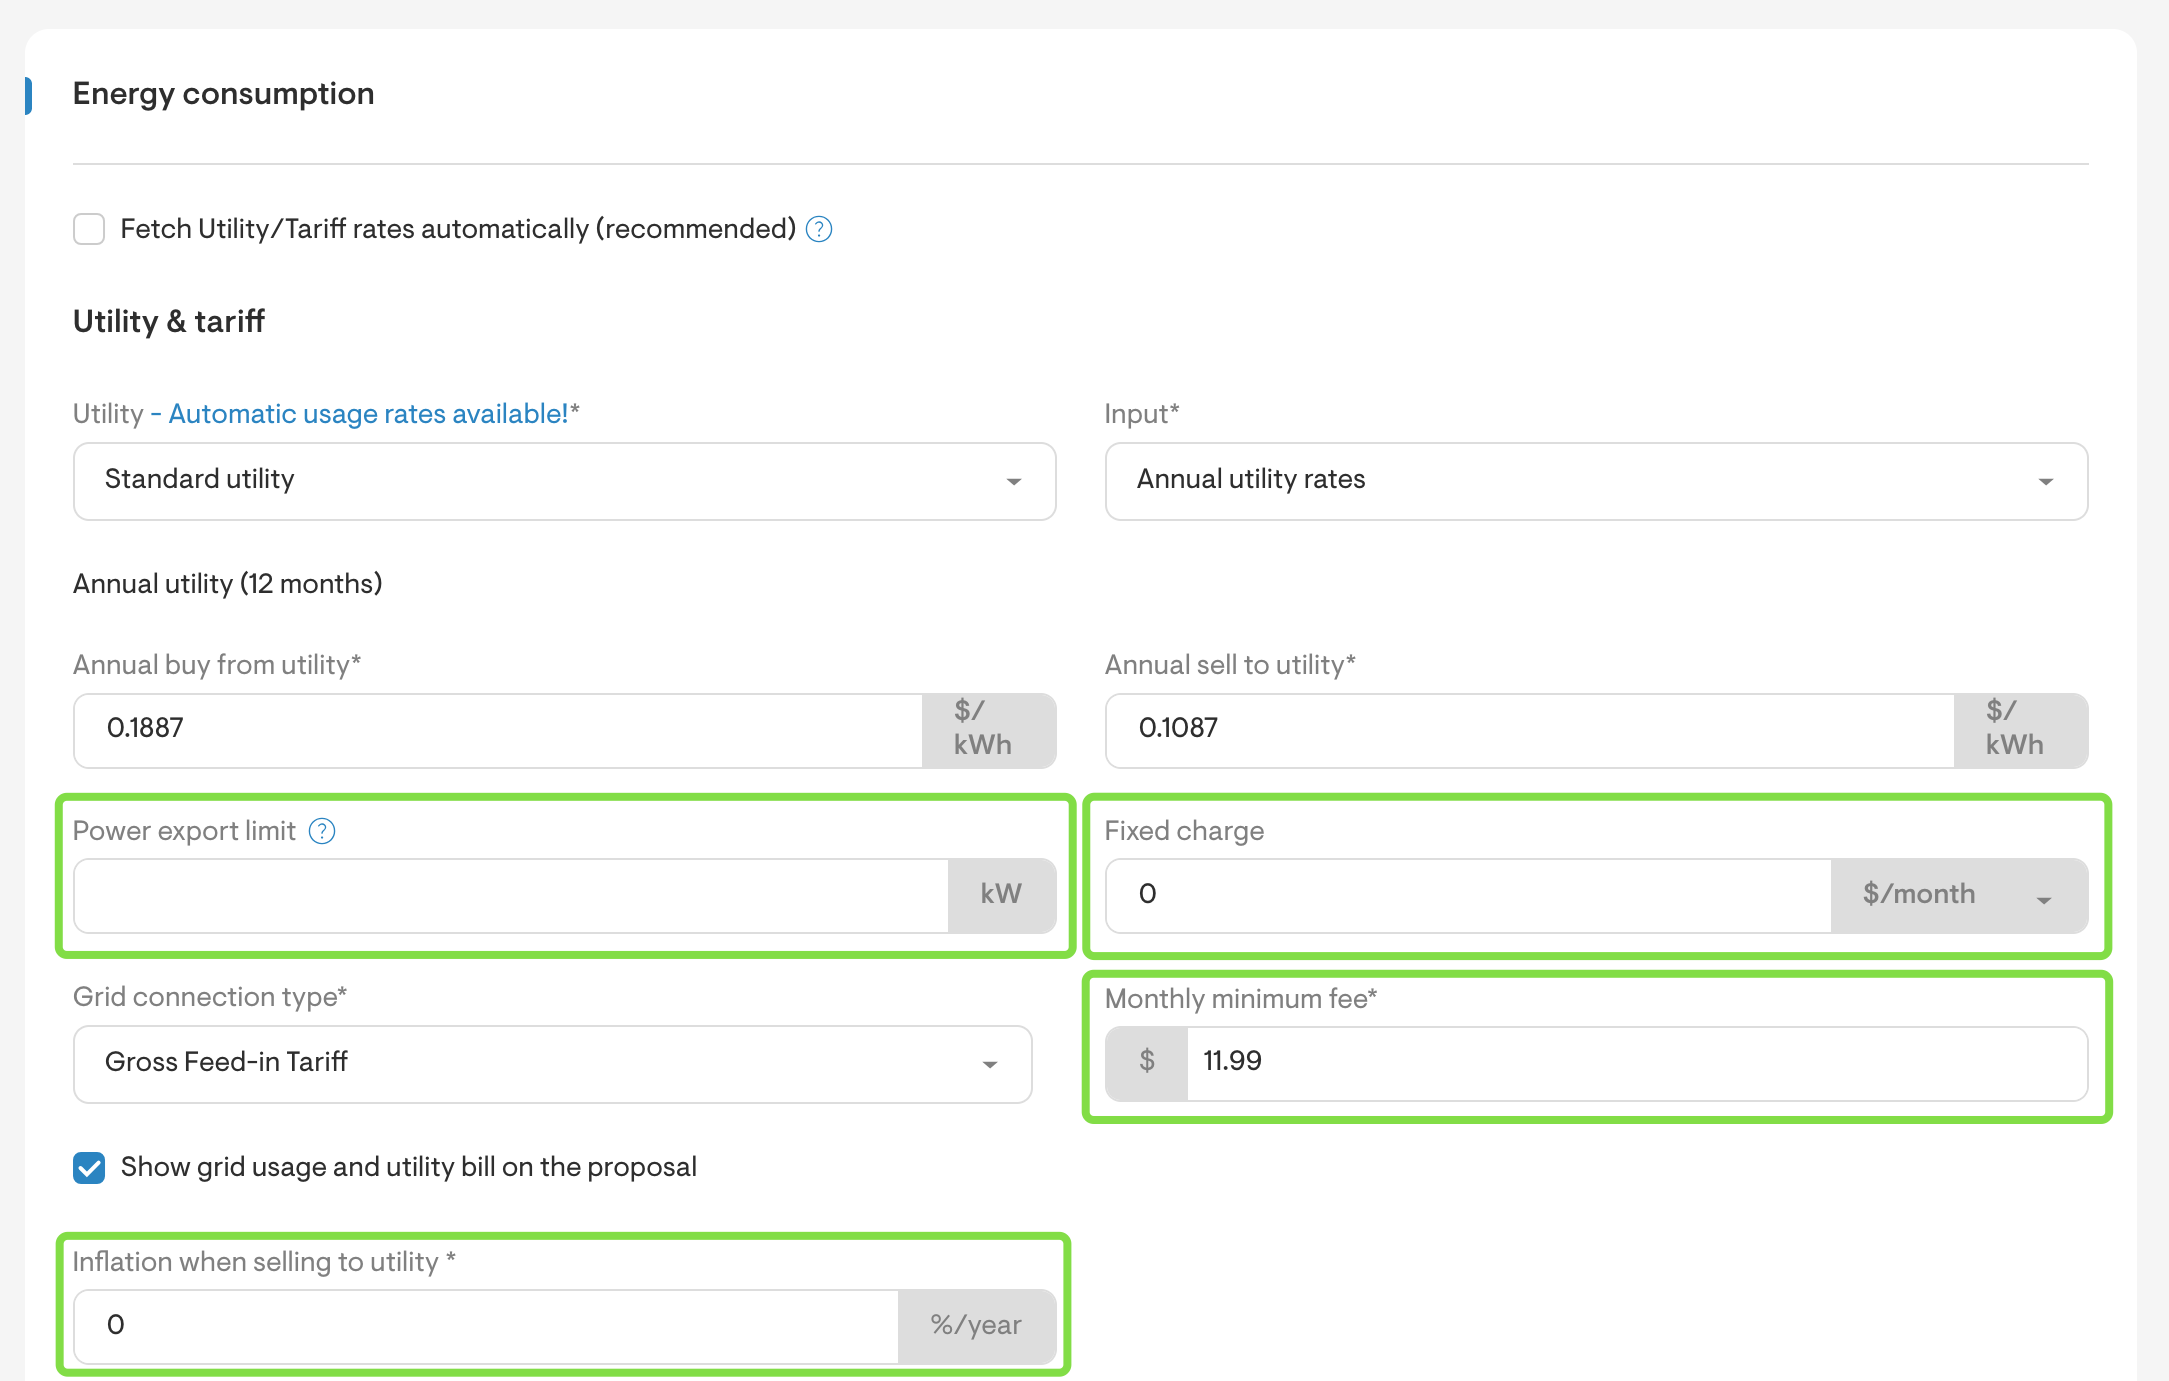
- The following screenshot shows tariff rates entered on an annual basis.
- The following screenshot shows tariff rates entered on a monthly basis.
- If using standard utility define the:
- Power export limit (kW)
- Fixed charge ($/month)
- Monthly minimum fee ($)
- Inflation when selling to utility (%/year)
- If using Fetch Utility/Tariff rates automatically enter the utility sell rate.
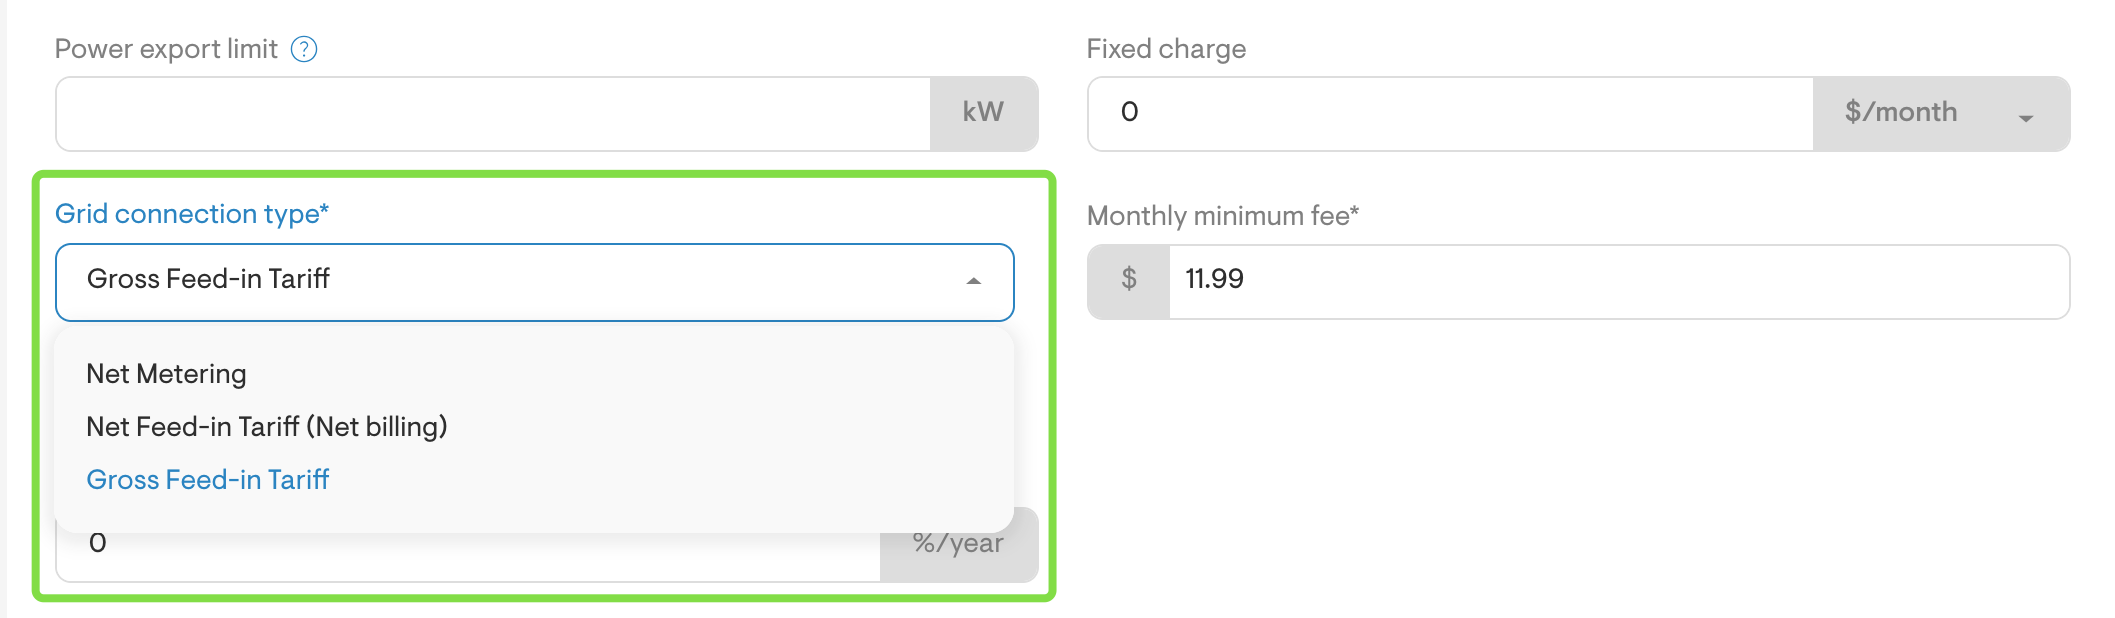
Step 2: Specify the Grid Connection Type
- From the dropdown menu, select the correct grid connection type for your tariff.
Step 3: Additional fields
Choose whether to show grid usage and utility bill on the proposal by checking/unchecking the below.

Step 4: Usage
Utility Usage Input Options in Solargraf
Solargraf offers five different ways to input a client’s electricity usage data under the Utility Settings. Each method serves a different use case depending on the level of detail and type of data available.
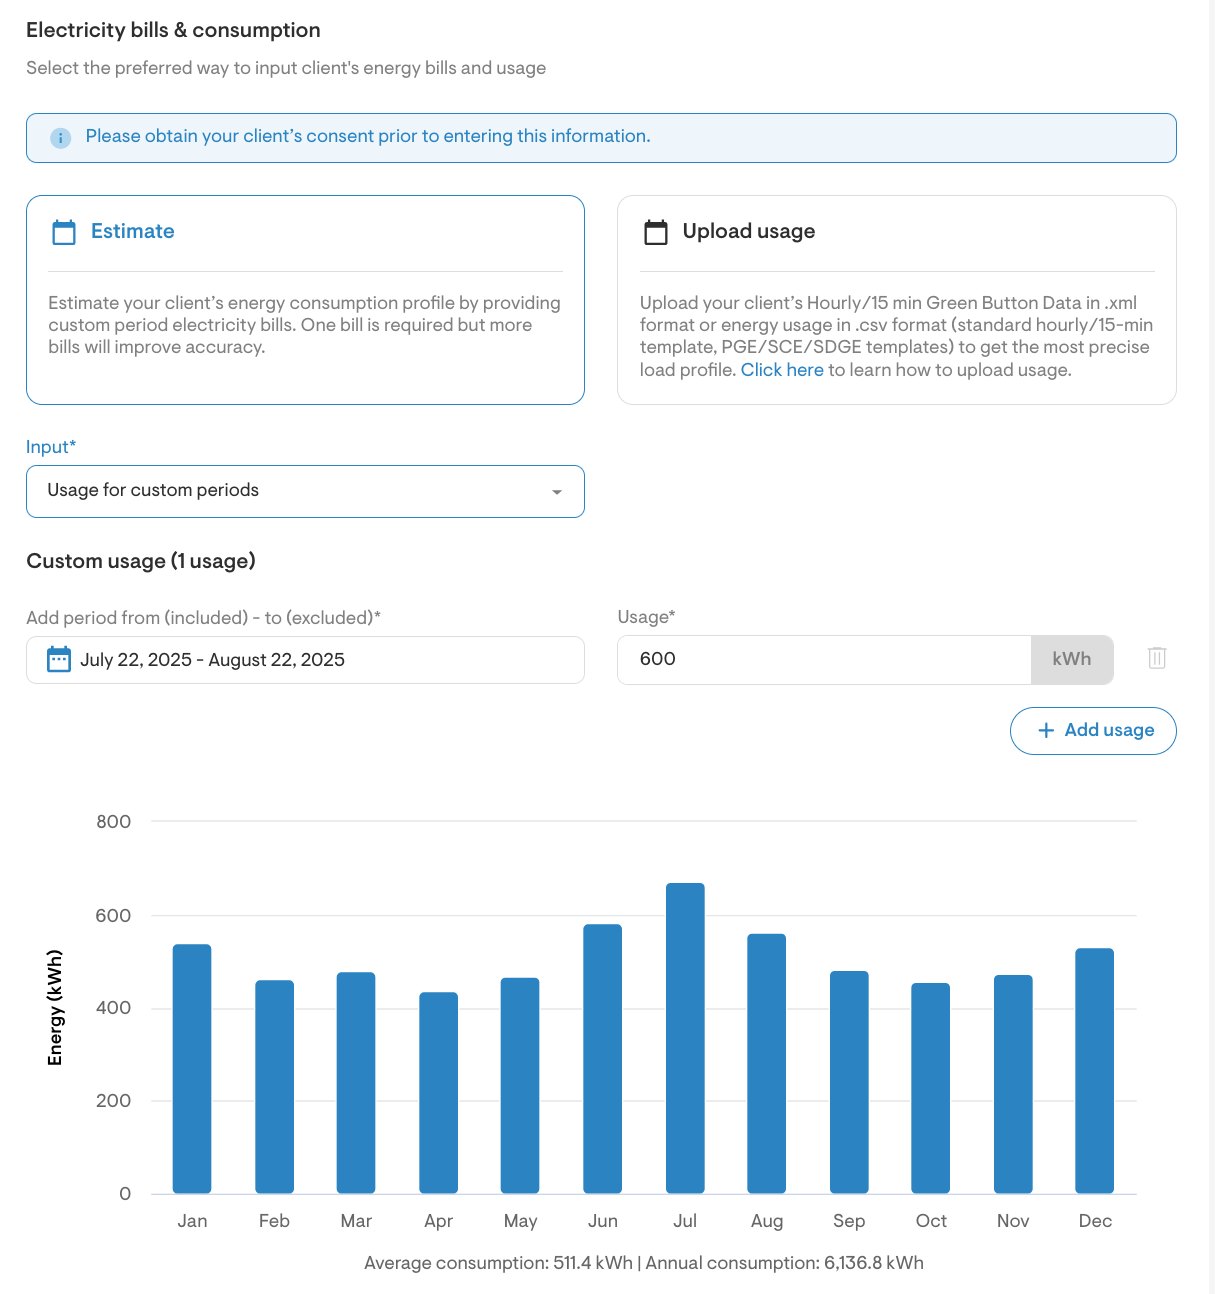
1. Usage for Custom Periods
- Select "Usage for custom periods" from the Input dropdown.
- Click + Add usage.
- Enter the start and end dates of the billing period.
- Input the total kWh used during that period.
- Repeat for each bill you want to add.
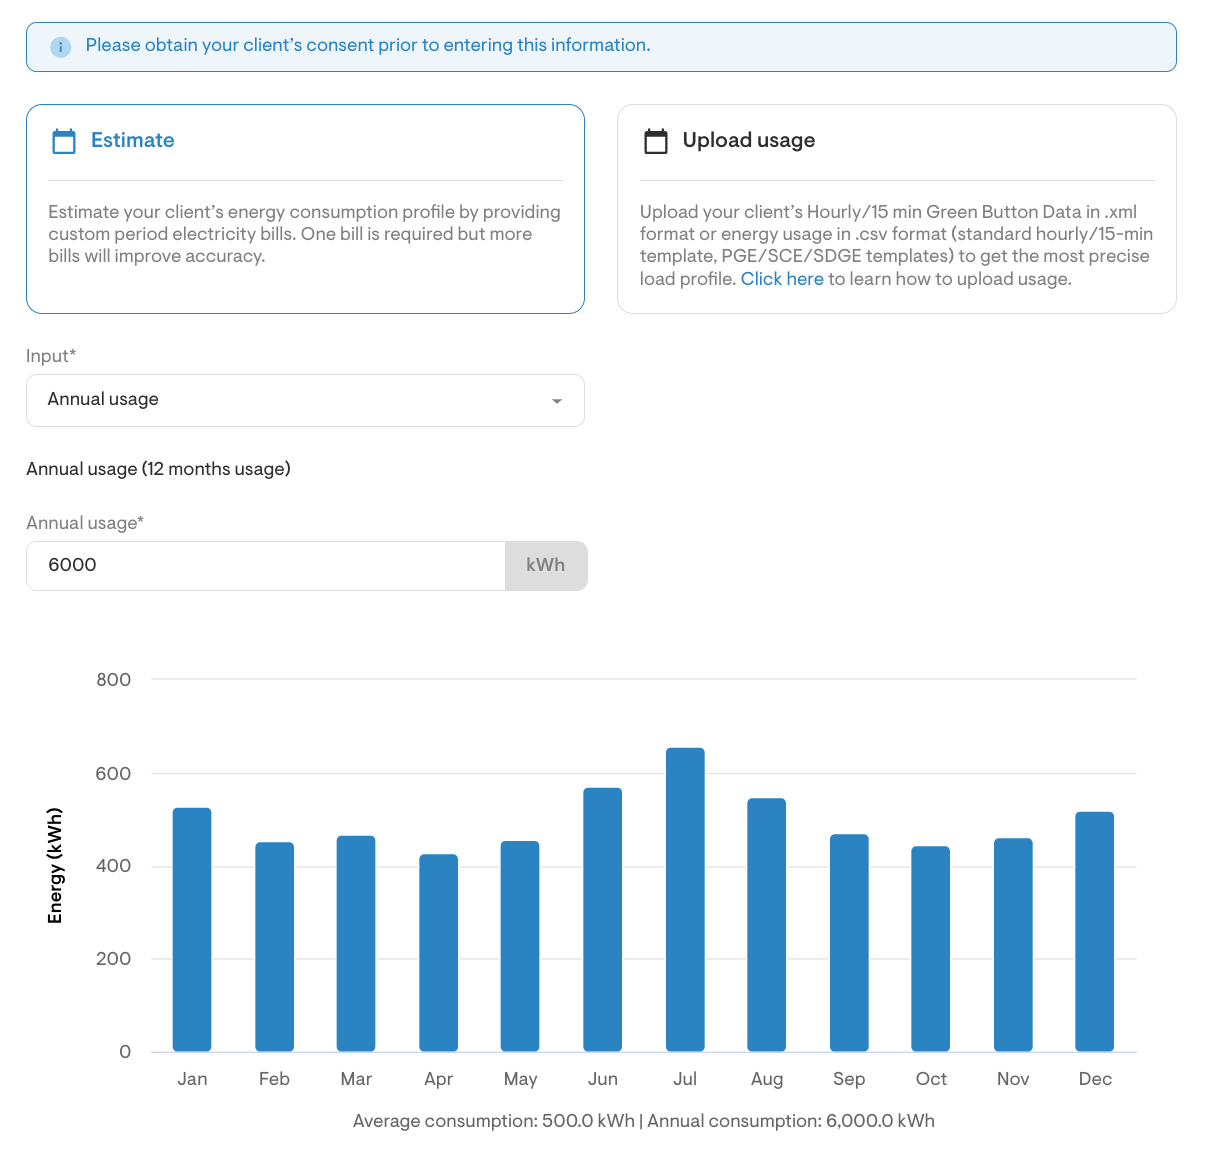
2. Annual Usage
- Select "Annual usage" from the Input dropdown.
- Enter the total annual consumption in kWh.
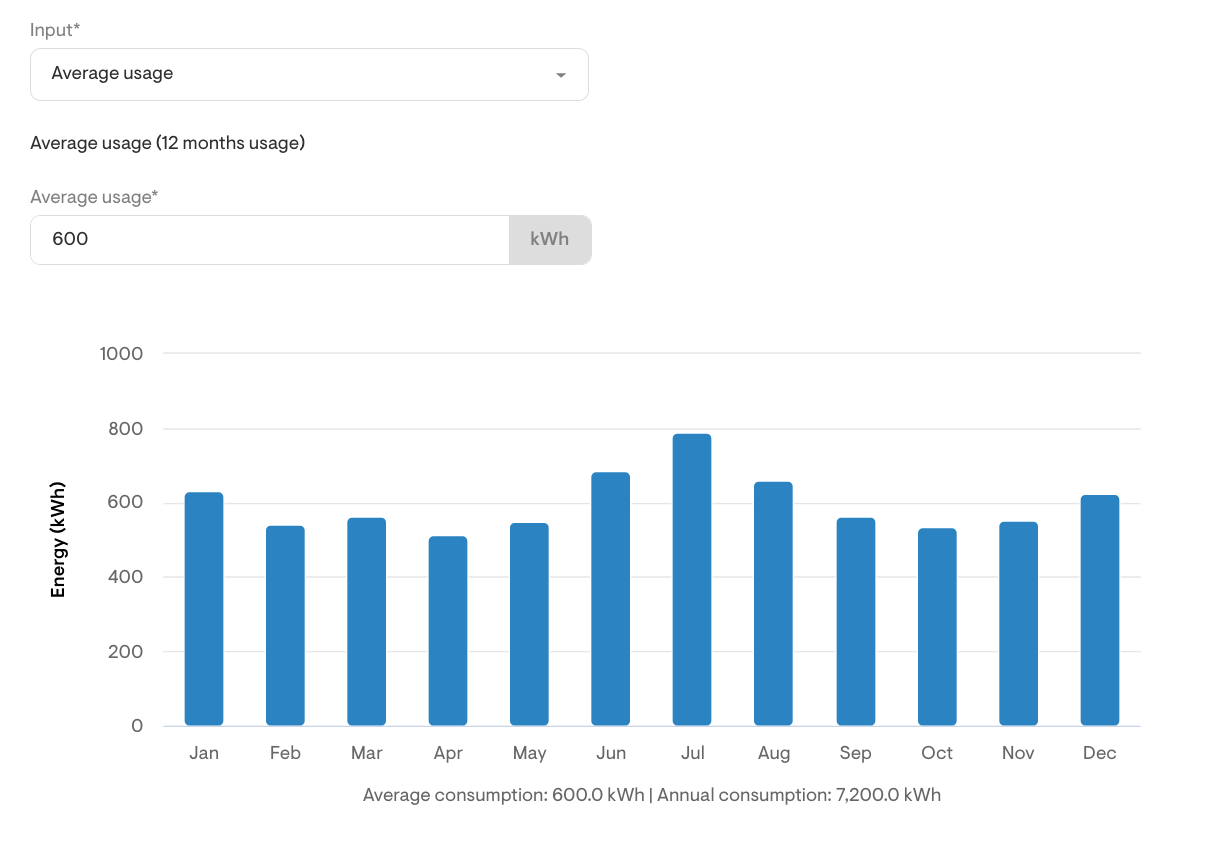
3. Average Usage
- Select "Average usage" from the Input dropdown.
- Enter the average monthly consumption in kWh.
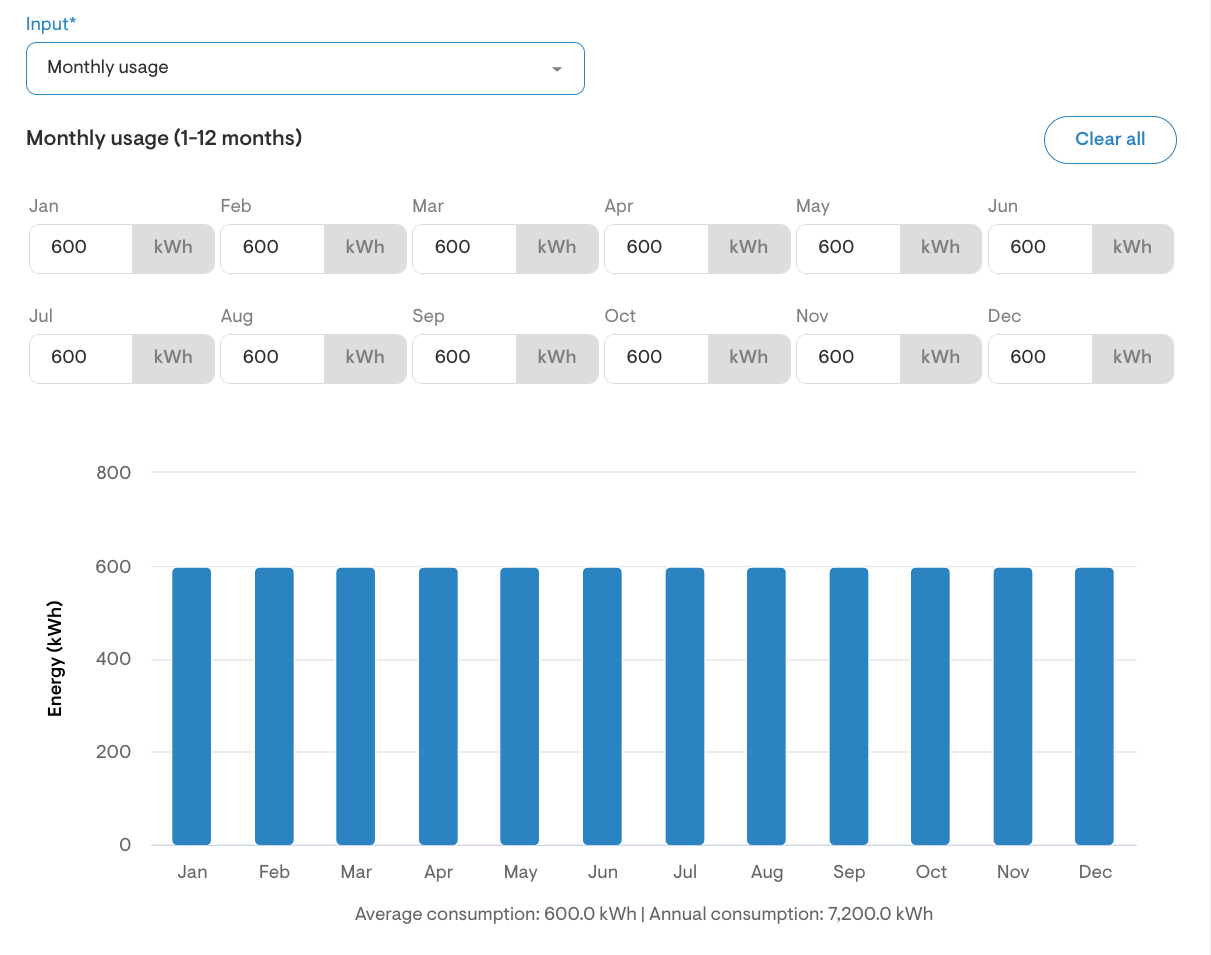
4. Monthly Usage
- Select "Monthly usage" from the Input dropdown.
- Enter the kWh value for each month from January to December.
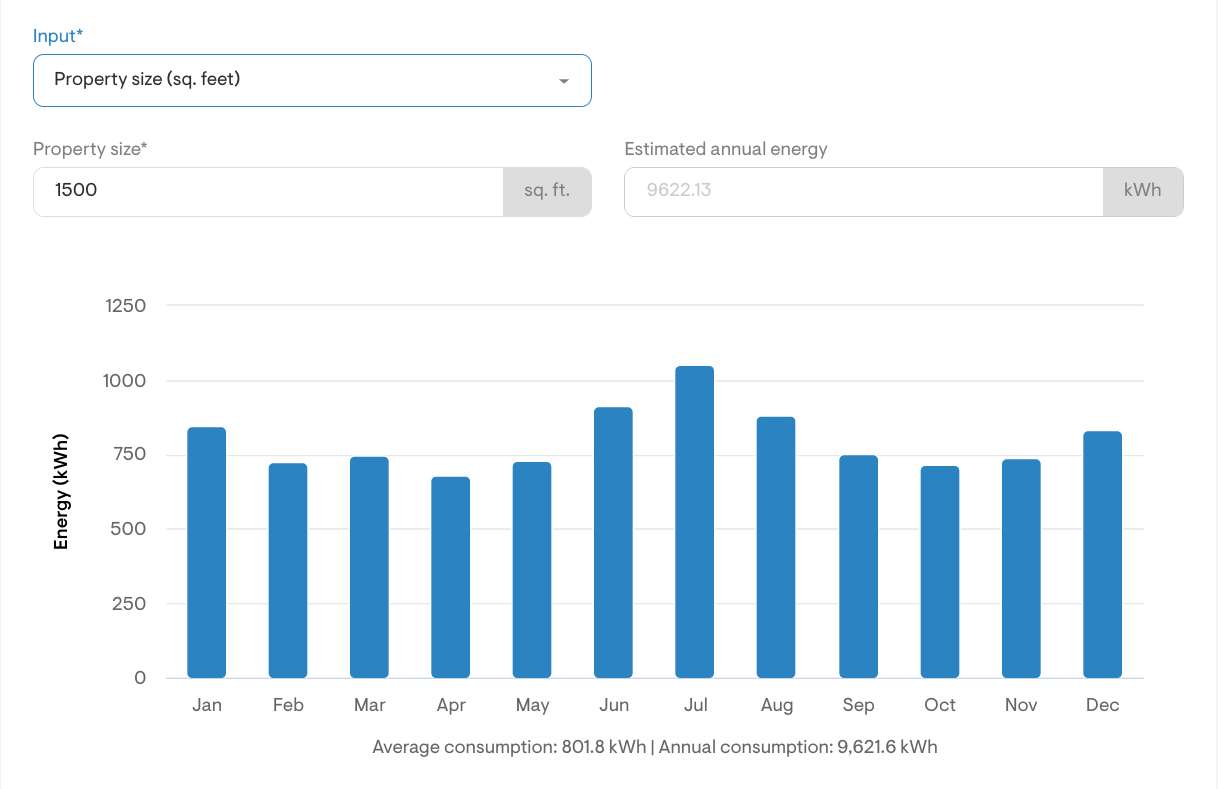
5. Property Size (sq. feet)
- Select "Property size (sq. feet)" from the Input dropdown.
- Enter the square footage of the property.
Alternatively, you could choose to upload interval data by following the instructions in this article.
Step 5: Consumption profile
- Select a consumption profile based on the homeowner's data.
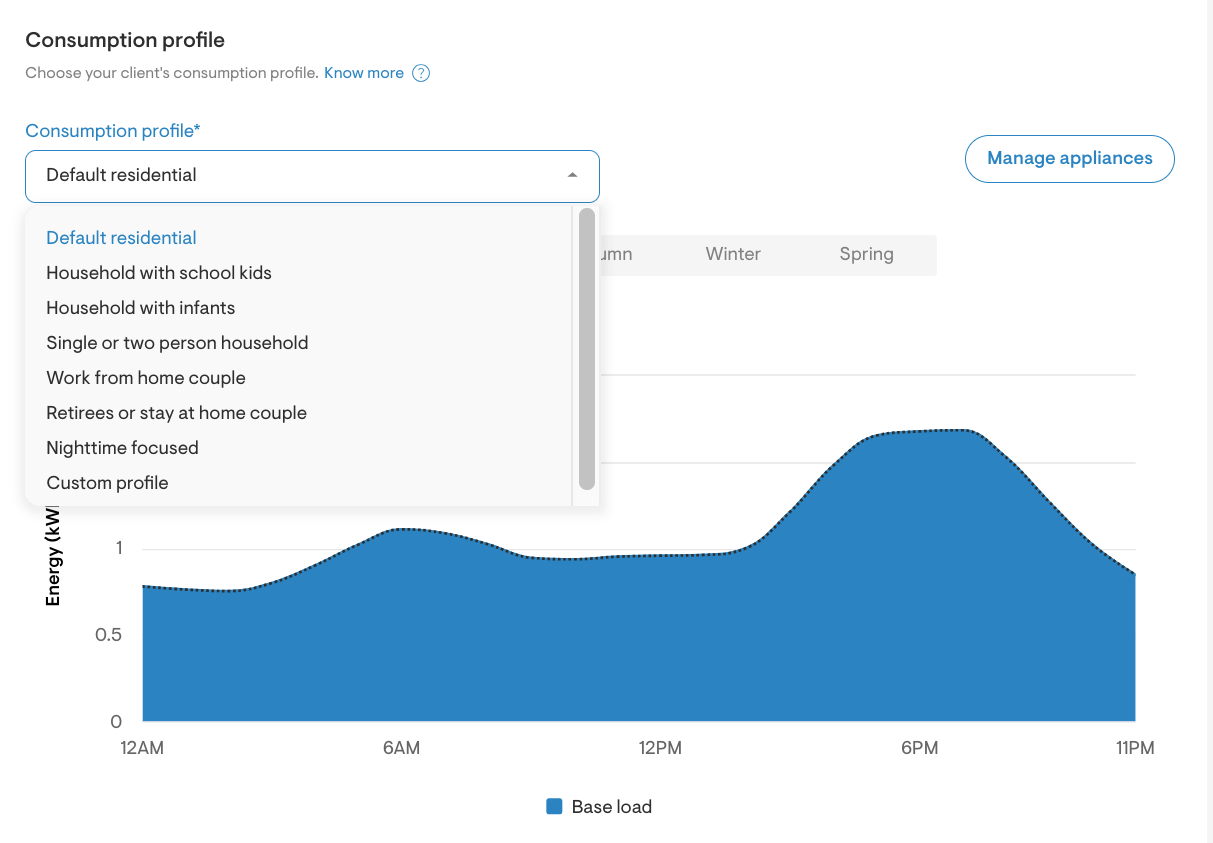
The consumption profile will show a graph with your client's average daily usage across year and seasons.
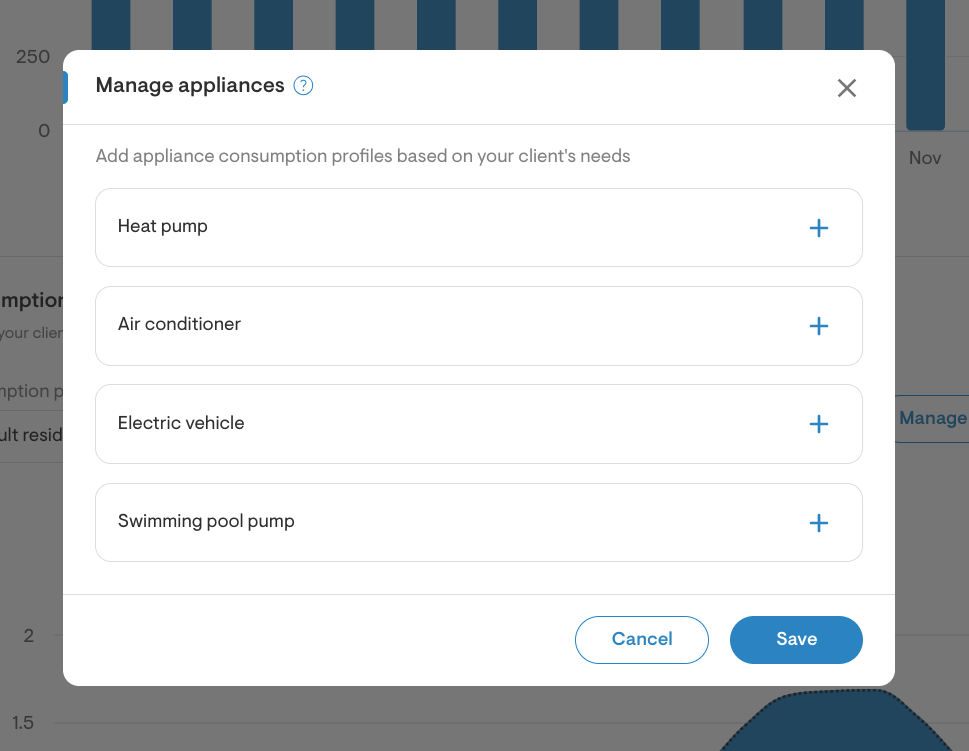
- Click "Manage appliances" to enter appliance consumption profiles based on your client's needs.
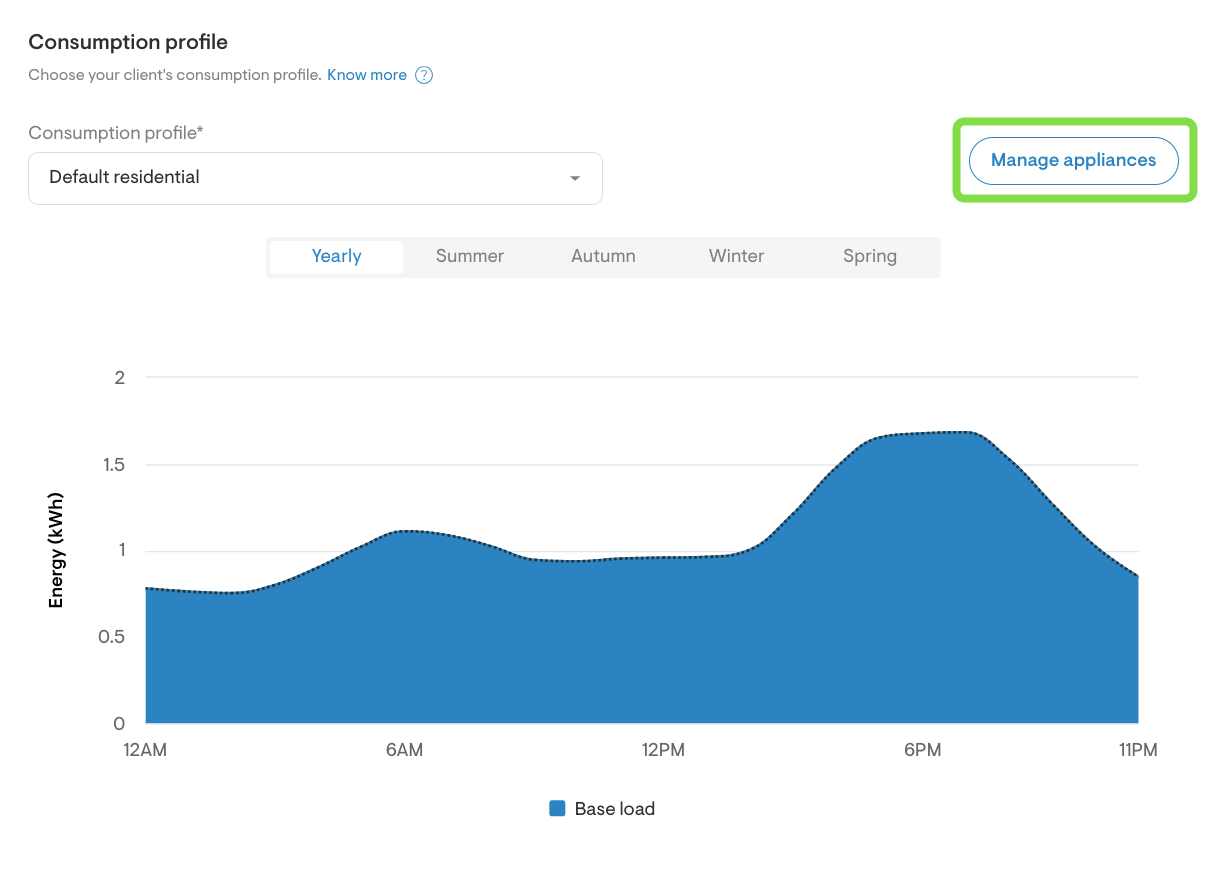
- Then click '+' to add appliances, and fill in details such as quantity, usage, and power. If the appliance is a future purchase, toggle off "This appliance is included in bills/usage" so Solargraf treats it as a future energy adder.